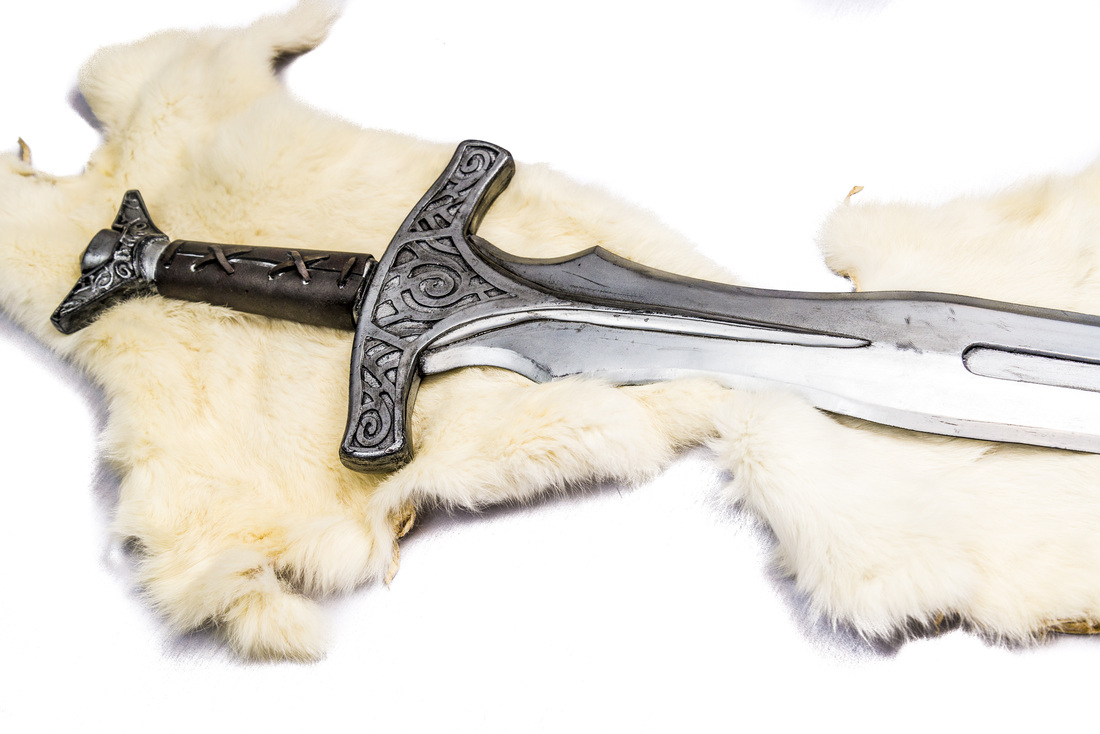
Photo courtesy of Doors of Imagination Photography
This project came about when VFire Cosplay suggested her concept for a prop panel in which three propmakers each make the same prop in their own separate styles, and then present a panel on the differences in our methods to demonstrate there was no single way to approach propmaking. We teamed up with Quantum Entanglement Props and the Skyrim Steel Sword was chosen as the prop to make. So here's my contribution to this project!
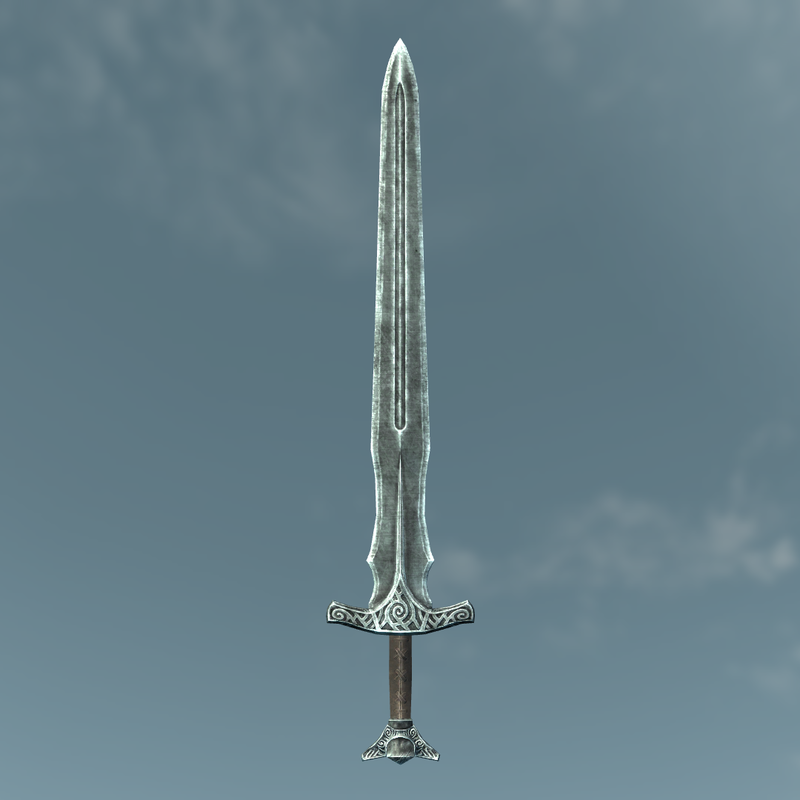
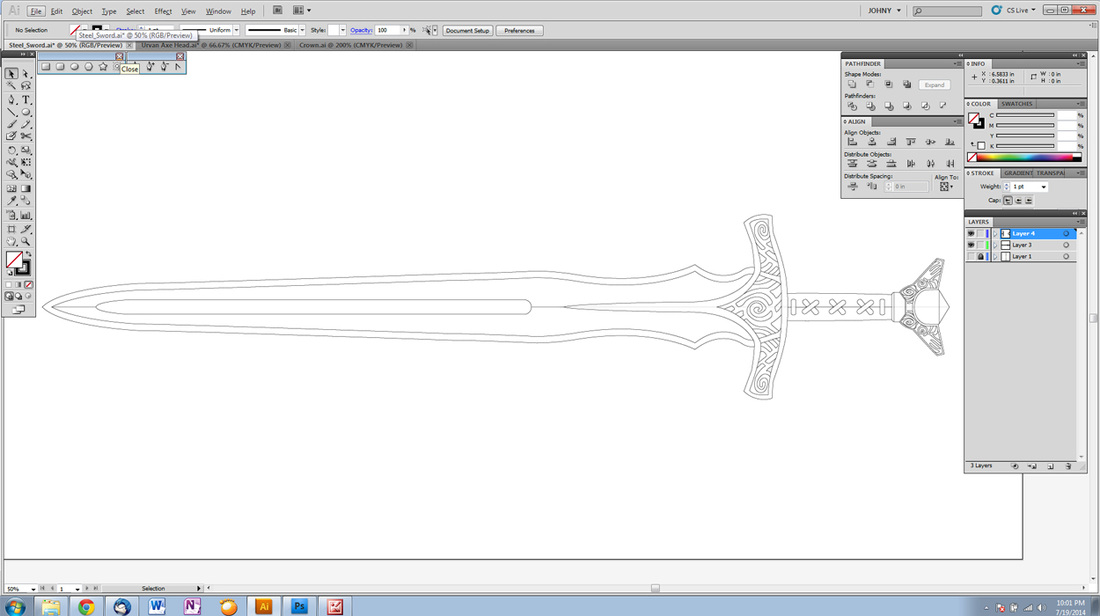
Here's a shot directly from the game. It's flat on, so it was the perfect reference. This was dragged into Illustrator and a blueprint was drafted.
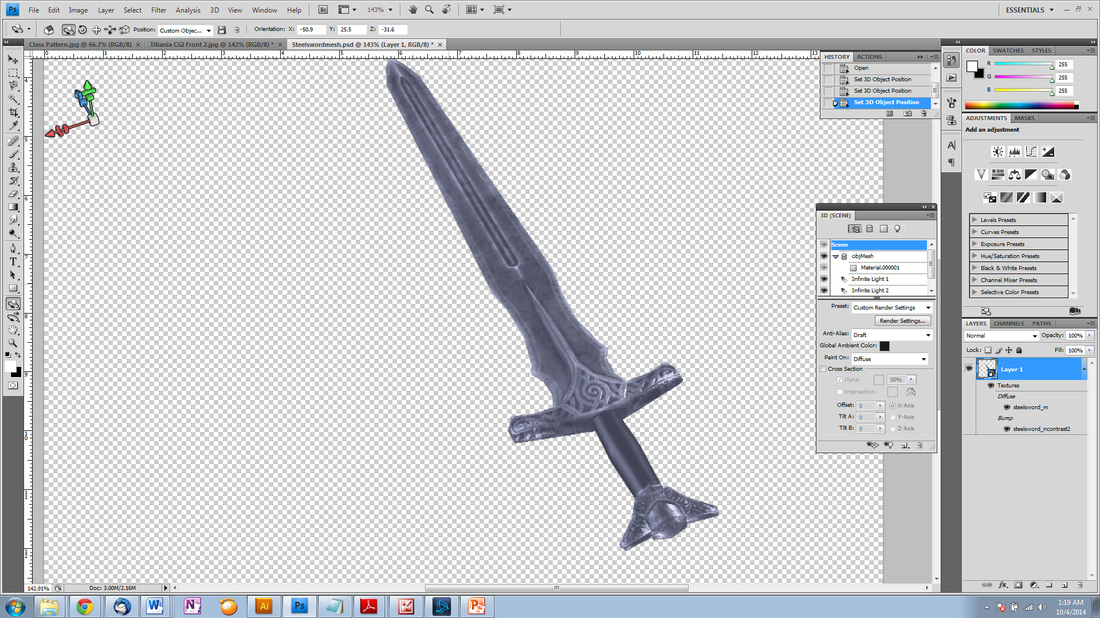
Because Skyrim is a PC game, it's relatively easy to get your hands on the 3D models. This isn't something I do very often, but with a bit of struggle I managed to get the file into photoshop so I could reposition it and see more of the sword's details, like the inlaid chevrons on the bottom edge of the cross guards.
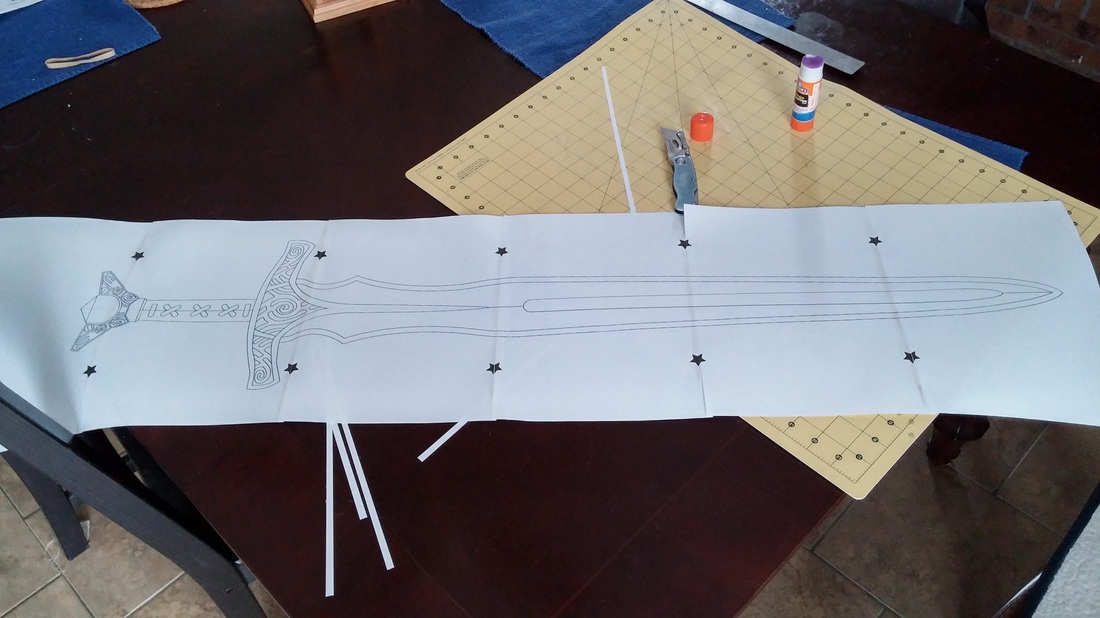
I calculated the original scale of the sword at 44" for myself, but when I printed it out it seemed a bit big. Considering that I was planning on making a silicone mold I opted on the safe side and scaled it down to 40". As always, I printed out the pattern on separate sheets of paper. The stars were used to help align the pages where they meet.
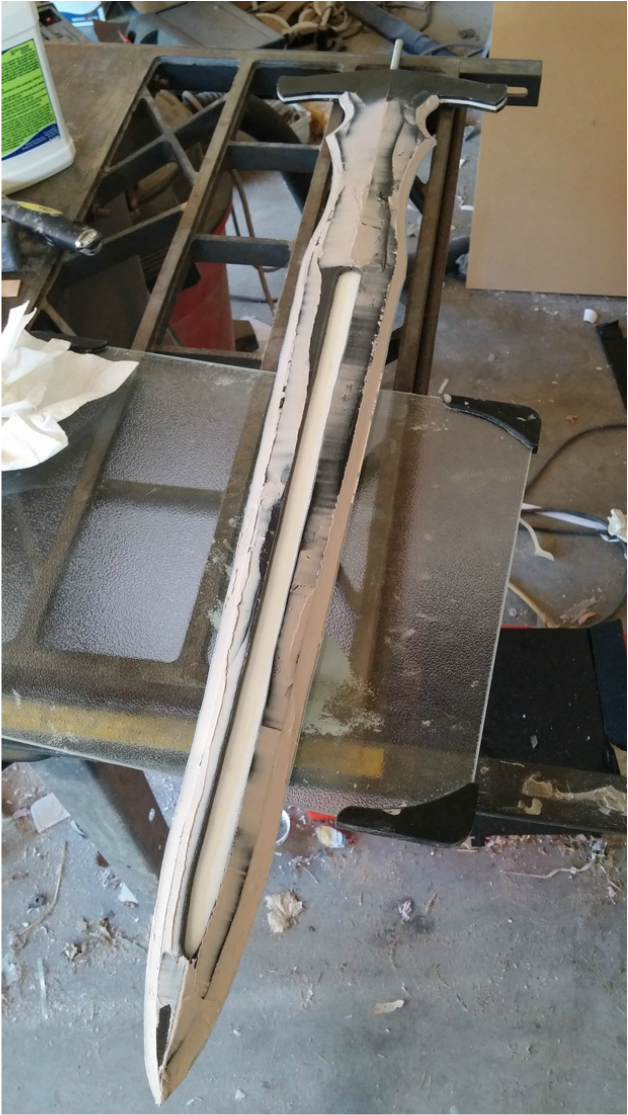
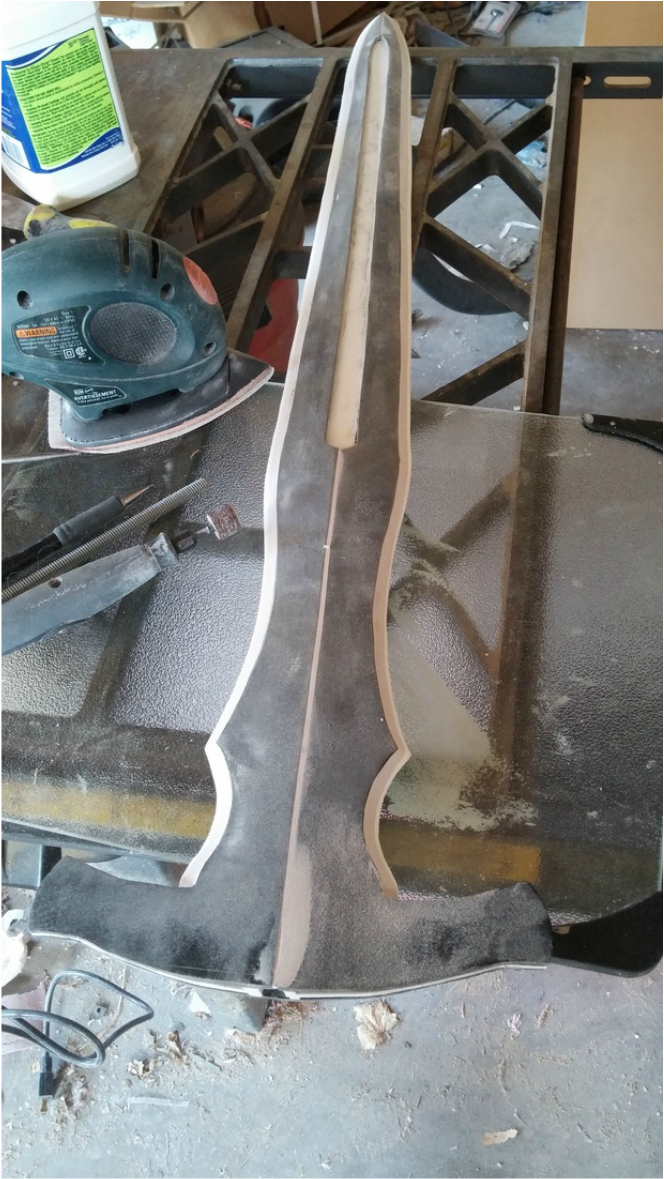
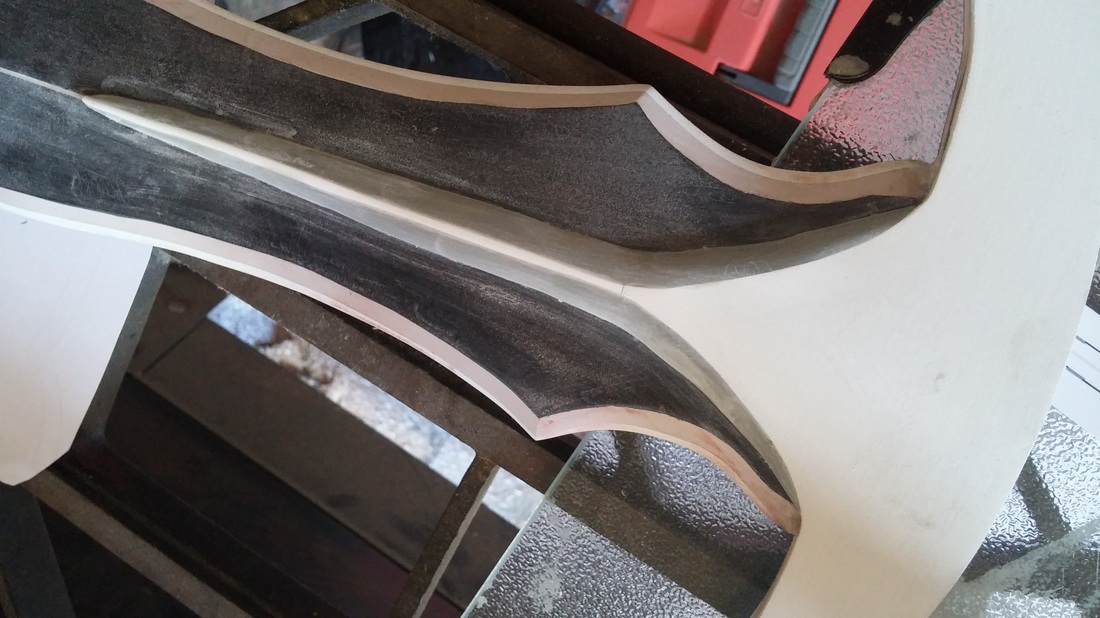
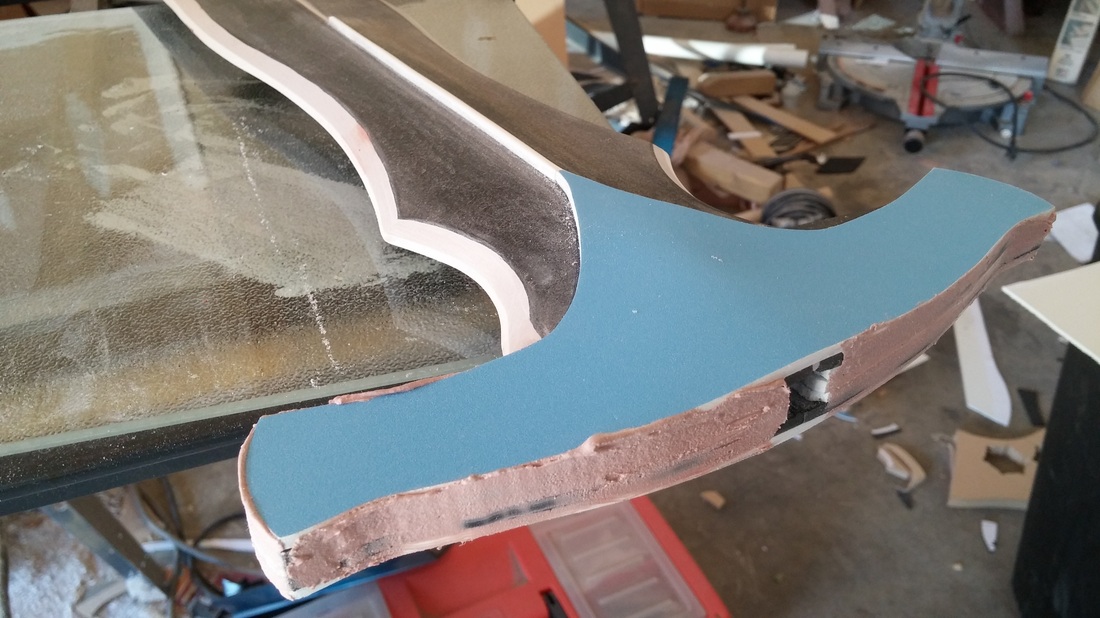
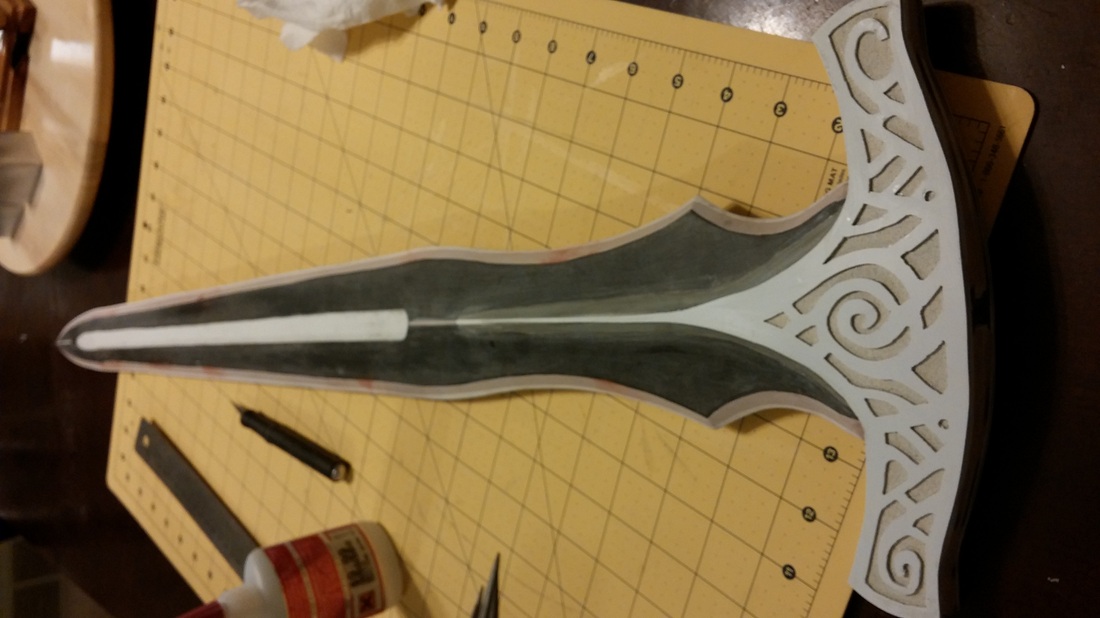
The patterns were attached to PVC foam (Sintra). In this case, nearly all of the PVC foam is recycled retail signage, hence the funny blues and blacks and printed wording if you look closely. A base layer of 1/8" Sintra was cut out the full shape of the blade and cross guard. Addition layers were cut out, but sliced down the center. The fuller was cut out of these additional layers as well. A slot was routed into the center base of all these layers to provide room for a threaded rod that would help attach the grip later.
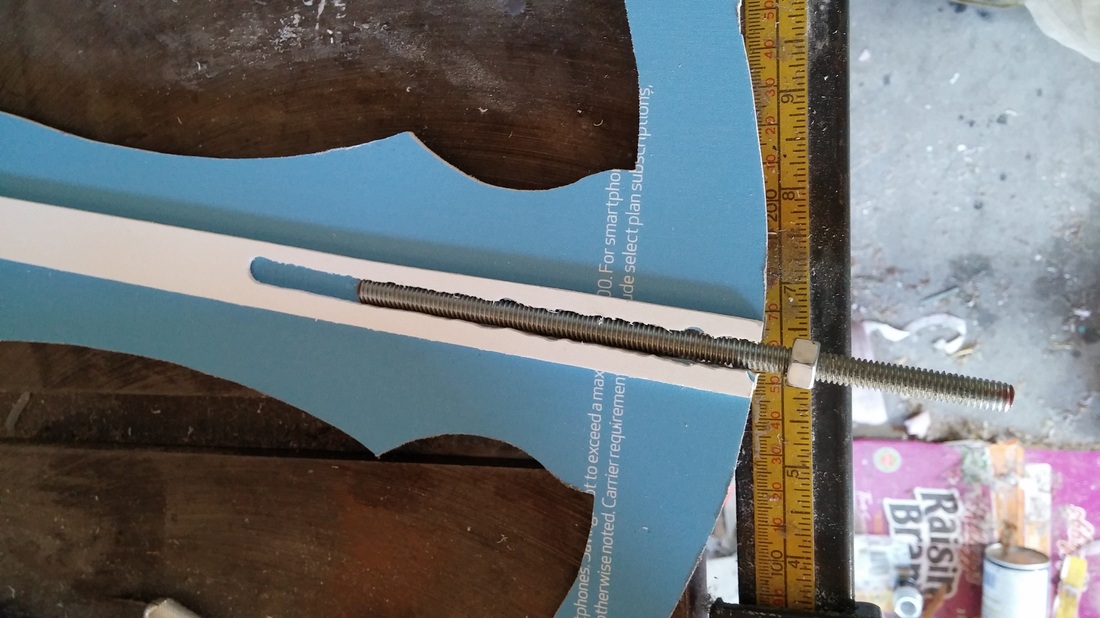
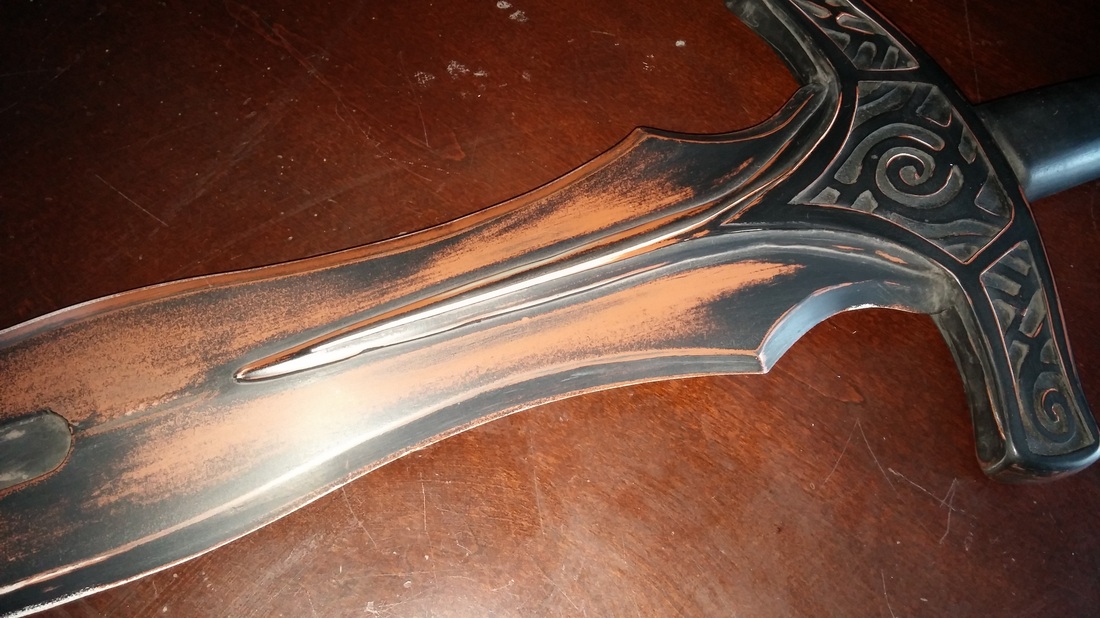
A strip of Sintra, just wider than the fuller was glued along the center of either side of the base layer, and stops a couple inches short of the sword's tip. The sword has a distinct, very shallow bellow along it's spine that would have been difficult for me to shape out. This ridge provides the support I need to place a couple layers at the necessary angle to create that central bevel.
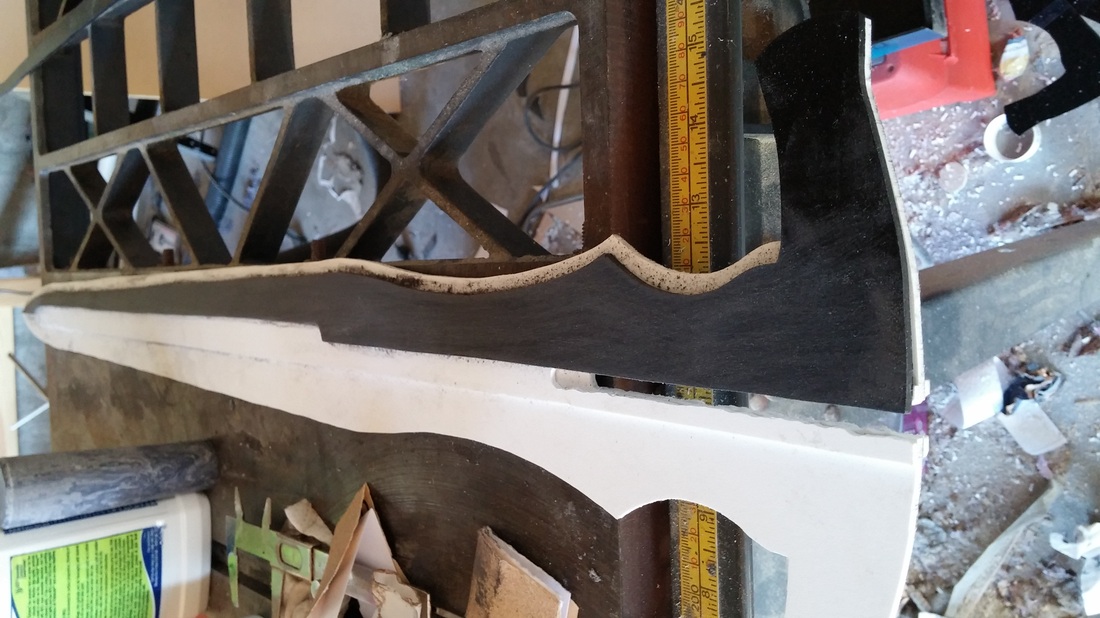
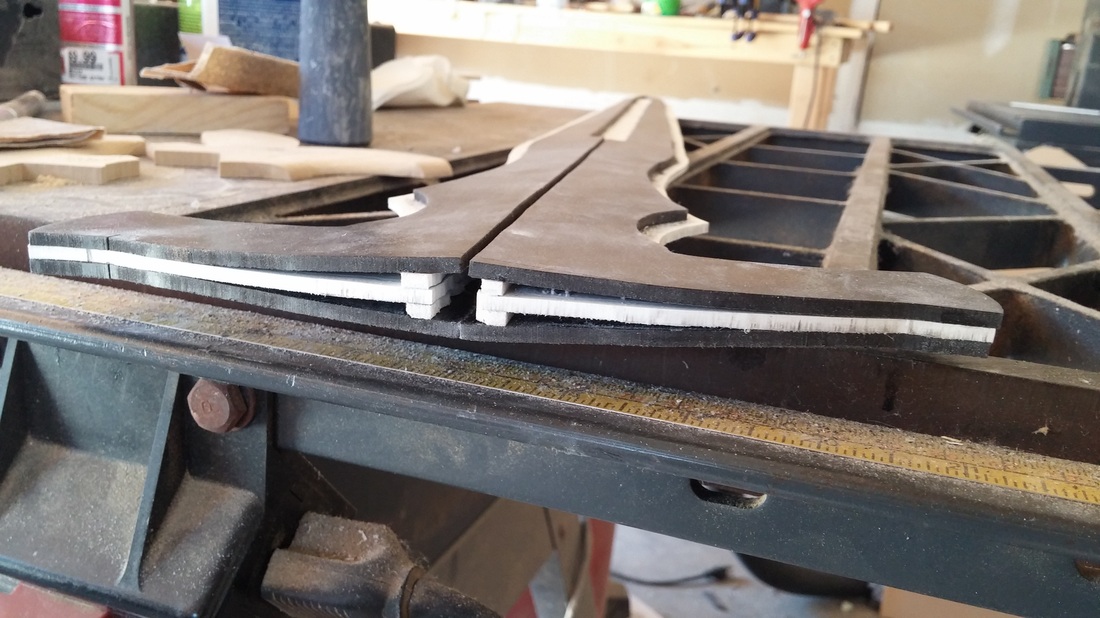
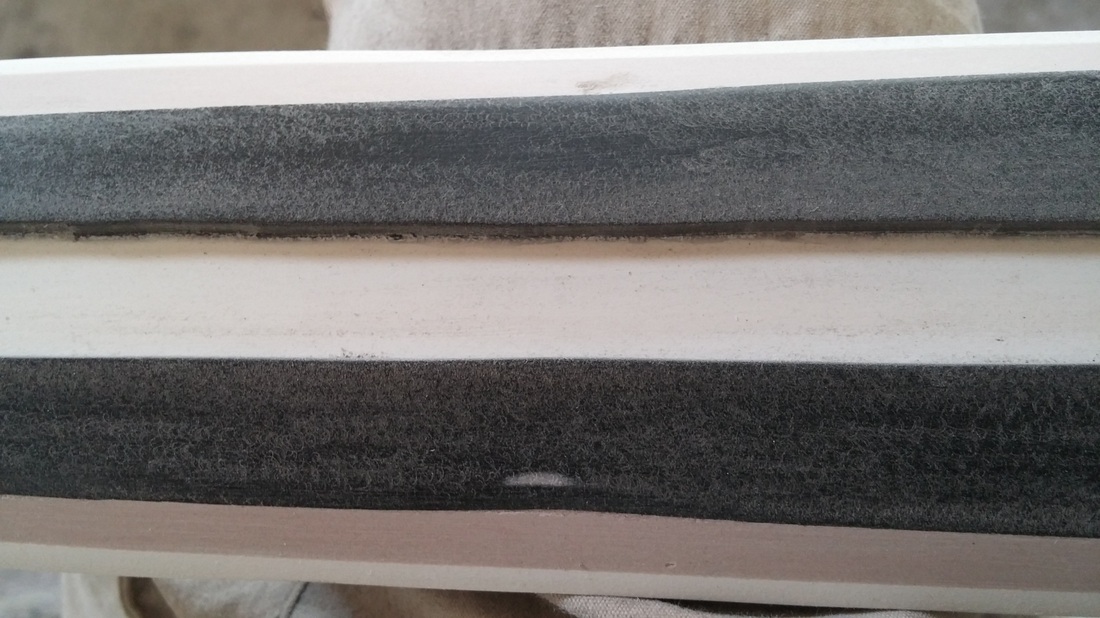
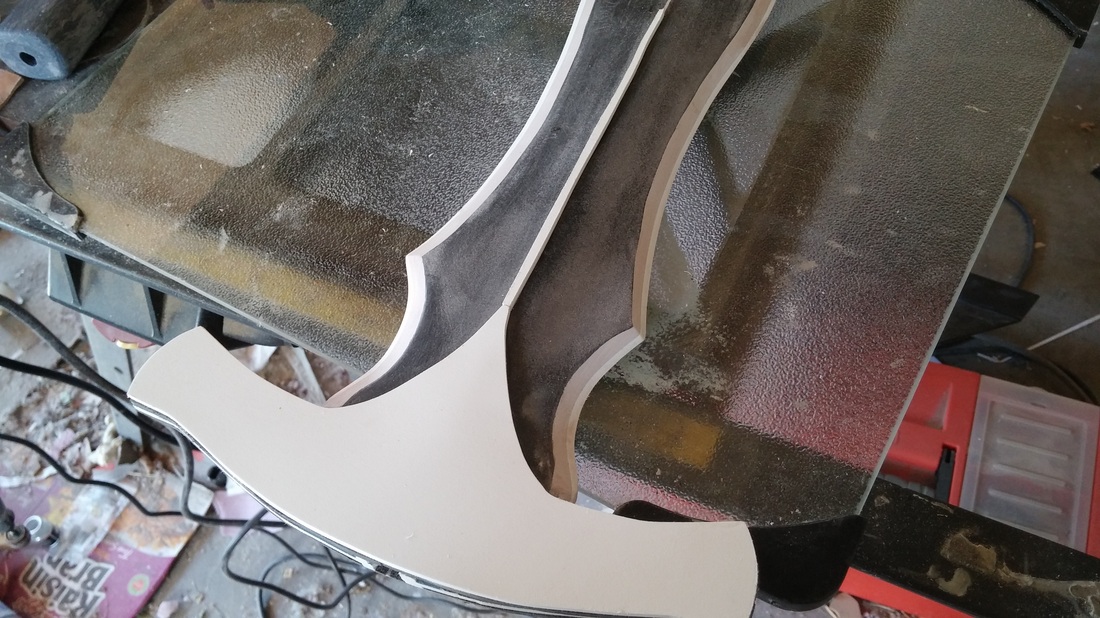
Above you can see the slight bevel that the top layers of the blade sit. These layers were also cut a 1/4" short of the edge of the blade. In later photos you'll see this was filled with Bondo to create the edges of the sword. Cutting the fuller out of these layers also meant I didn't have to do any routing or dremeling to remove that channel.
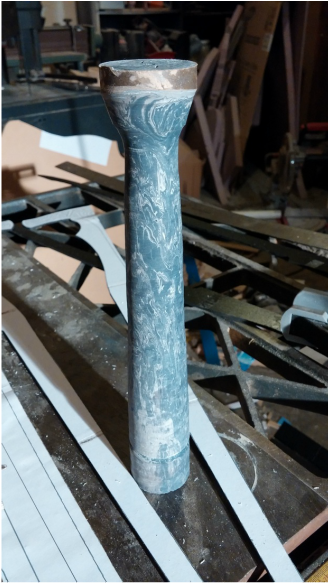 | 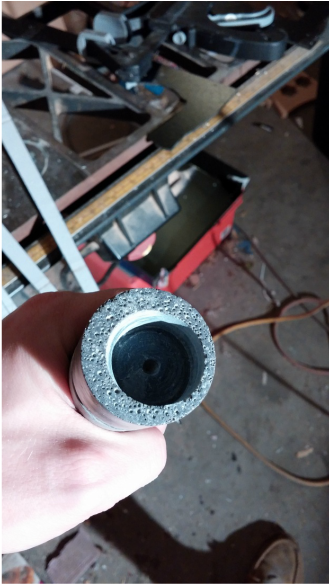 |
The grip of the sword was created from a failed piece for a previous project. This was intended to be the spike for the top of the Urvan Axe (#dataxe), but I screwed up and bored the base hole off center. I simply chopped off the excess on either side to the desire length, and presto chango! Sword grip.
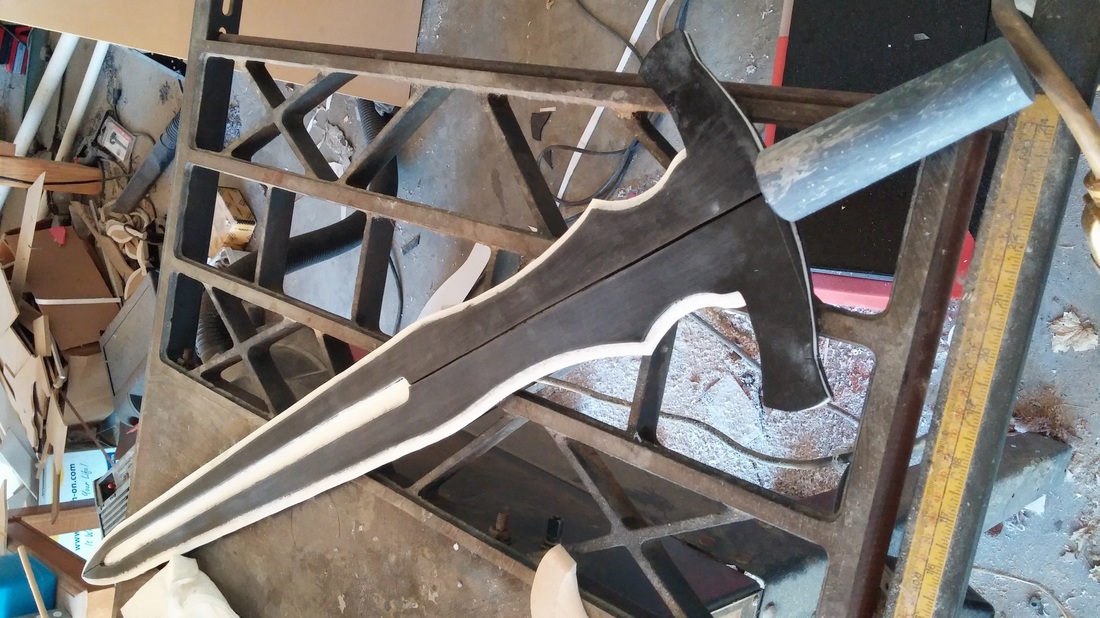
My method produces a lot of seams, so Bondo ends up being my best friend. It was slathered all over the sword, including in the gaps along the blade's edge, and then sanded smooth. After several hours of palm sanding, my hand was numb and my wrist was sore. Still, better than hand sanding it all.
With all the pinks, whites, and blacks, the sword almost looked more like a Neapolitan ice cream than a blade.
Another layer of Sintra was added to the hilt, as well as a very thin ridge extending out the forte of the blade (area closest to the hilt).
Apoxie Sculpt was added to create the spike, and then it was sanded smooth after it was cured.
Bondo was added to more of the seams.

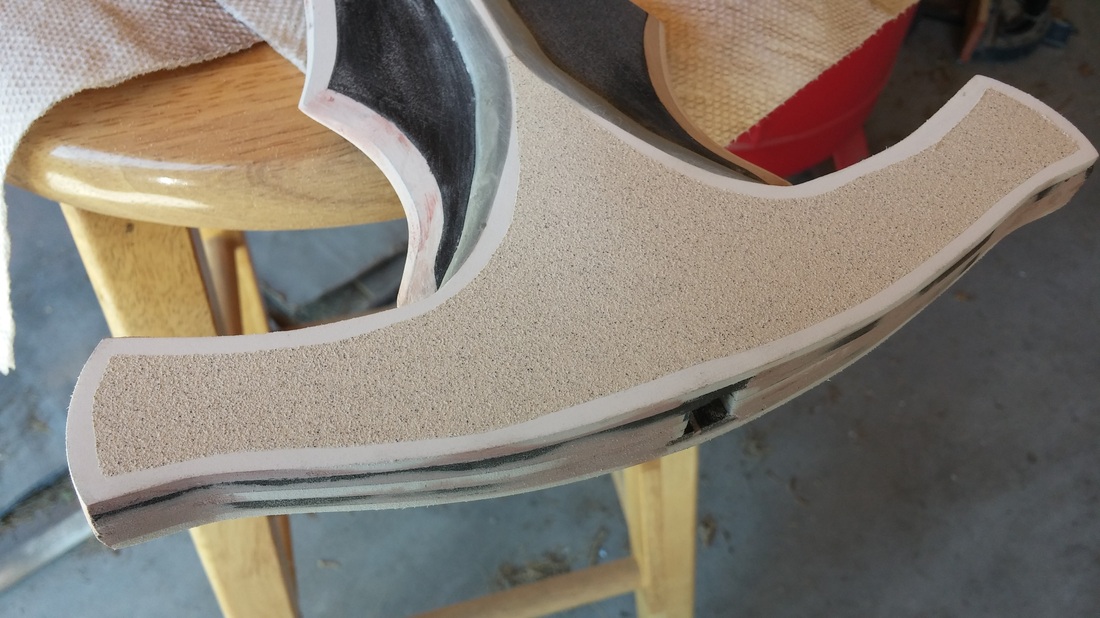
There's a subtle texture beneath the scroll work on the hilt, so before adding that layer, the hilt was taped off and textured spray paint was added.
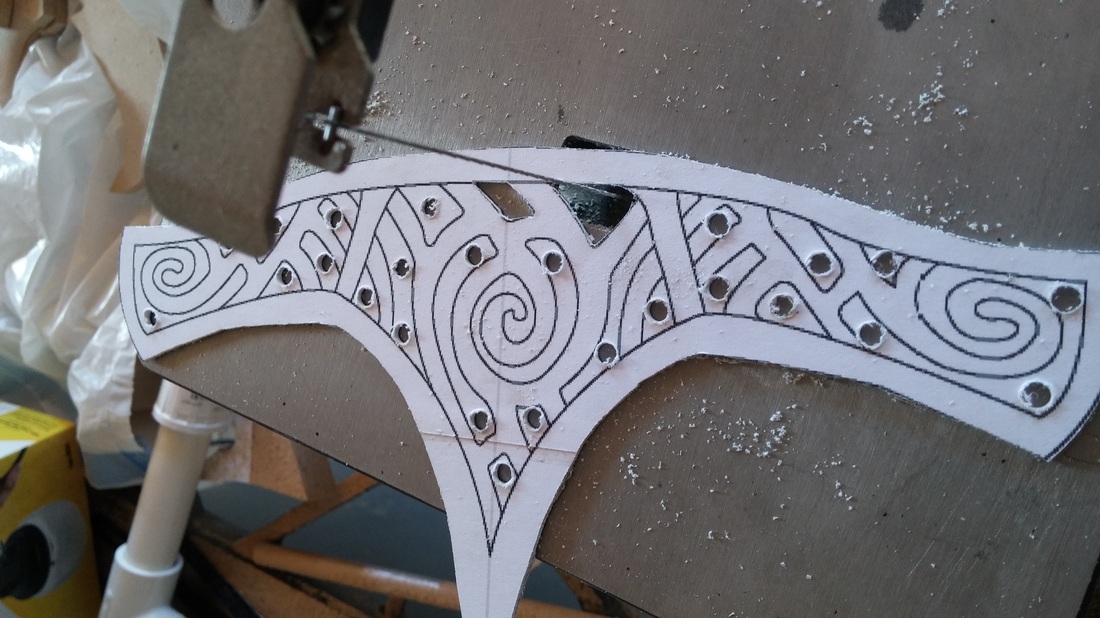
The scrollwork was cut out of 1/16" plastic (could have been PVC foam or styrene. Again, it was signage, so I can't be 100% certain). I used my scroll saw, but because the stock was so thin, I had to attach an additional 1/8" piece beneath to stabilize it, or the blade simply vibrated the plastic and tore it to pieces.
These were then glued into place.
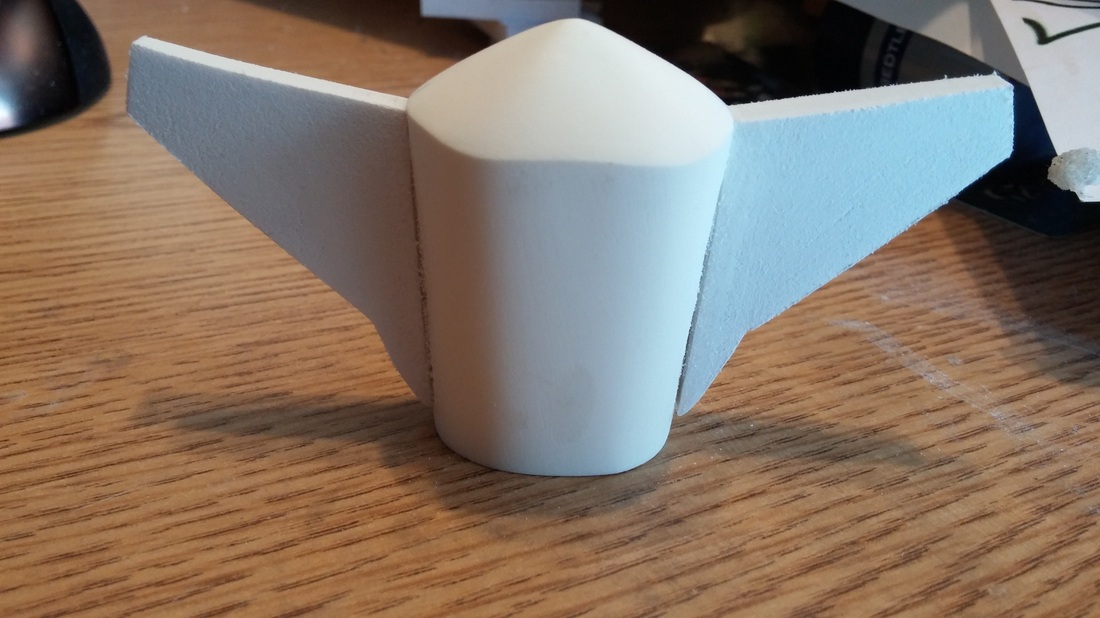
The base of the pommel consisted of a small plug of lathed Smooth Cast 300, and two wings of 1/4" Sintra.
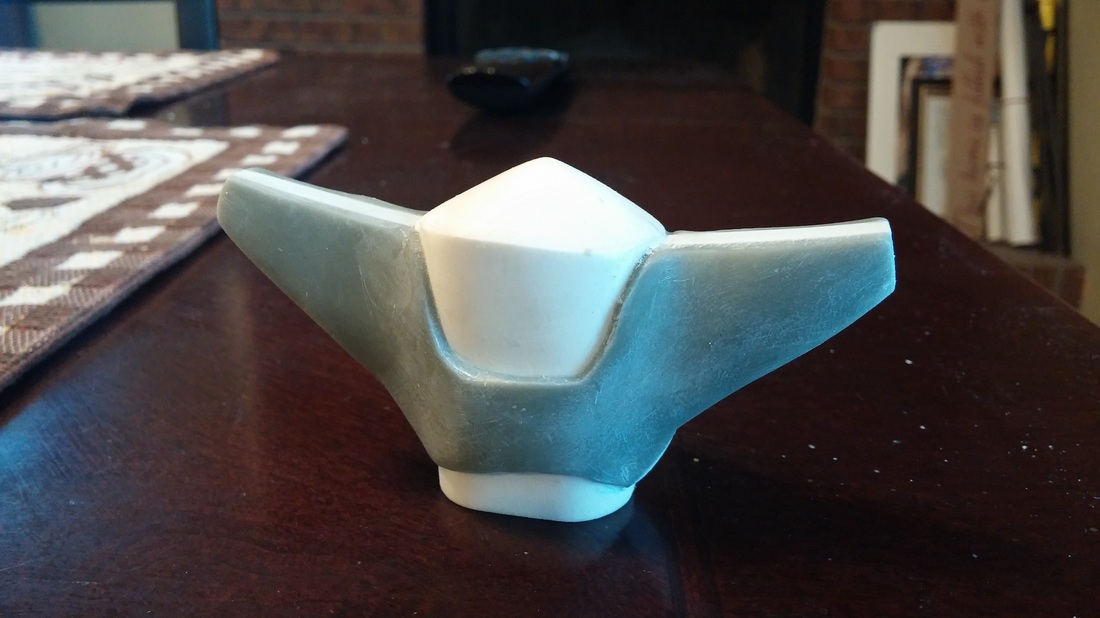
Originally I intended to place a layer of styrene to create this shape, but the styrene wasn't having the complex curves. Apoxie Sculpt was layered on as an alternative and then smoothed to a uniform thickness.
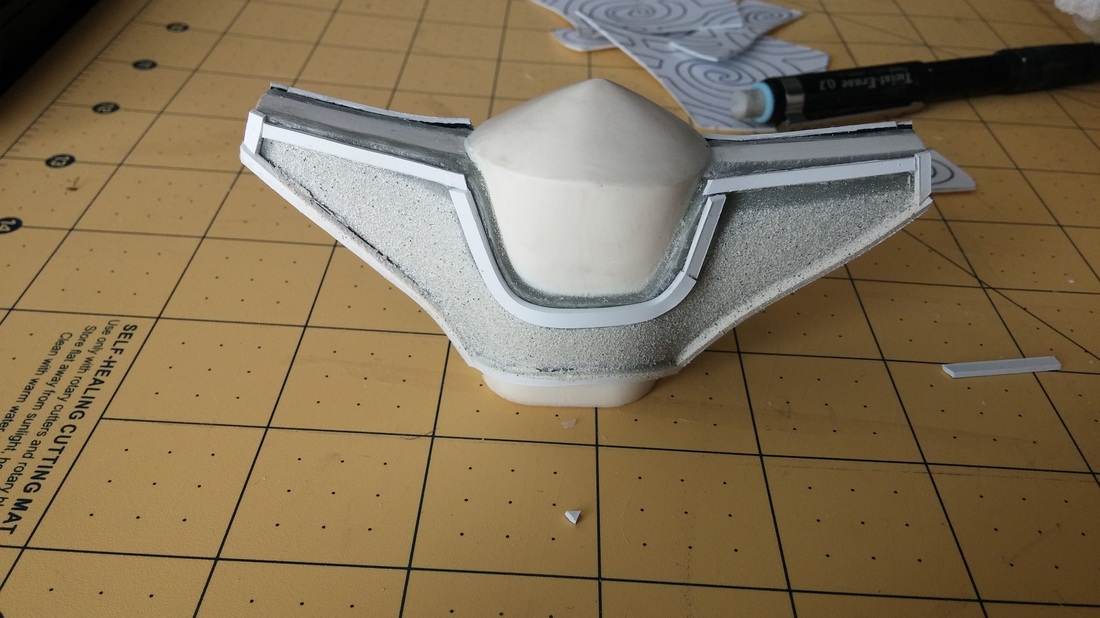
This was again taped and sprayed with textured spray paint. Then small strips of styrene were glued on for borders.
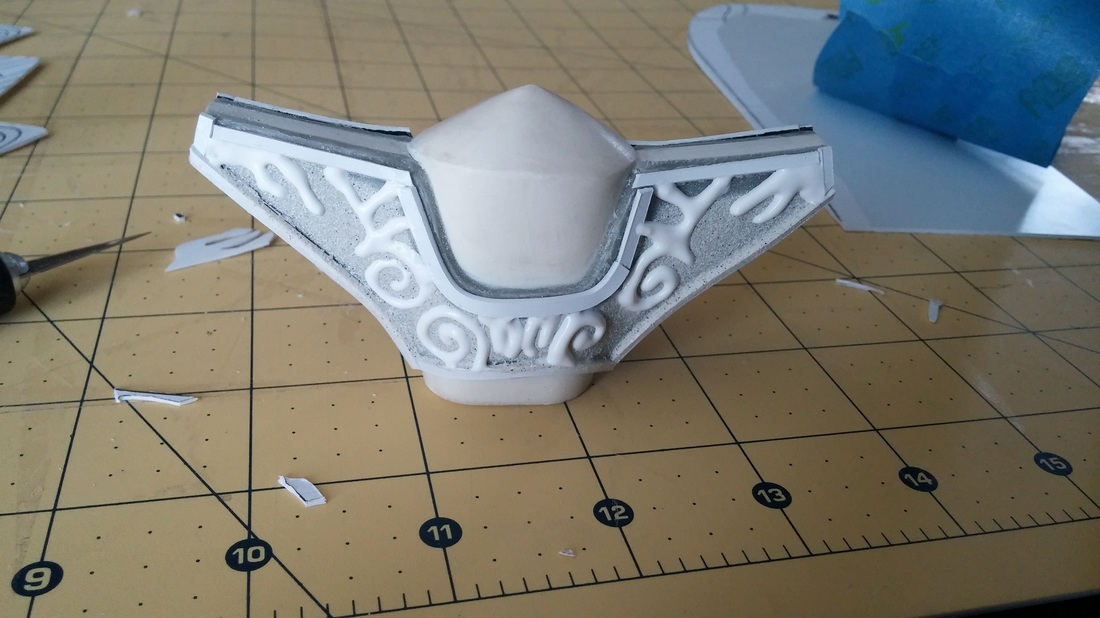
My trick with the scroll saw wasn't going to work for these shapes. They're just too thin. Cutting out by hand with an X-acto sounded like more pain than it was worth as well. The designs on the pommel are not nearly as clean and defined as those on the cross guard though, so I drew them out in Tulip puffy paint. In the same way that you should keep literally everything (because propmaking and cosplay are valid excuses to be a hoarder!), you should never discount any tool in your shop/home.
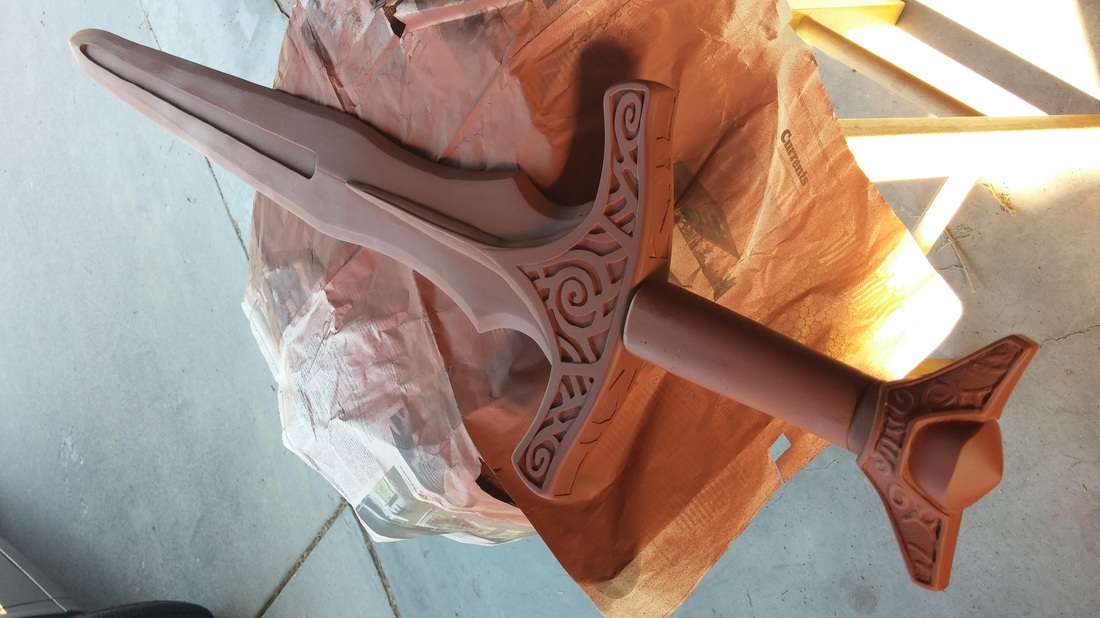
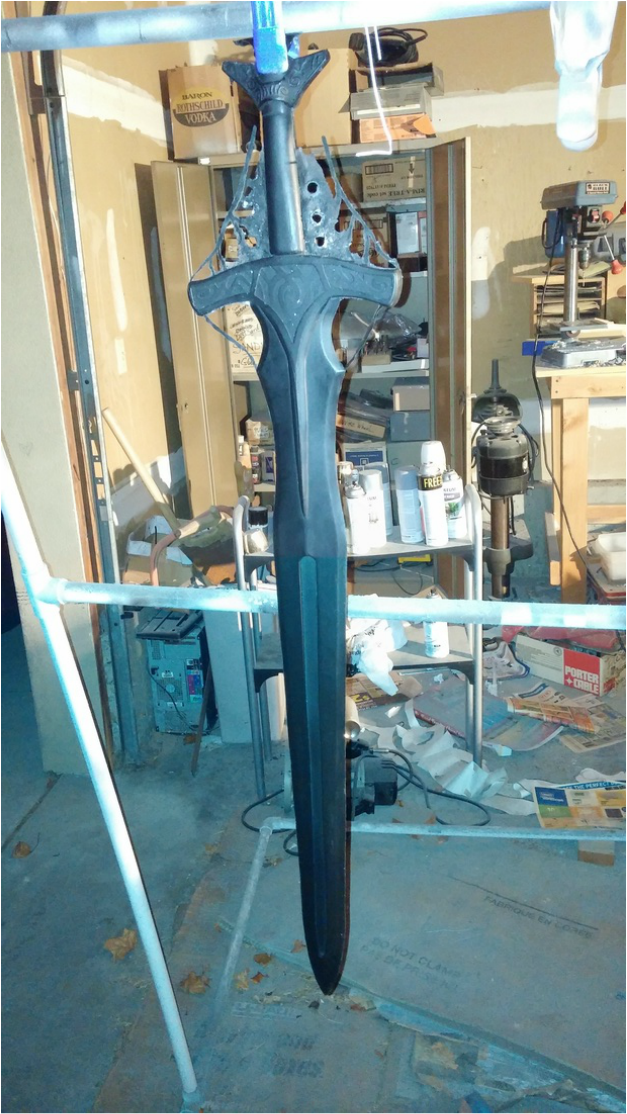
Alternating between a red-brown and black, the sword was intermittently primed and wed sanded to prepare it for molding.
On a side note, this ended up looking like something between granite or wood grain. Definitely storing that tidbit for a future paint job.
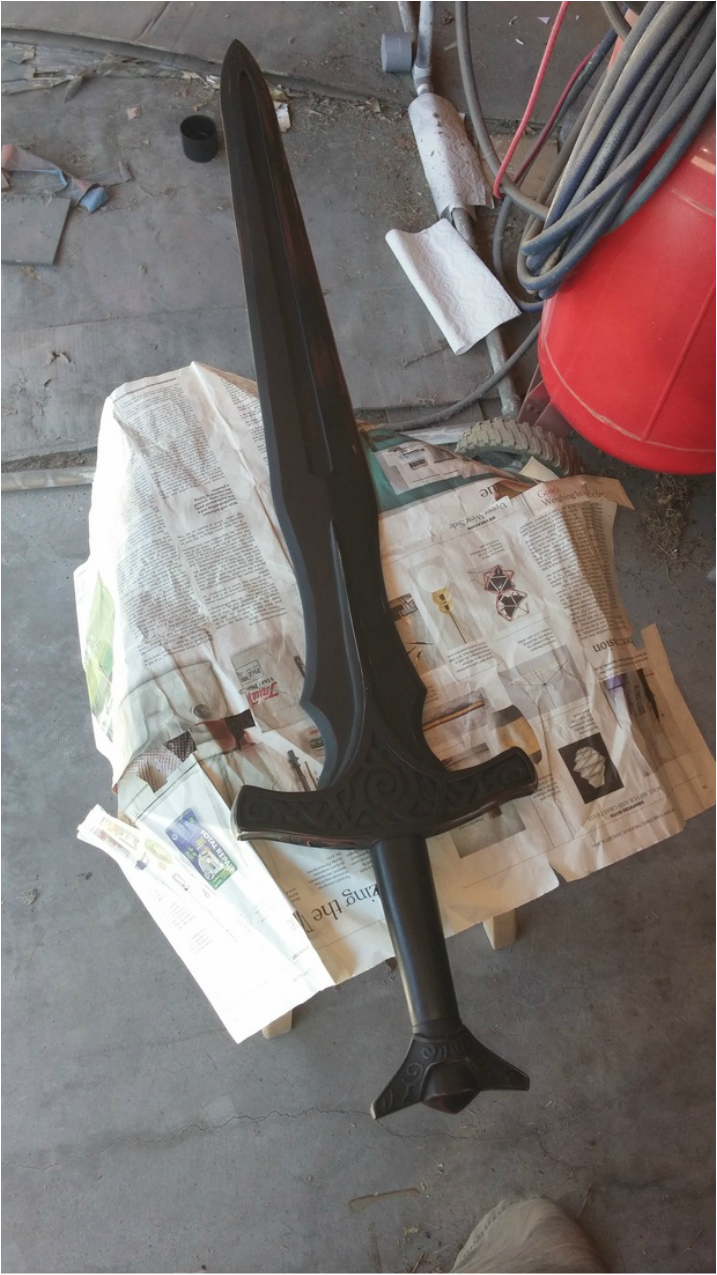
Things started going south on me at this point. When I left for my day job, this is how the sword appeared. Pretty right? It was 100% ready to be molded the next day. Unfortunately, the sun and I don't have a great relationship. I rue it's very existence (and the necessity thereof) while it blesses me with burns, hives, potentially blindness inducing spots at the back of my eyeballs, and floppy blades....
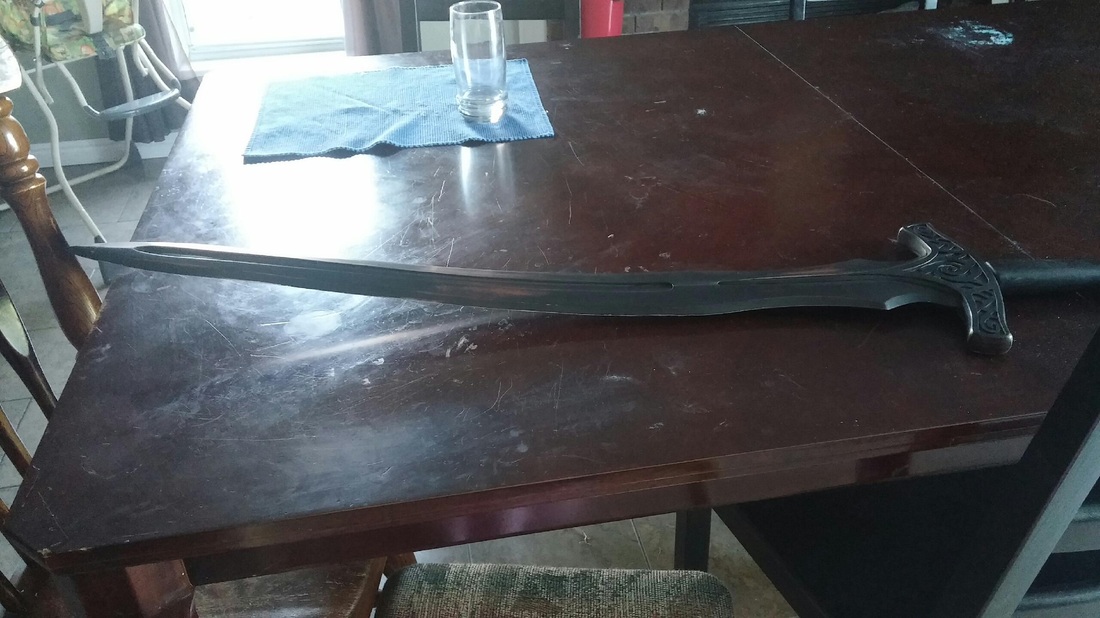
Note: Do not leave your thermoplastic sword anywhere the sun can get it at it. Especially if it's painted a wonderful solar thermal absorbing black. This was sitting well in the shade of my workshop at 2 pm, but by 5 my wife was on the phone with me at work in a panic, and sending me photos like this. Not exactly the kind of photo text from my wife I want to be sneaking a peak at in the middle of my work day.

5 gut-twisted hours later, I was at home, shoving my sword into the oven, hands and all. It was heated and bent carefully against my side. Rinse and repeat. About an hour of this an I had the sword back to a serviceable condition. The heat caused some minor bubbling in the paint, and the warping had separated some of the Bondo seams, so it needed some more spot putty and primer. But hey, we all want to spend an additional 4 hours in the sanding process. Am I right? x.x
Some day Sun, there will be a reckoning! It's just a matter of 2.8 billion years. I can be patient. You've seen how much sanding I do.
Some day Sun, there will be a reckoning! It's just a matter of 2.8 billion years. I can be patient. You've seen how much sanding I do.

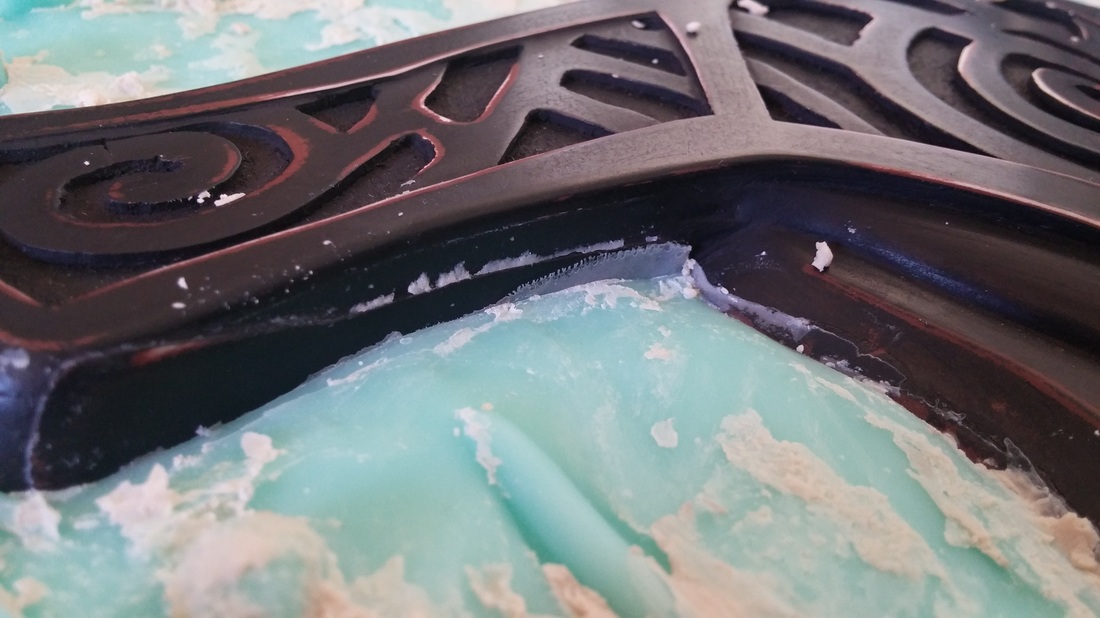
In preparation for claying up the sword for it's mold, I taped off the fuller and scroll work on both the cross guard and pommel to avoid having to clean clay out of those areas later.
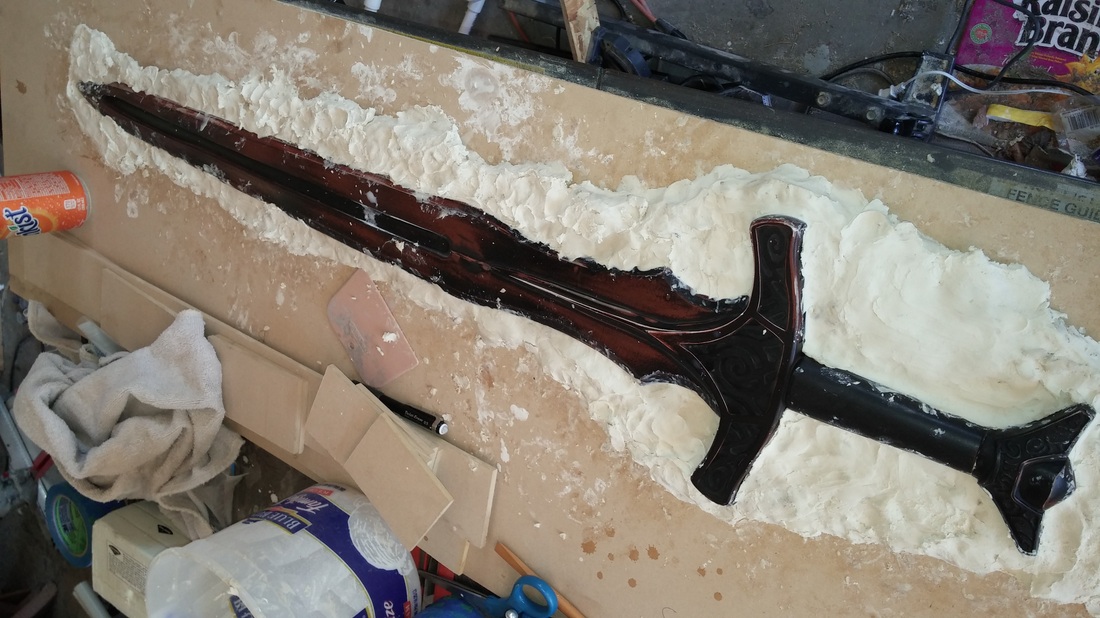
This is, for me, the most tedious portion of the entire process. Unfortunately when it comes to mold making it's also the most important. If you don't do clean work here, your mold will never result in clean castings.
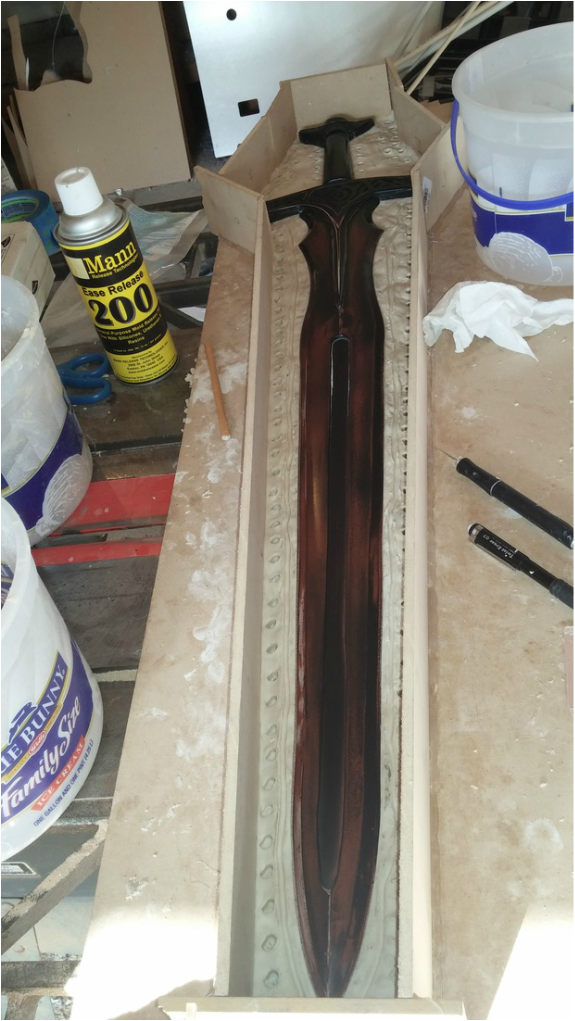
The master is clayed. The box is built.

First half of the mold emerging from the box. Sooo much rubber.
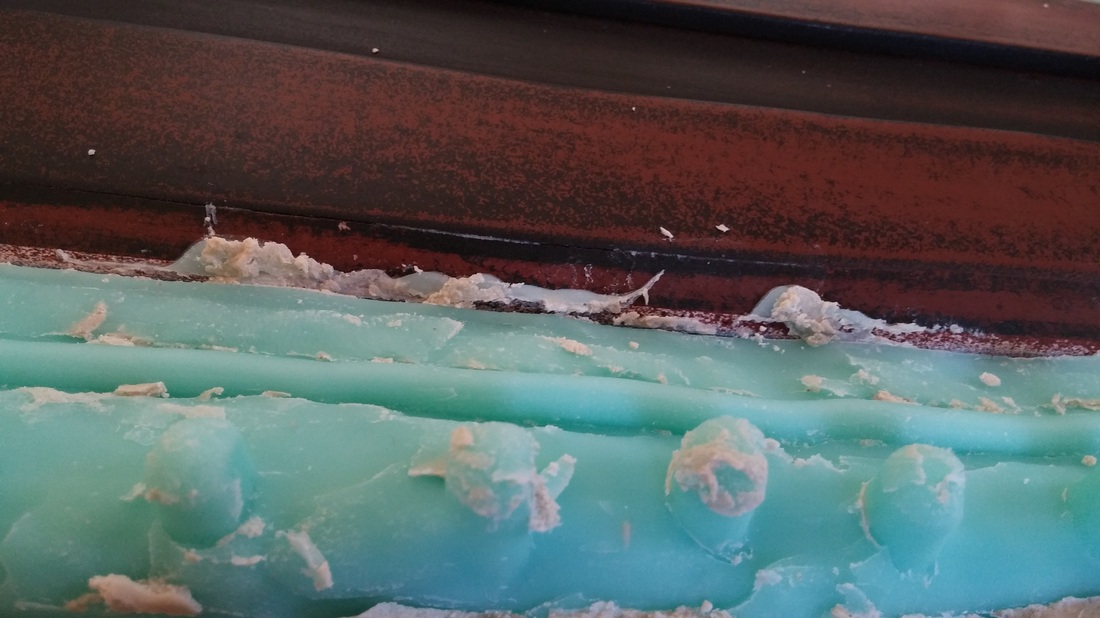
When you flip your silicone mold over and clean off your clay, some silicone may have snuck in around your clay. This manifests in these paper thin bits that cling to your mold. Carefully trim these off with your X-acto before you pour your second half to avoid imperfections in your final castings.
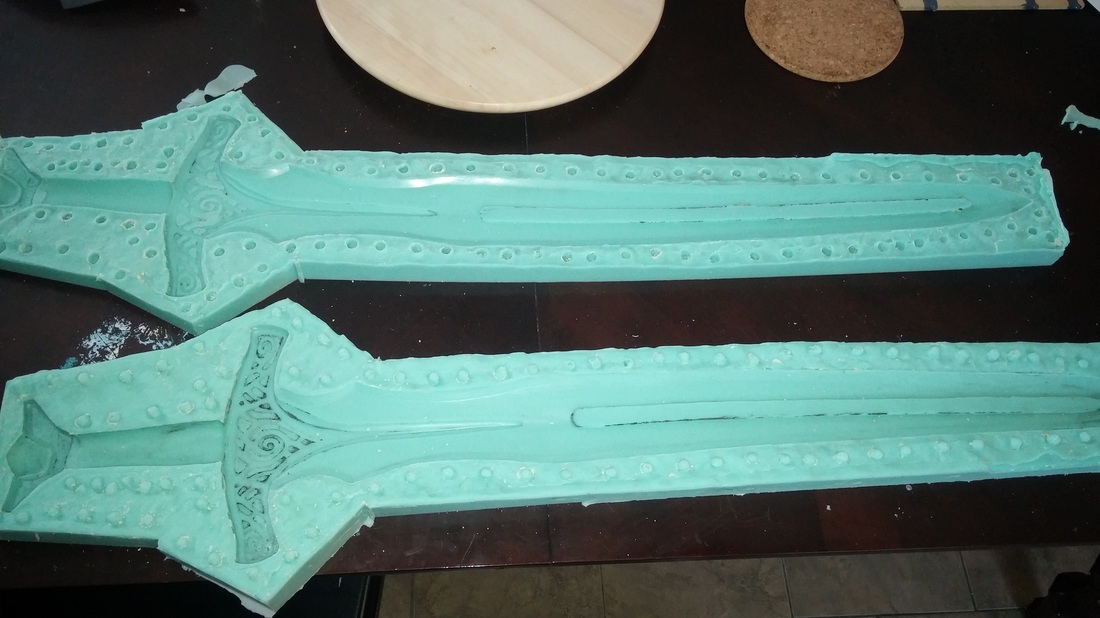
Two piece mold, yay!
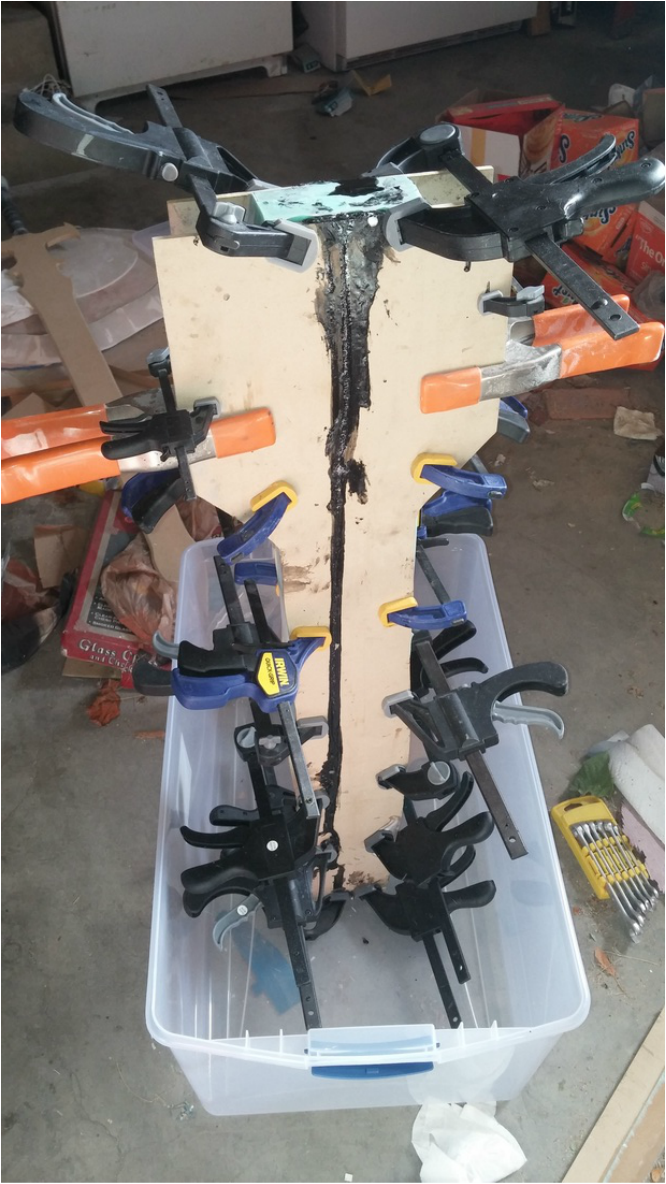
This thing is beyond heavy. Just short of two gallons of silicone rubber, two sheets of MDF, 18 clamps, and nearly a full quart of resin. Whew! The mold is placed upright in a tupperware bin to avoid any resin that might spill getting all over.
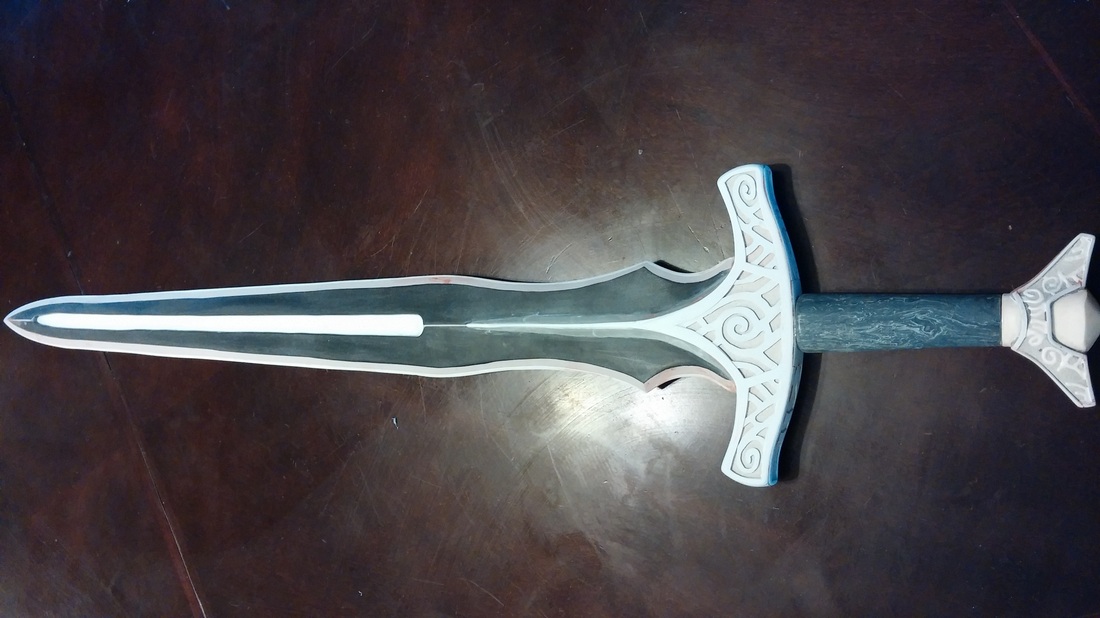
Sorry for the poor lighting. At this point I was scrambling to finish before the convention so that I actually had something to present alongside Mercedes and Zach. First successful casting. There's not much to say with painting when it comes to the Steel Sword. It's basically metal from pommel to tip, with a leather grip. I used Model Masters Stainless Steel Buffable Metalizer. It's formulated to bond specifically to plastic, dries fast, and when you buff it with a soft cloth it's about as close to real metal as you'll ever get with a paint. Some acrylic washes were added to weather it, and then there was one final touch.
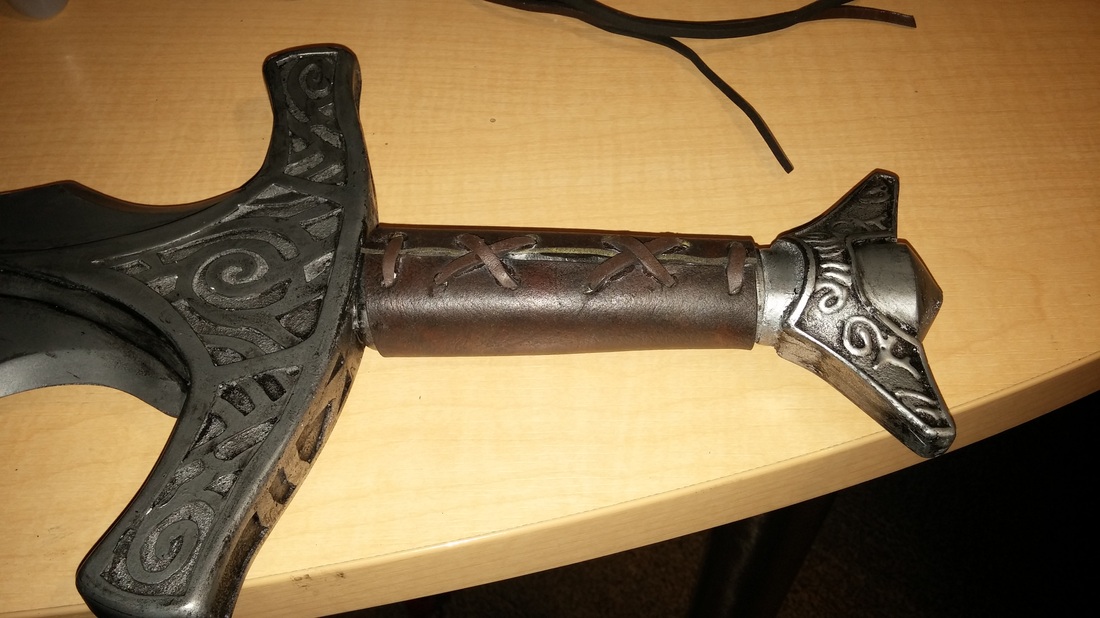
My friend Glen, of (X), was going to help me by teaching me how to properly wrap the grip in leather, but I ran out of time. So I got some (bright yellow) 2 mm craft foam, gave it two passes with black Plastidip, and then a coat of satin brown spray paint. When it dried (at 3am the night before the panel :D) I balled it all up, and crinkled it as thoroughly as possible, and then glued it to the handle. The "laces" are just 1/8" craft foam treated in the same manner and glued in place. More weathering was had, resulting in a fairly convincing leather grpi.
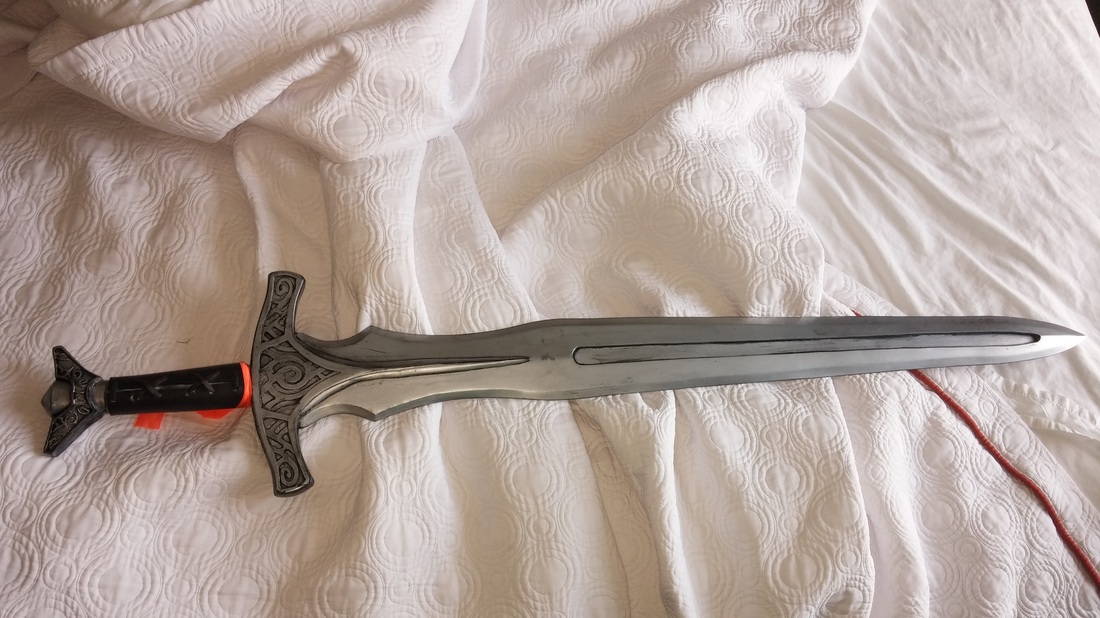
Finished result on my hotel bed. Not too shabby.
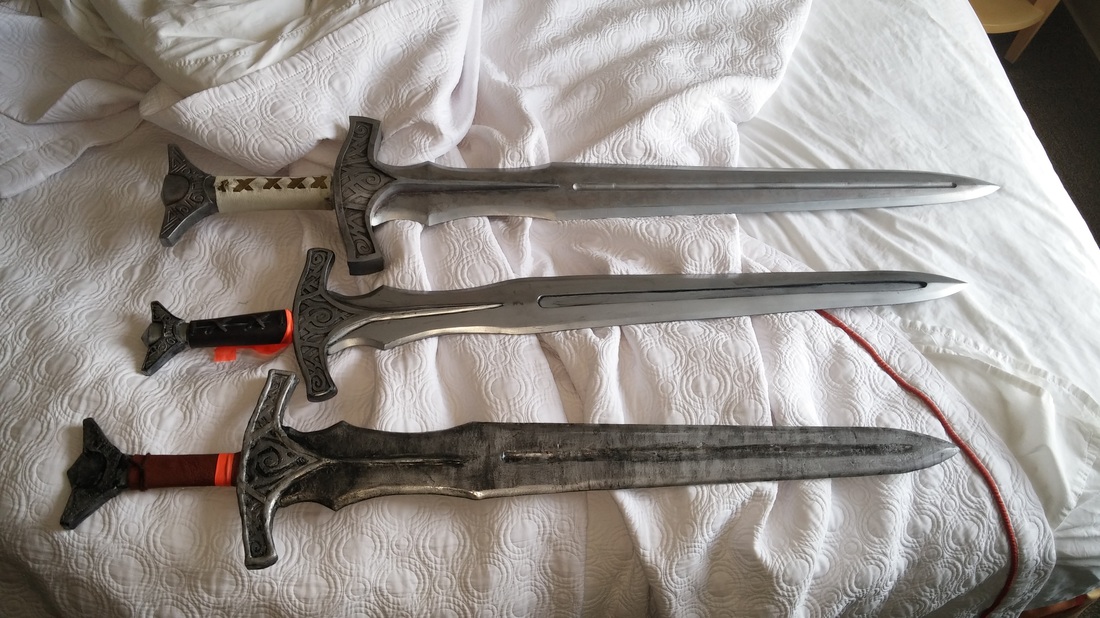
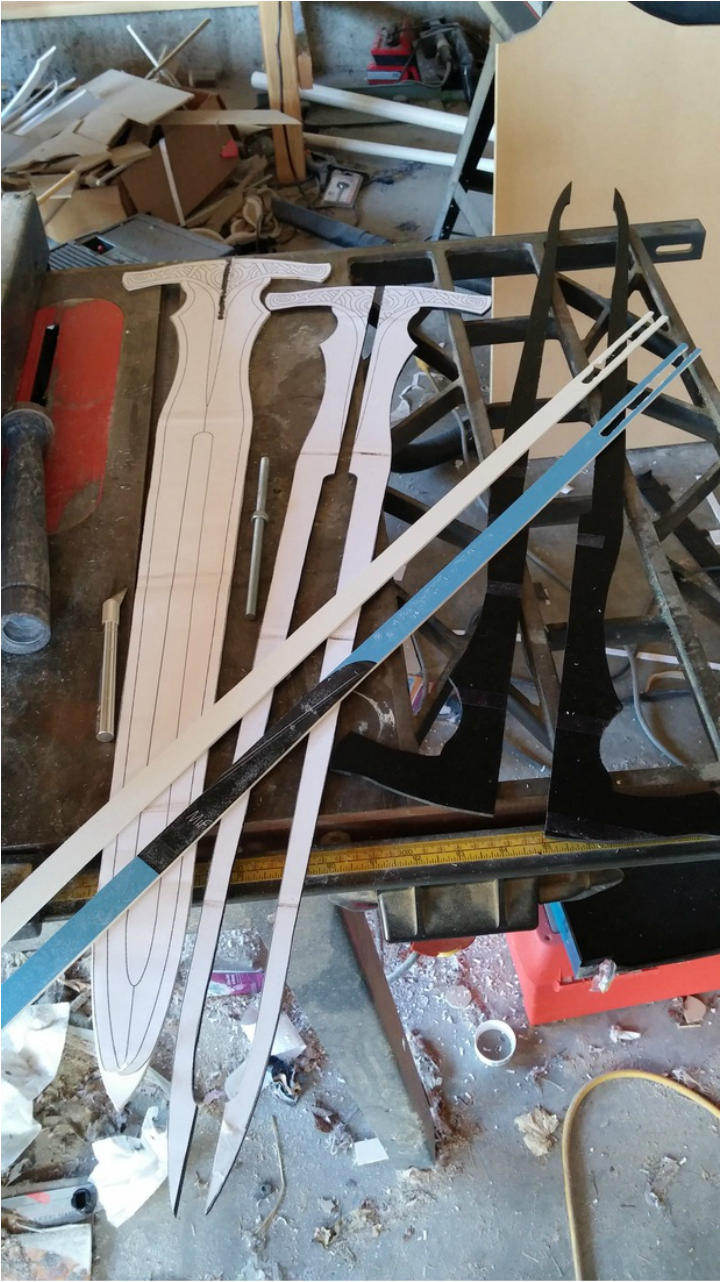
Here it is with its sister blades. In order from top: Zach's (Quantum Entanglement), Mine (Goombah Squad), and Mercedes' (VFire). Same sword with three very unique results. There's no sense of scale here, but Zach's version is truly gargantuan where one handed swords go. Made from the same material as aircraft windshields, he intends to murder watermelons with it (forthcoming videos have been promised). Mine and Mercedes are the same basic length, though hers is a tenth the weight. Crafted from wood and reinforced with fiberglass resin, can you believe she made that in 9 hrs!? Thanks to my two partners for this endeavor. Our panel needed more time, but I had great fun and hope to reprise the whole endeavor.
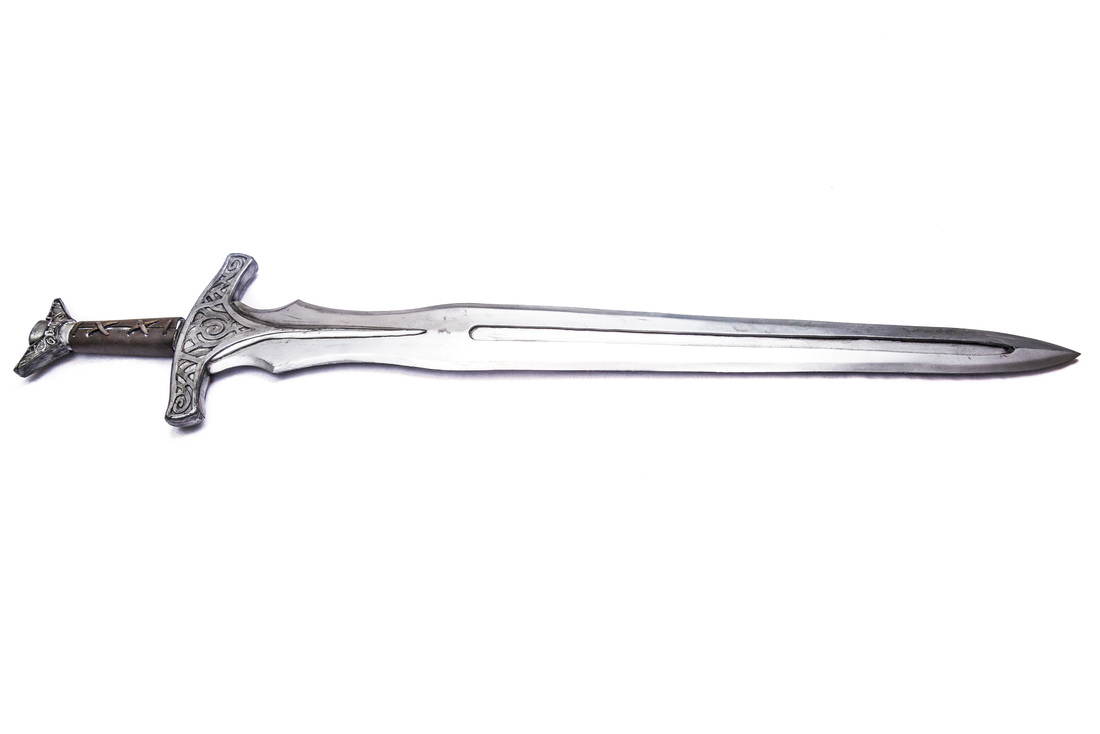
Photo courtesy of Doors of Imagination Photography
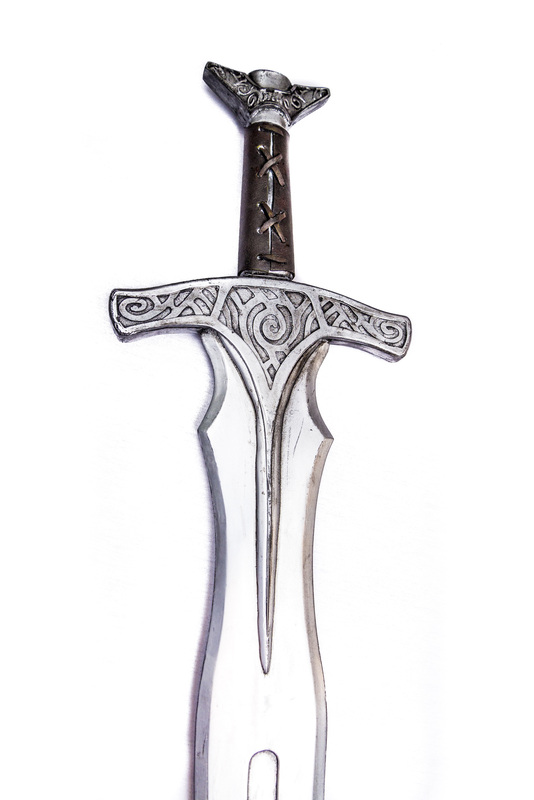
Photo courtesy of Doors of Imagination Photography
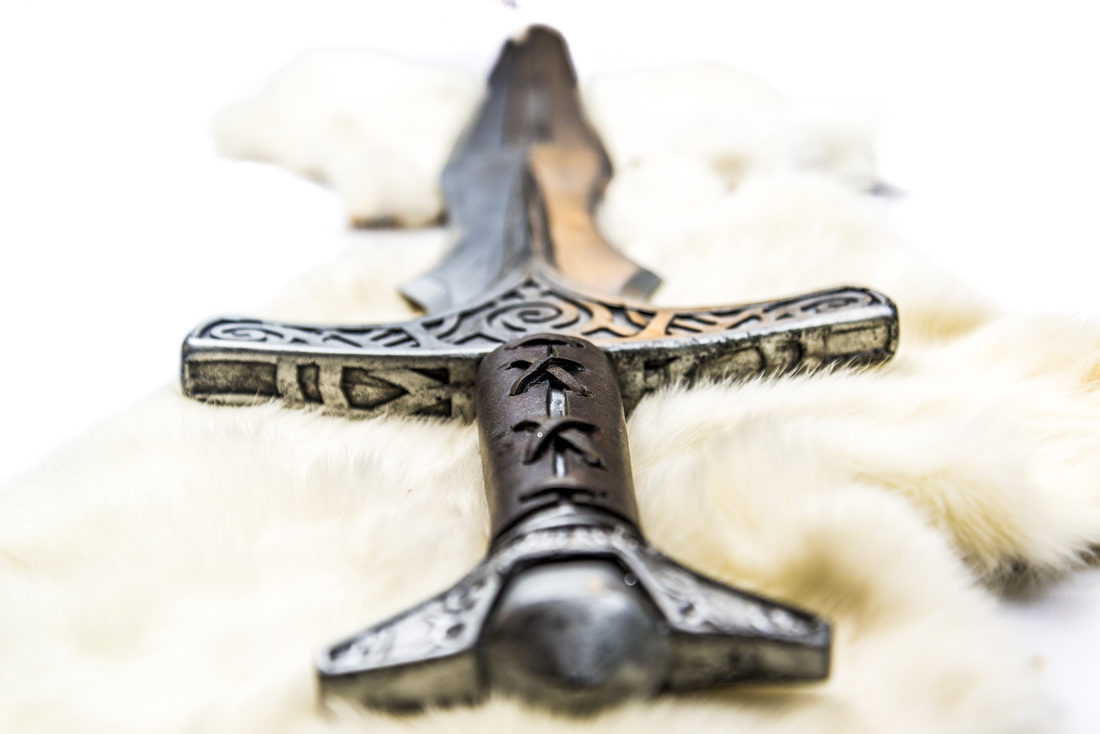
Photo courtesy of Doors of Imagination Photography
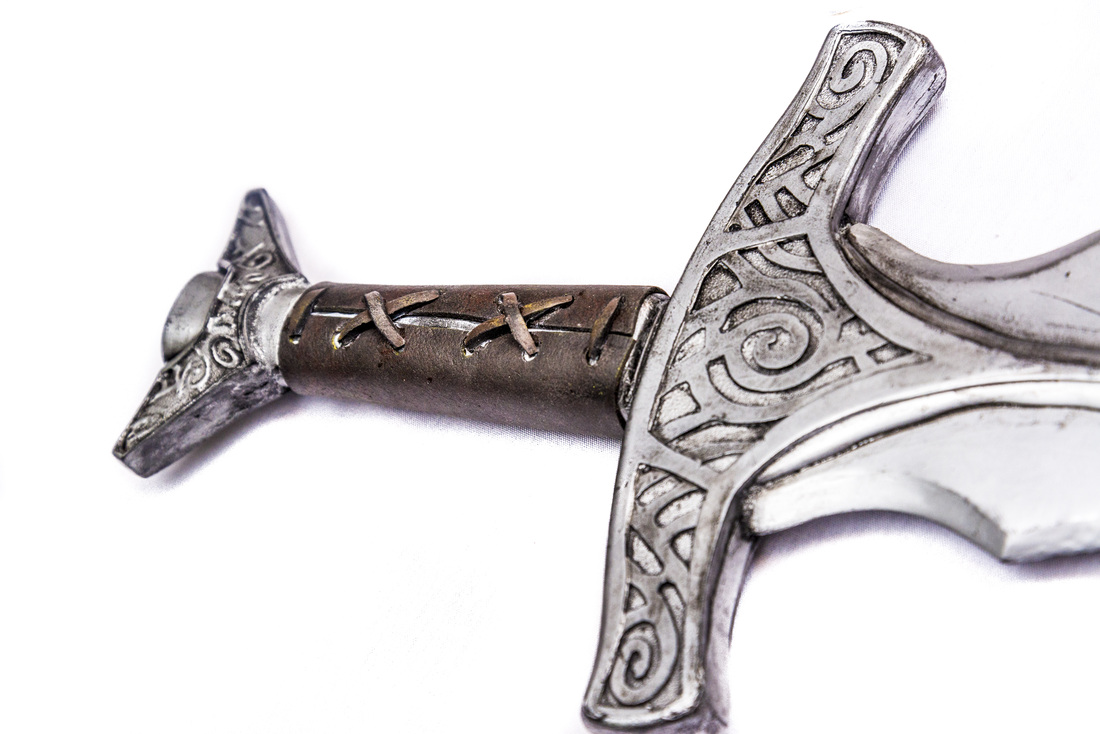
Photo courtesy of Doors of Imagination Photography
You can purchase raw casting kits of the Steel Sword on our Etsy Shop so you can feel like a real Dovahkin! A limited number of finished swords will be available until they sell out as well.
Make sure to like our Facebook page for update photos and information about all of our latest projects!
Big Thanks to Doors of Imagination Photography for all of the final photos!
 RSS Feed
