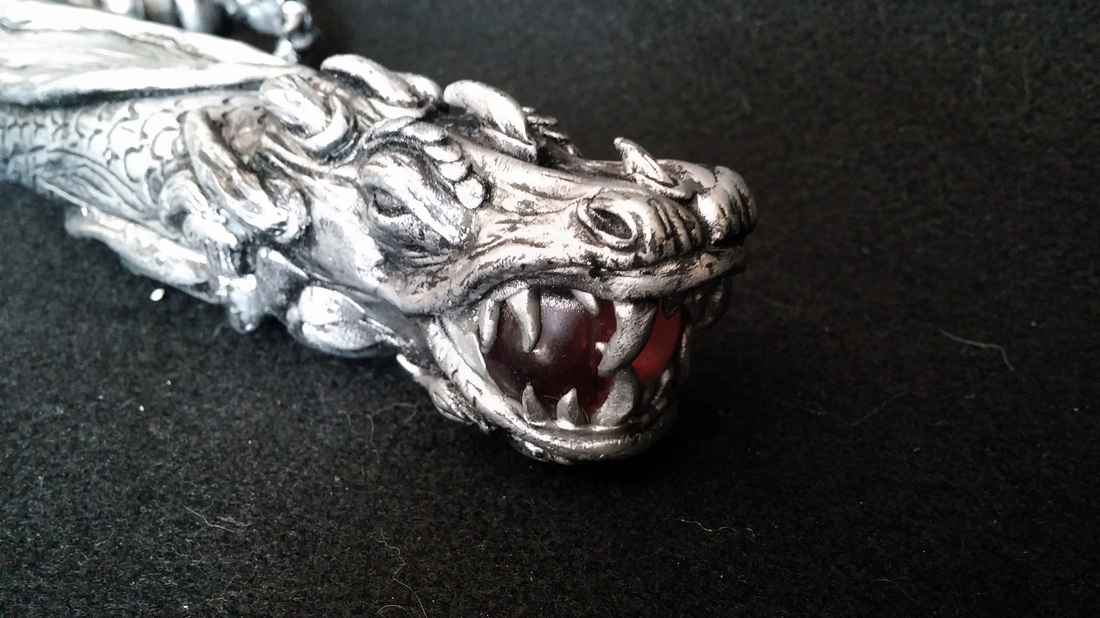
This was a project I originally wasn't invested in starting. That, however, was when I thought that Rabbitslayer was just a nondescript dagger. See, in the original chronicles, Rabbitslayer is merely the object of a joke between Tass and Caramon. Tass was quite fond of the dagger he found, and Caramon jokes that it could kill a rabbit, hence it's name. What I didn't know, and what Trena informed me of, was that there was a short story entirely about this little dagger. Apparently, she's actually a small sentient dragon, which masquerades as a dagger and feeds via blood through her tail (blade). Now that's a dagger! After she showed me the only two visual references, I was stoked, and the process began.
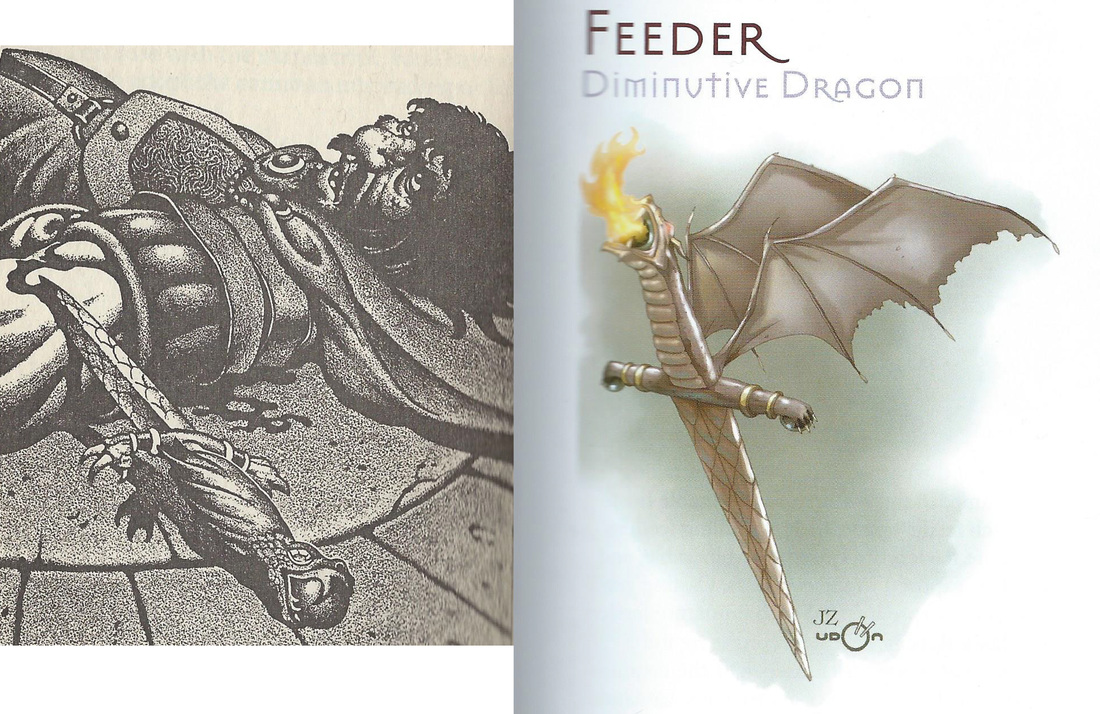
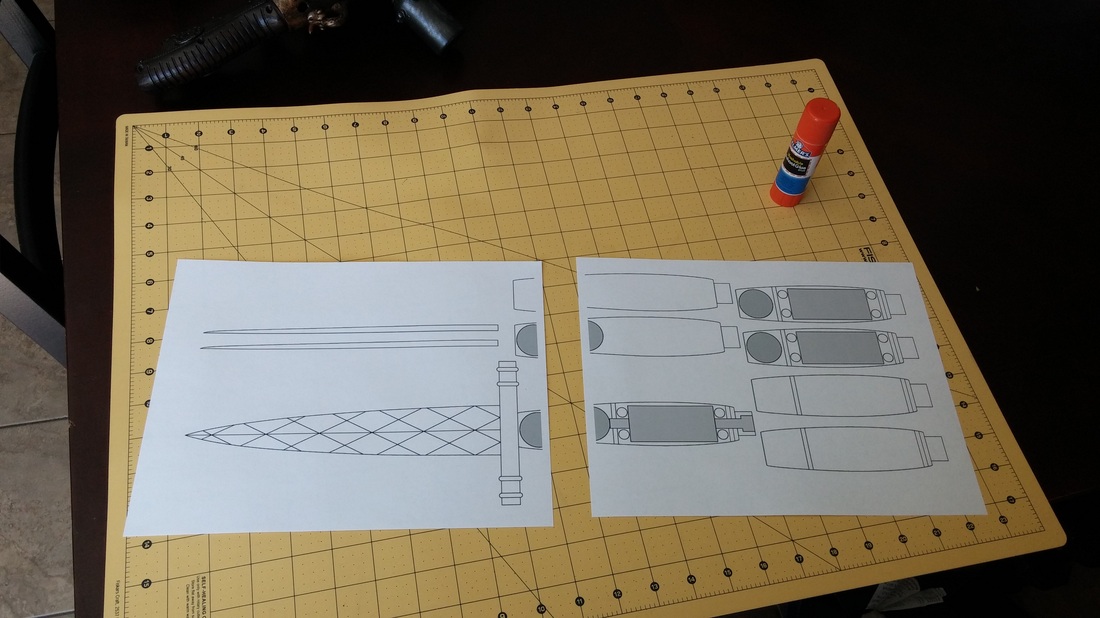
As always, I began with patterns. I chose the photo where Rabbitslayer appears dormant (since this was to be carried around in a sheath), though I used aspects of both pictures. I'm always looking for excuses to light stuff up, and that orb in the dragon's mouth is perfect. My drafting efforts revolved around packing a battery and a switch into the handle of the dagger.
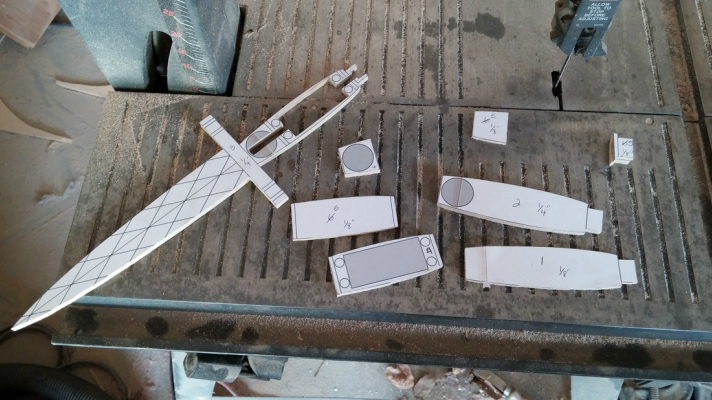
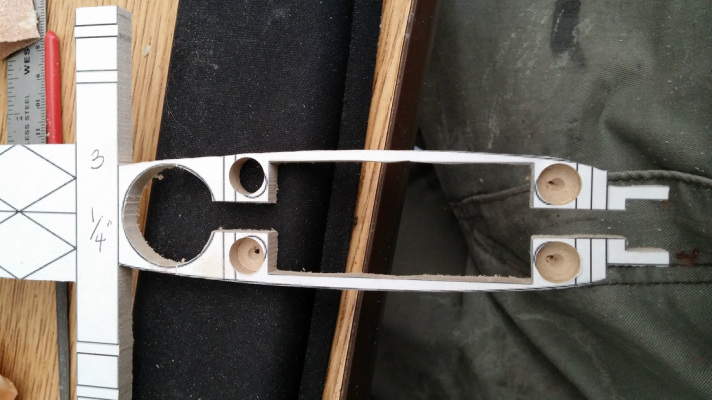
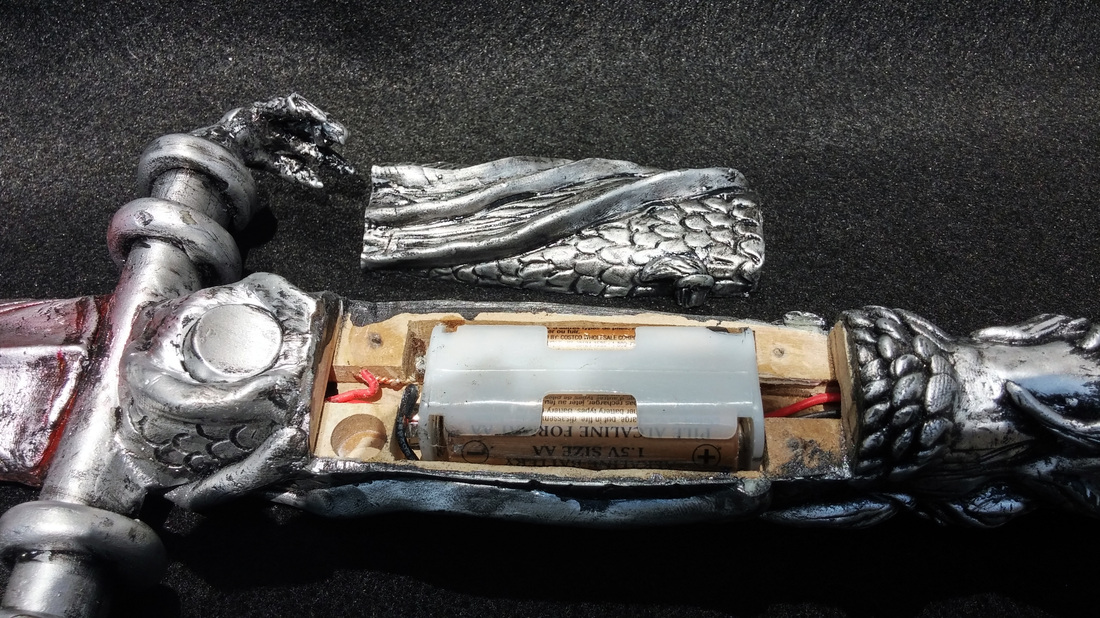
All of the pieces cut out. The odd tuning fork shape of the handle on the main layer was for the battery pack and wiring.
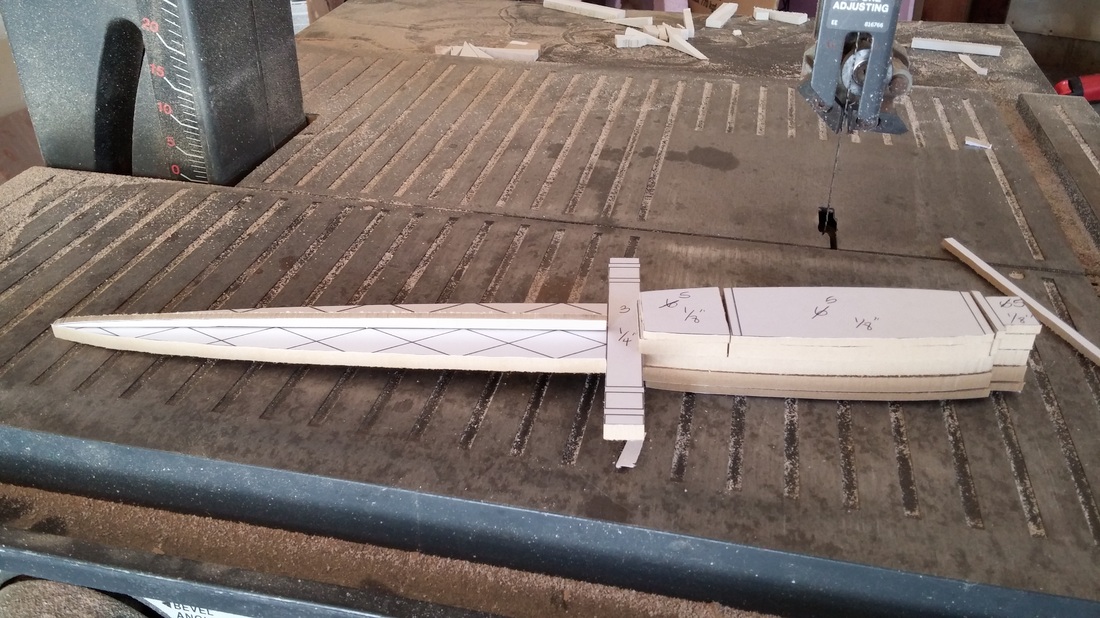
All of the layers stacked together. There's a small spine down the center of the blade. This would be used to help its base shape a little later.
Because everything would be packed in so tightly, the battery compartment had to open and close with as little space taken up as possible. The small holes were bored into this layer, and the layer that would comprise the lid, and neodymium magnets were inset to provide closure. Note, when gluing magnets into place, always try to have solid material between them. On Zuko's double sword, when I was first starting out, my first attempt had the magnets inset on sides of the sword that faced each other. Even with epoxy, they pulled each out of the sockets, ruining all my work. The one hole that goes completely through was a mistake, but it didn't ruin the performance of the compartment, so no need to restart.
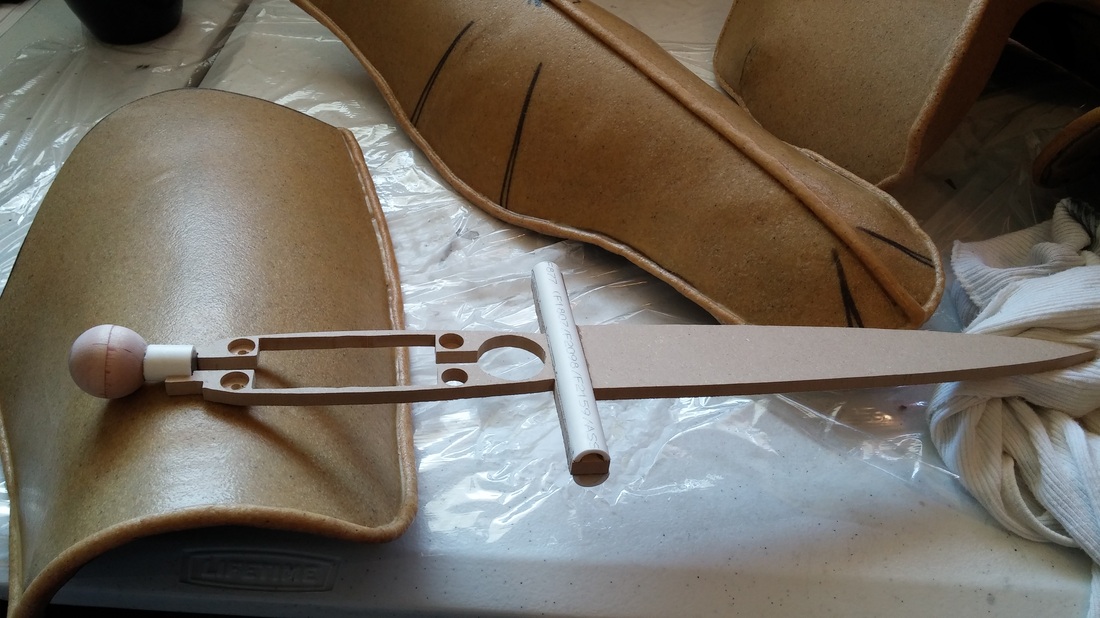
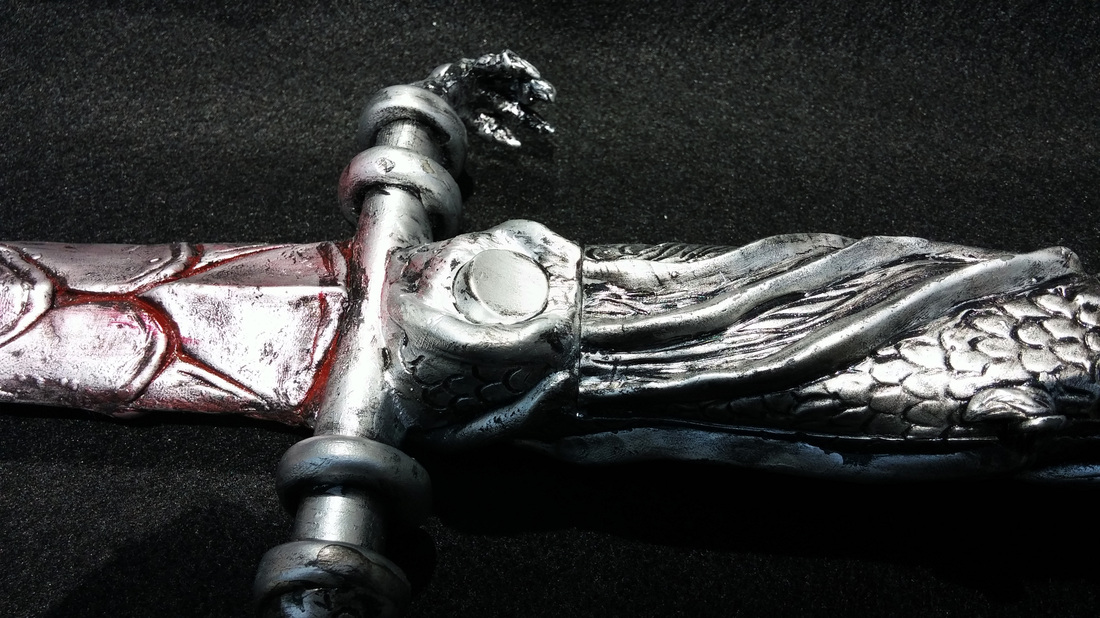
To get the round shape of the crossguard, I took 3/8" PVC pipe, and using a fence, sliced it in half with my band saw. Then each side was glued to the base. I also created a master of the sphere that would sit in the dragon's mouth. This is simply a small wooden ball sanded smooth, with a bit of PVC attached to the bottom to provide a plug that would served as a mounting point.
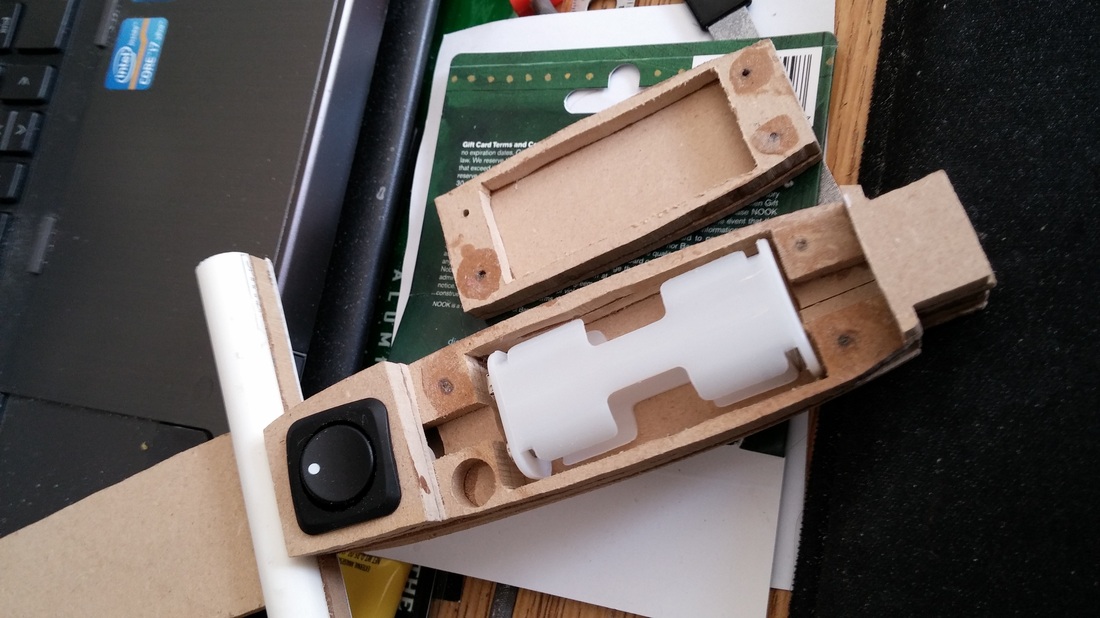
The cap and the battery compartment, as well as a test fit of the switch. I don't know why I chose AA batteries for this project. It would have been much better served to use a coin battery, but it turned out well in the end.
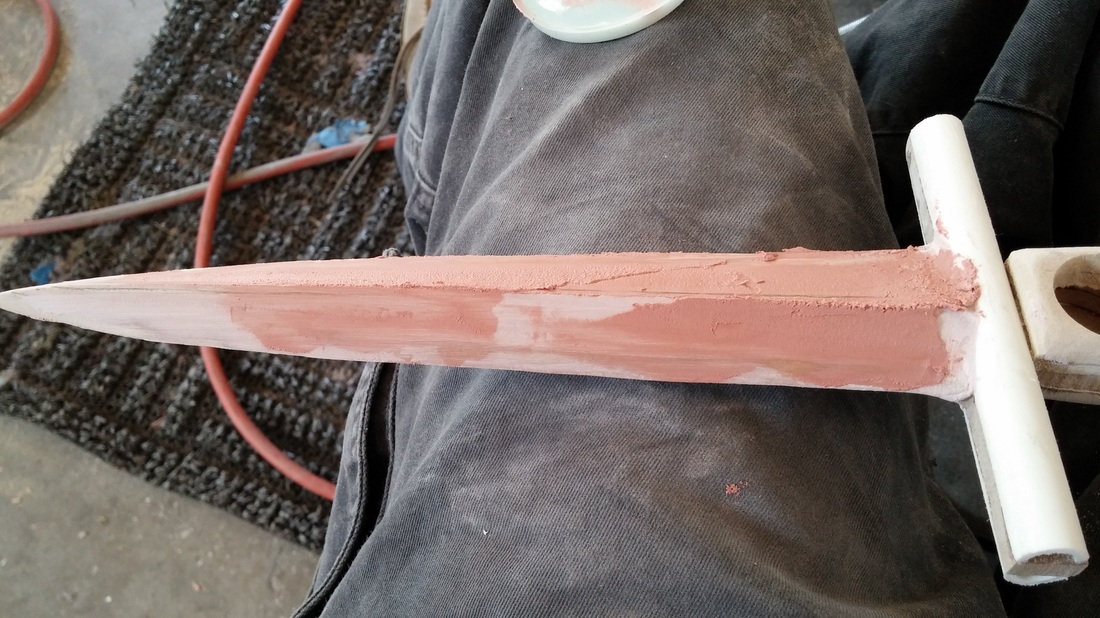
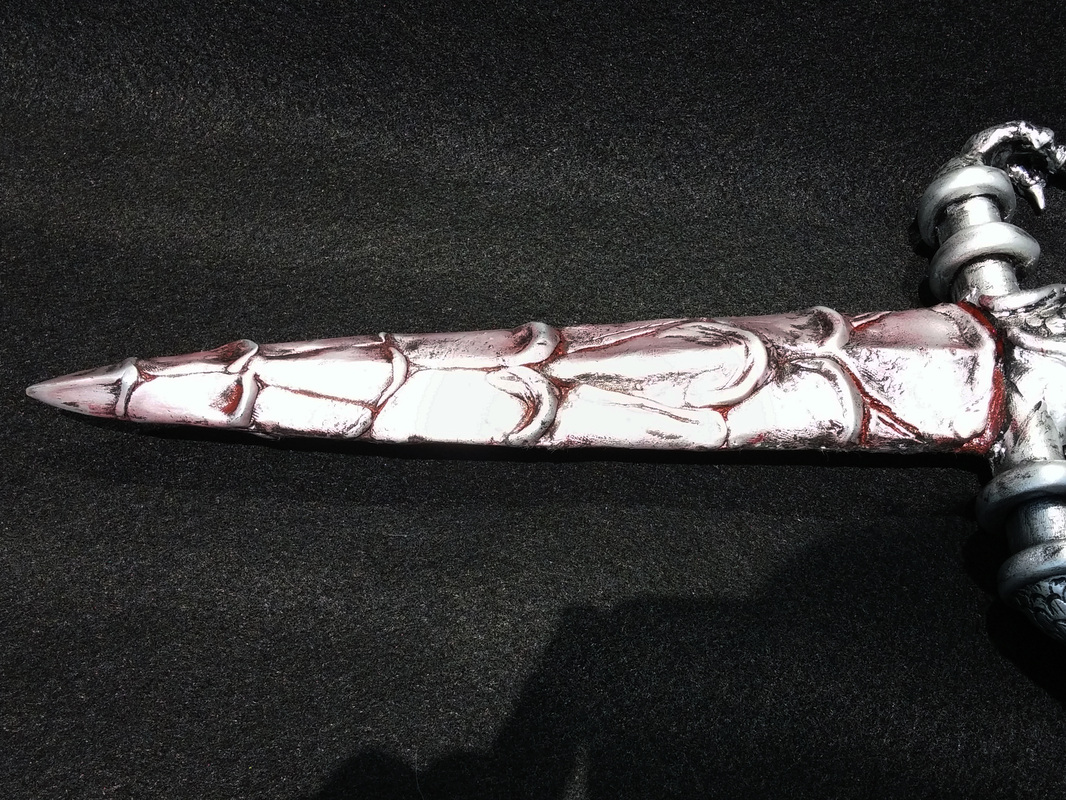
Bondo was skimmed into the areas between the spine at the center of the blade and the edges, and then sanded into shape.
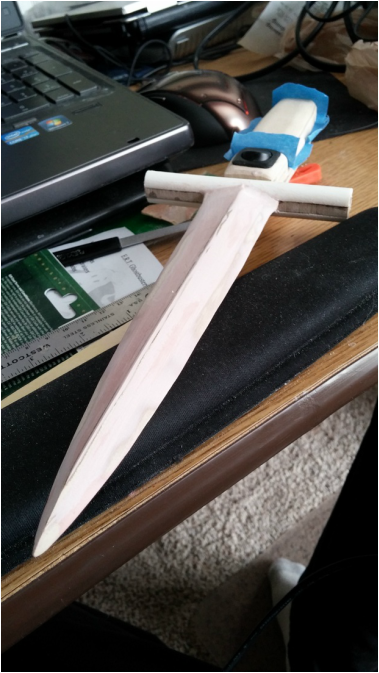
Really love the profile of the blade before I added the scales. It was hard to hide this part, but it didn't fit the project.
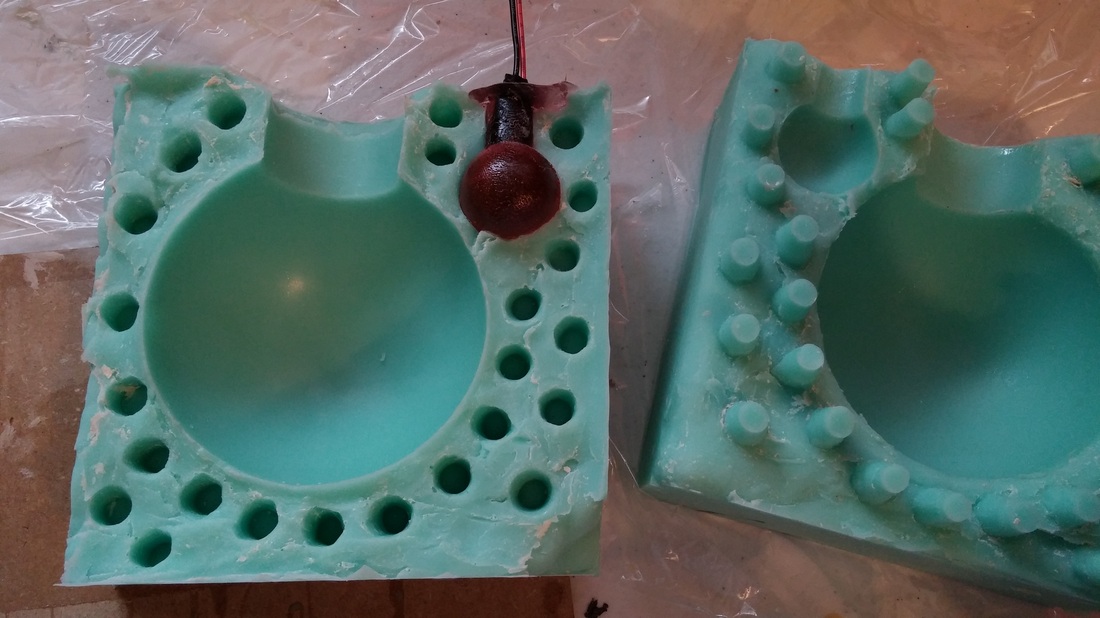
A silicone mold was made to casting the orb. The larger cavity was for a different, but related project. I'm sure I'll need orbs for other things in the past, so this mold will get a fair amount of use.
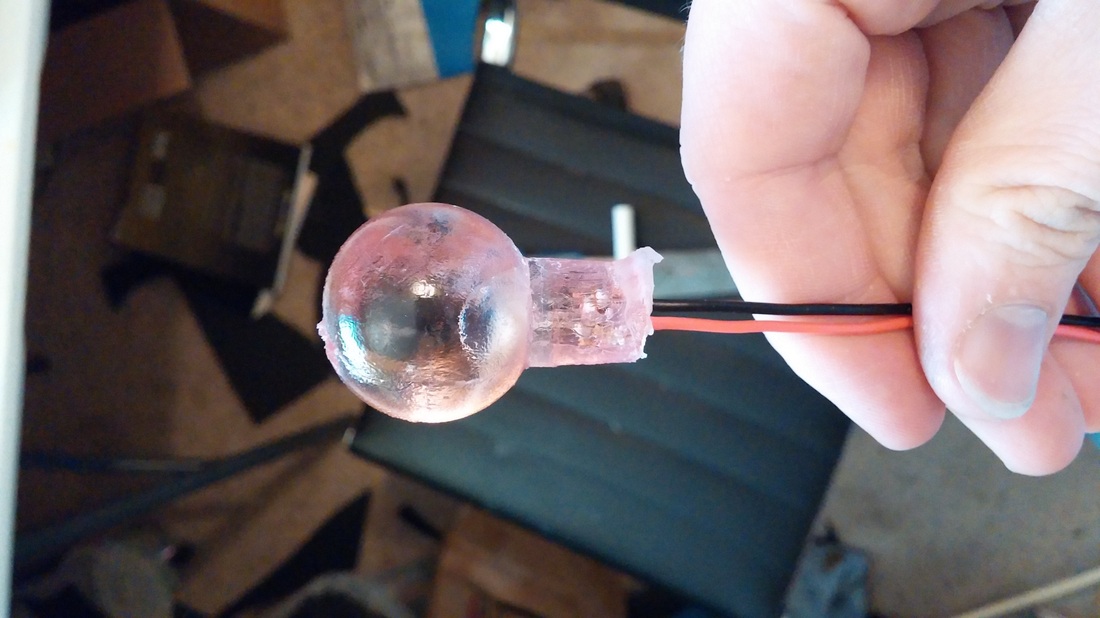
The raw casting, in polyester resin. The LED was embedded directly into the resin while it was curing. I use a small scaffolding made of superglued popsicle sticks, along with an alligator clip, to hold the LED in place by its wires. Small tip: added some shrink tubing around the wires where they'll emerge from the resin, so that handling does cause them to break off or short.
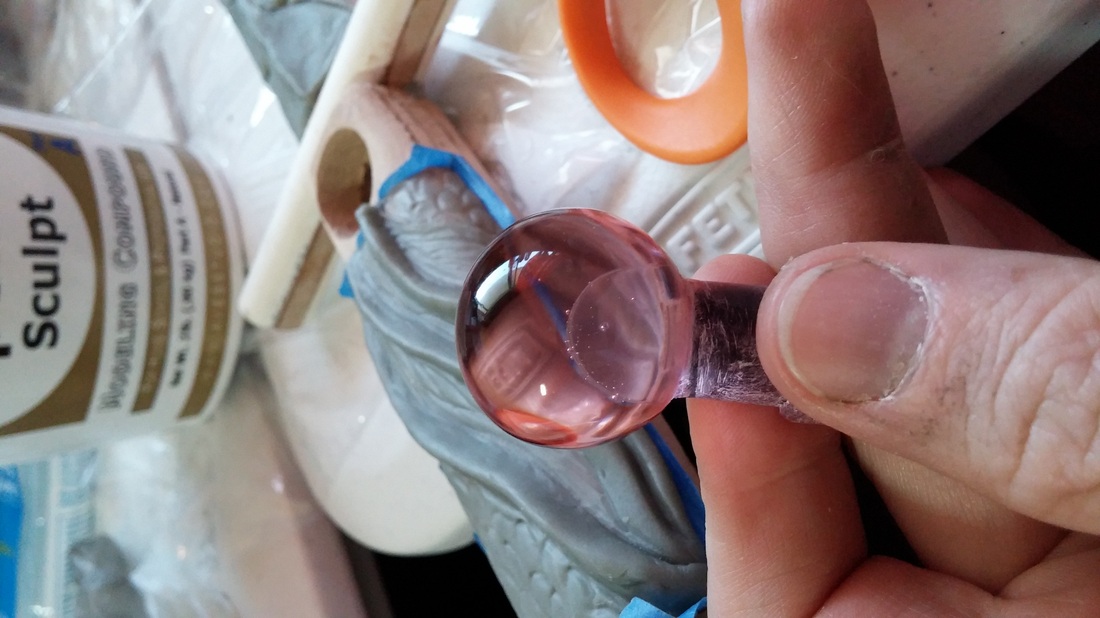
After a bit of sanding, and a clear coat. Shiiiiiiiiny.
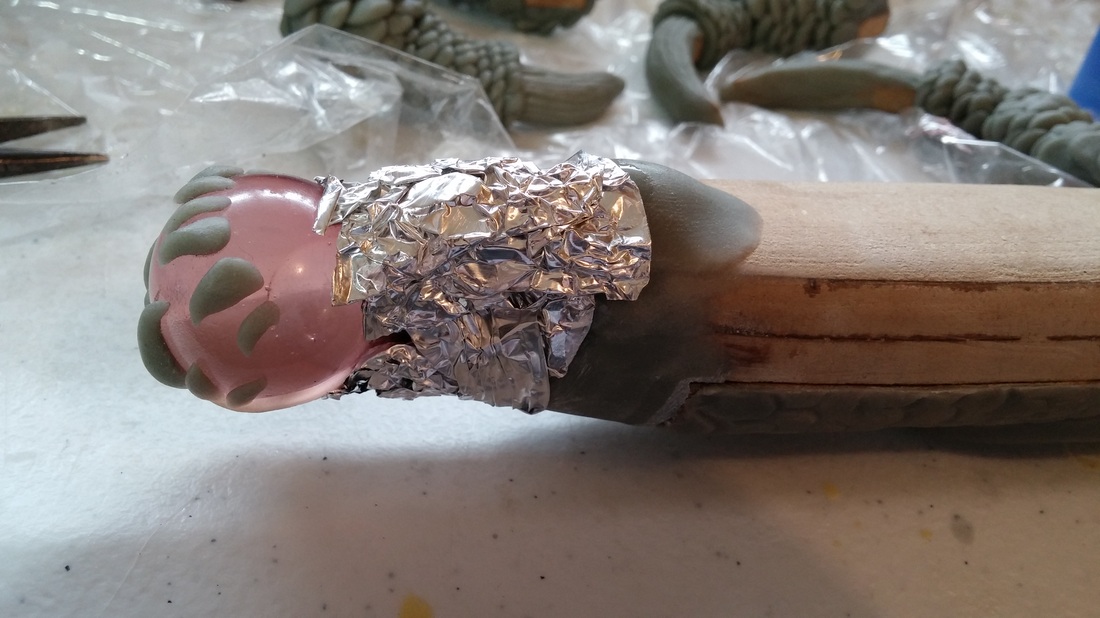
From here on out, this project is mostly one big exercise in sculpting. I used Apoxie Sculpt. Aluminum foil was added in areas to bulk it out. It was glued in place with super glue. Then Apoxie Sculpt was added on in layers. The teeth placed onto the orb first, and allowed to cure, so that subsequent layers wouldn't distory them.
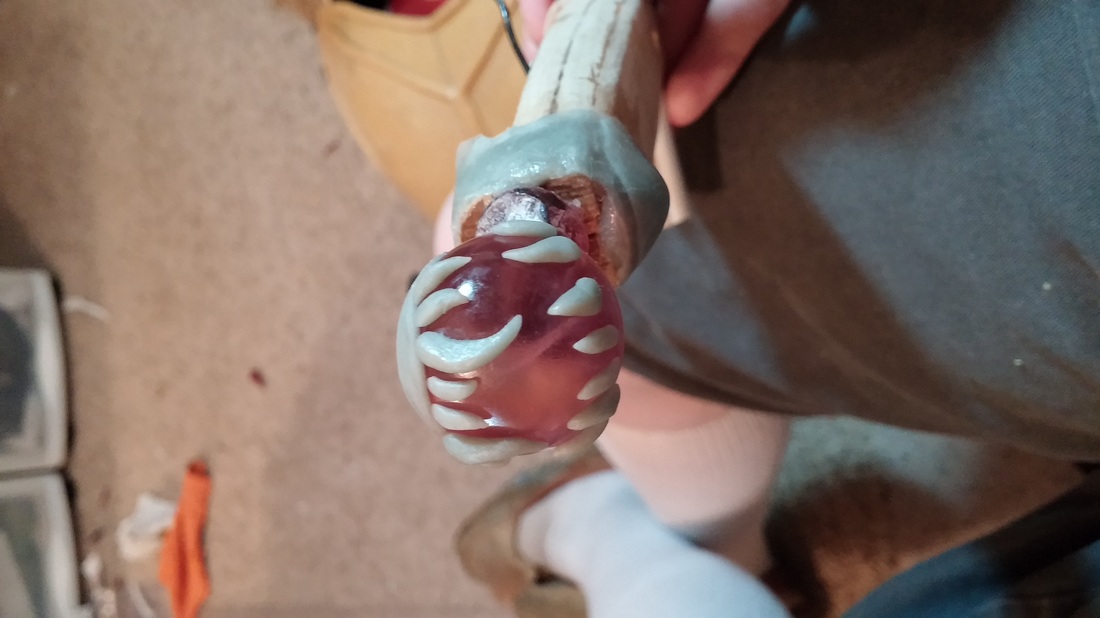
Base face built up around the orb and the pommel.
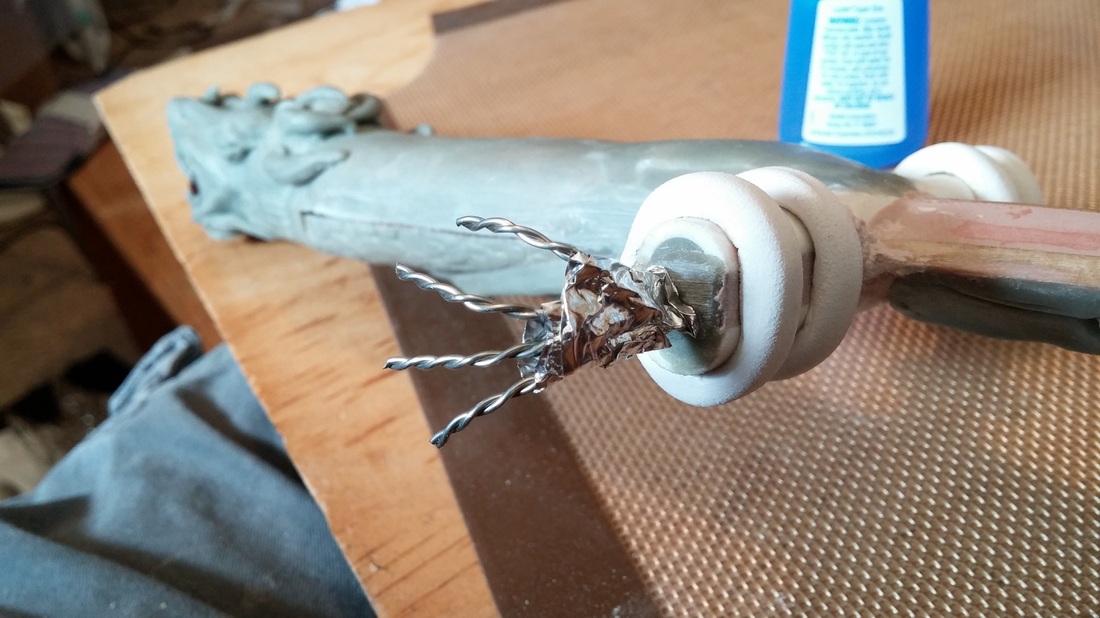
PVC foam was cut into strips, rounded off slightly, and wrapped around the crossguard. 20 gauge wire was twisted together, and then formed into the armature for the dragon's claws. These were mounted into the ends of the MDF crossguard. Foil was added to bulk out the palms more.
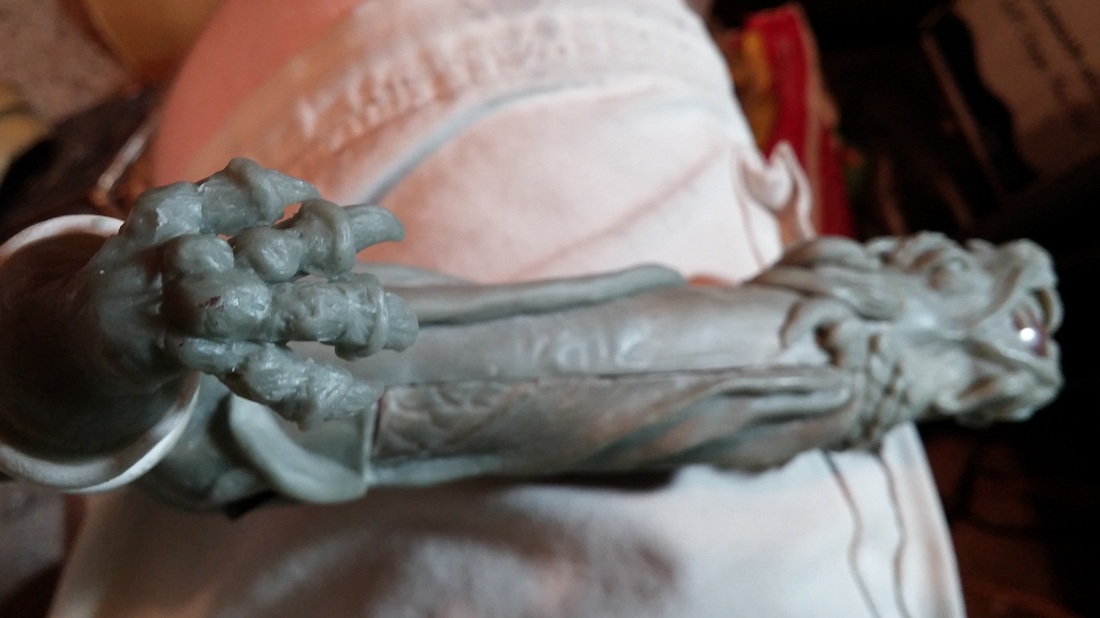
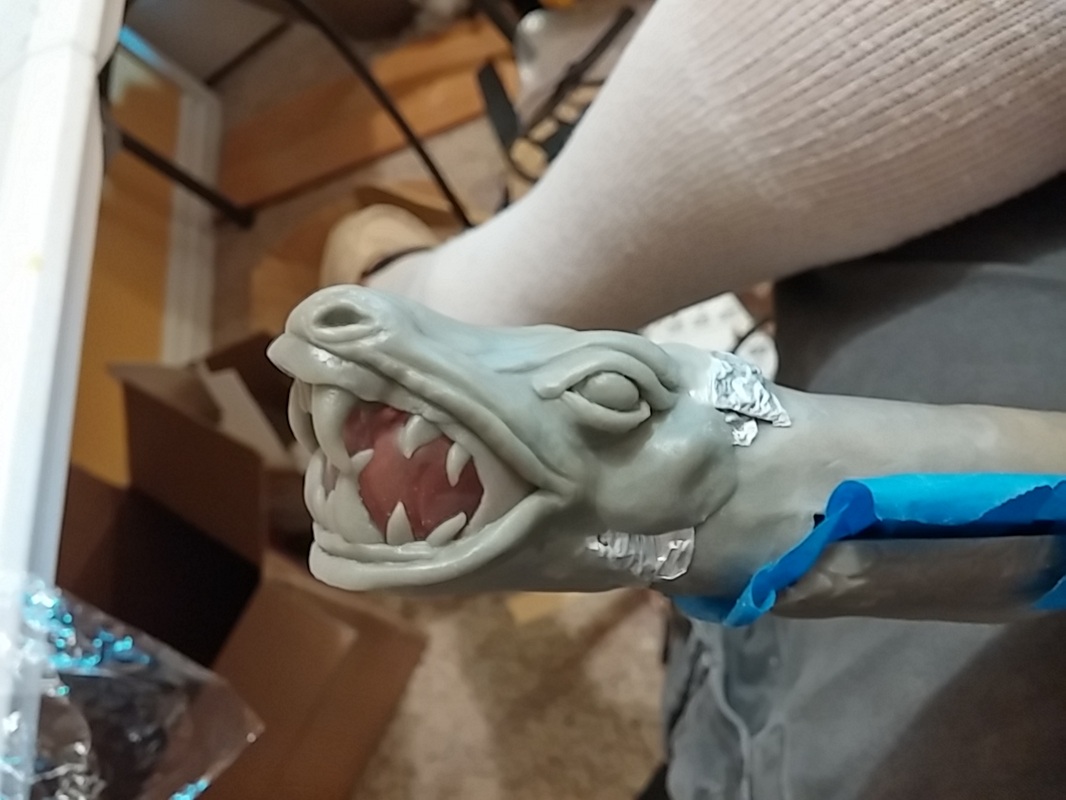
Nearly the entire surface of this piece is Apoxie Sculpt. It took many hours to work all the details in. The claws were by far the biggest PITA. Hands this small are not easy!
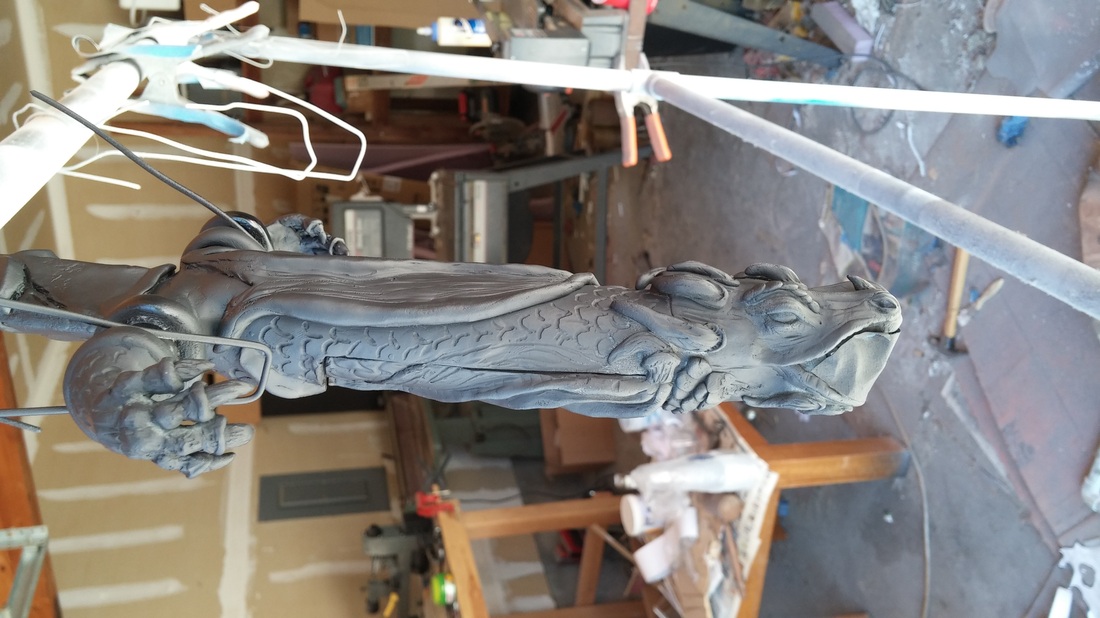
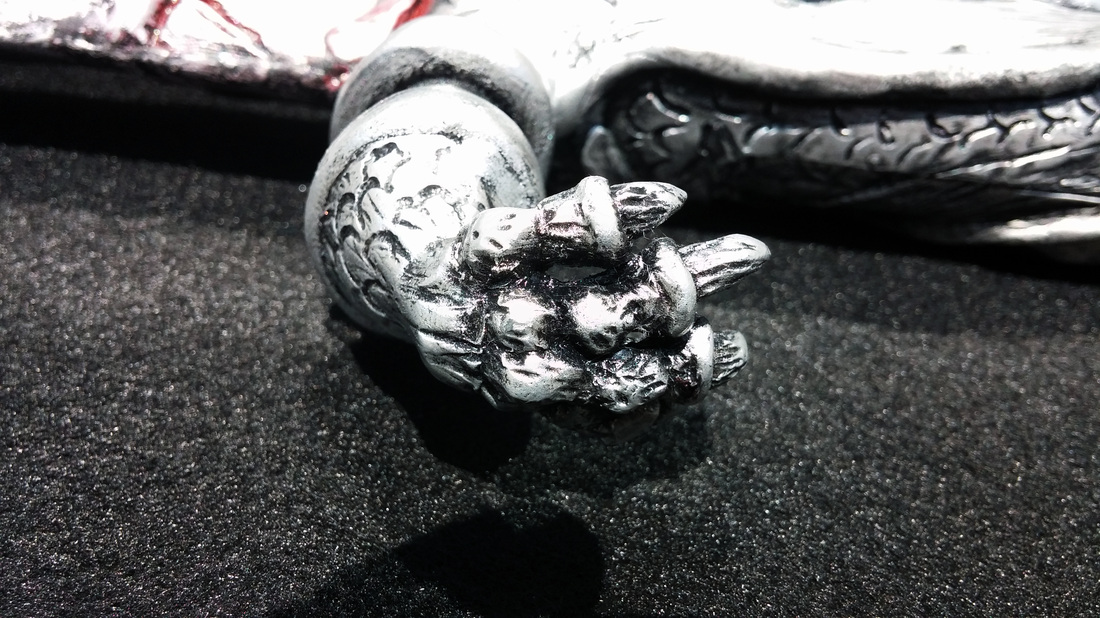
Base of black primer was added, and then lightly wet sanded. The mouth of the dragon was carefully taped off. After the black coat, it made this look like some weird gag. Add that to the fact that she's handing upside, and you've got yourself a weird BDSM prop building moment O.o
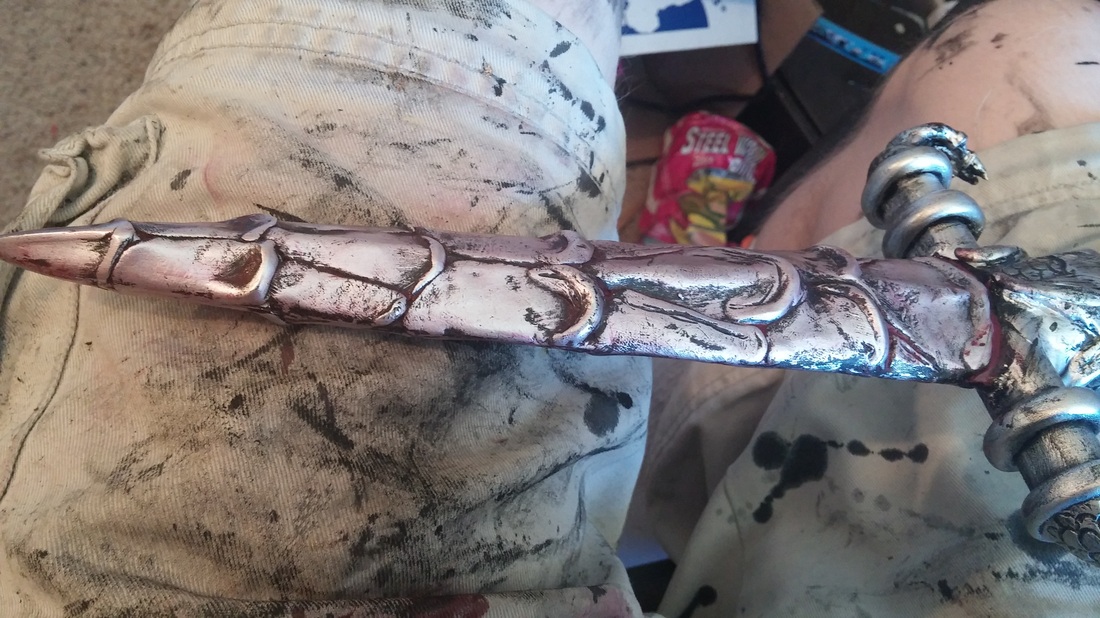
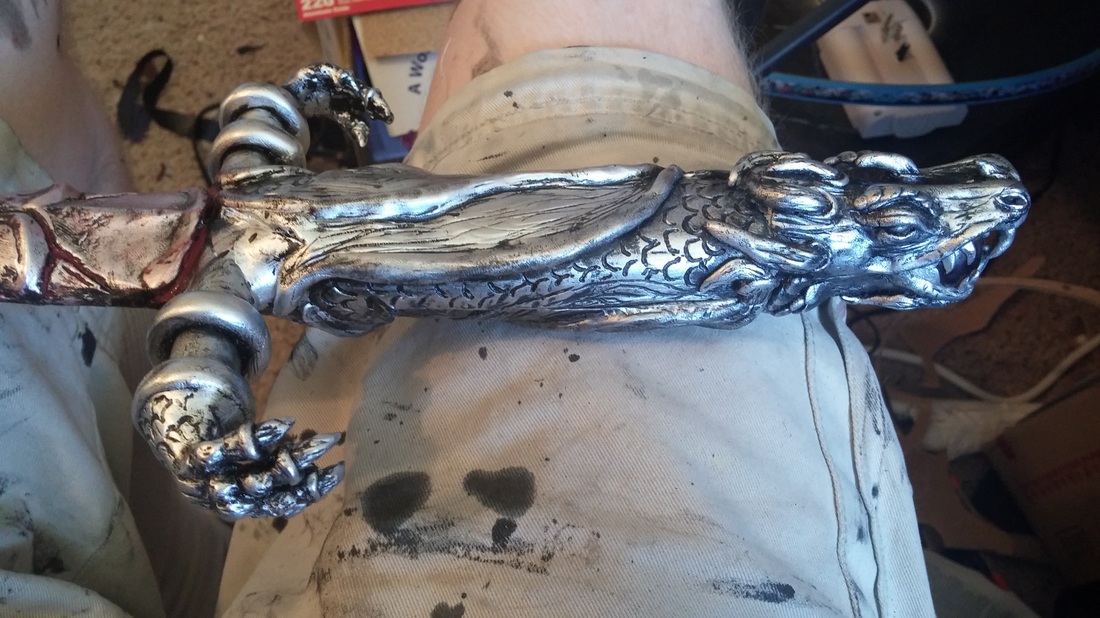
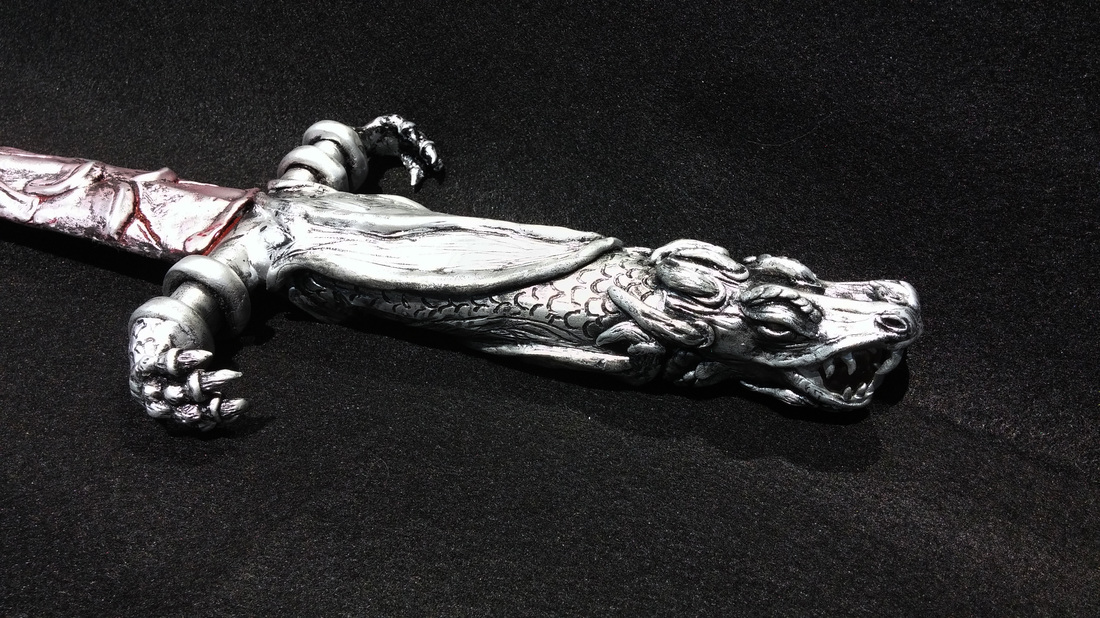
The whole dagger was given a coat of Krylon Billiant Silver. Then it was weathered with black paints, and finally a reddish wash over the scaled blade. Wouldn't want Rabbitslayer to go hungry, afterall.

The shadow cast when her mouth is lit up is pretty cool! She doubles as a dagger and a flashlight.
That's that. Thanks for reading! Please like our Facebook page if you'd like to see more build entries, or if you'd like to follow our progress in real time.
 RSS Feed
