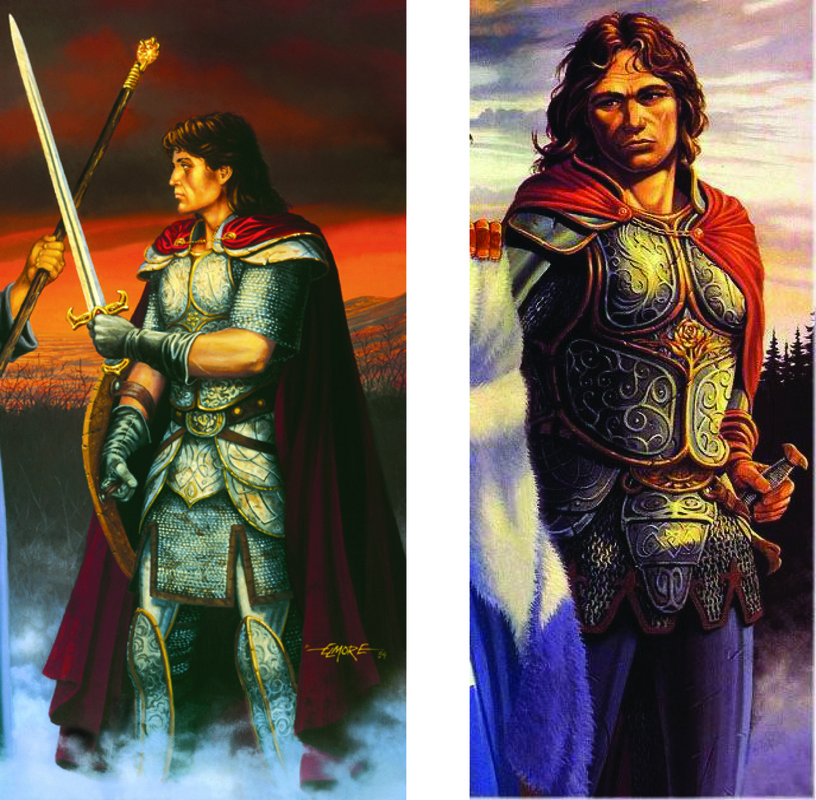
The two clear references of Caramon's armor have slight variations. Now the difference in the hip plates, as well as those covering his crotch. I chose the forms from the left painting, while I used the right mainly for the detail and scroll work.
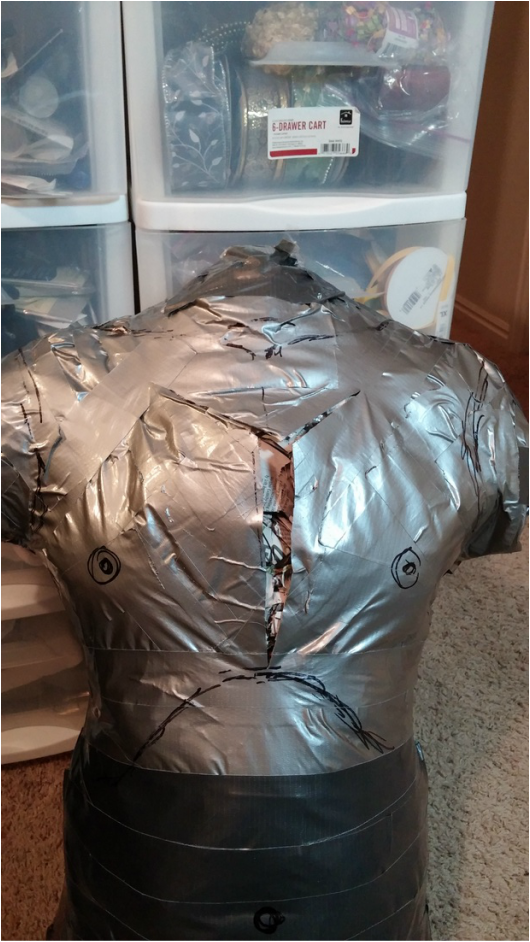
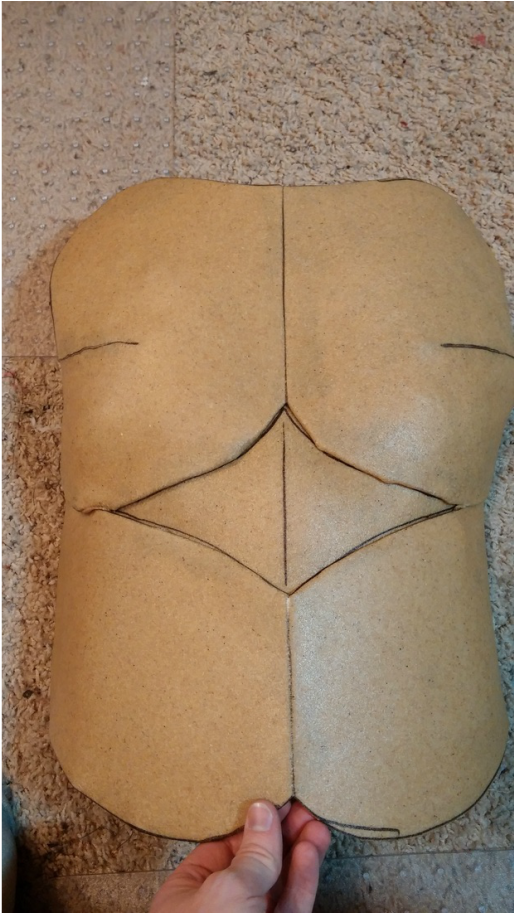
First thing's first. Patterning. For Armor I stick with the old duct tape dummy method. If you've spent any time in the cosplay world, you've already got at least one of these laying around. If you don't have any idea what I'm talking about, Google it. You'll get at least a dozen results. This poor guy is my son's. Unfortunately for it, the chest wasn't stuffed well enough, so I had to use my CSI skills and give him a Y-section so I could properly fill it out.
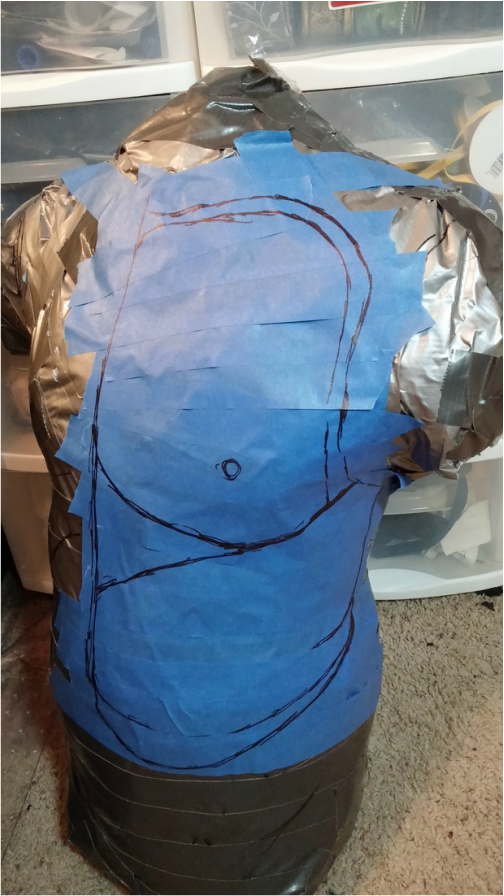
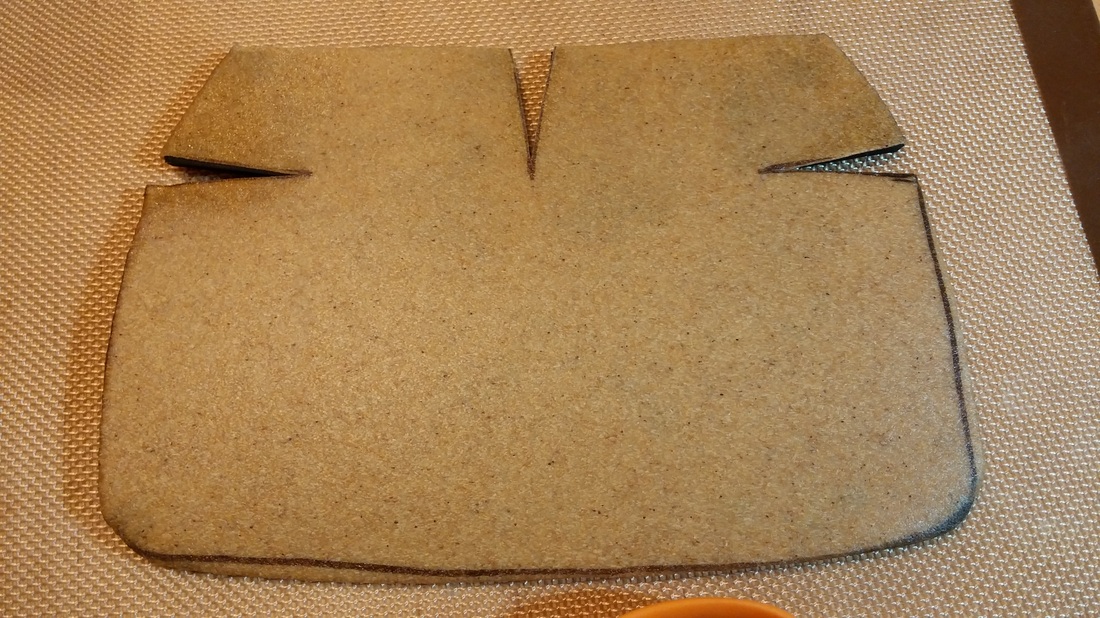
After his chest was buffed out, I began creating my patterns. Half the chest was covered in a weave of painters tape. You only have to create half for a piece like this, because it needs to be symmetrical, so you just mirror the single pattern.
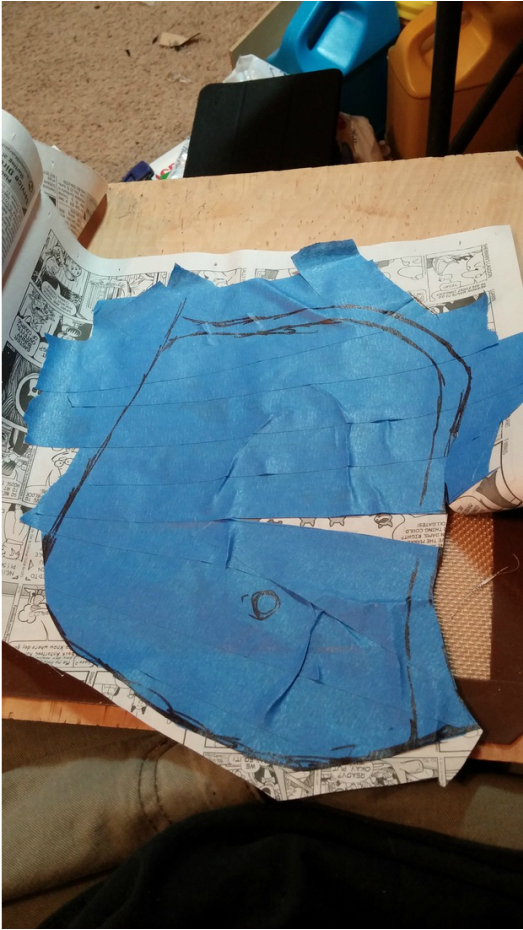
You're trying to create a 2D pattern from a 3D shape, which means you have to create "darts" in it so it will sit flat. That's what that split on the right is. I take my painter's tape and stick it down on some newspaper, then cut the whole thing out. Now you've got a section of your pattern!

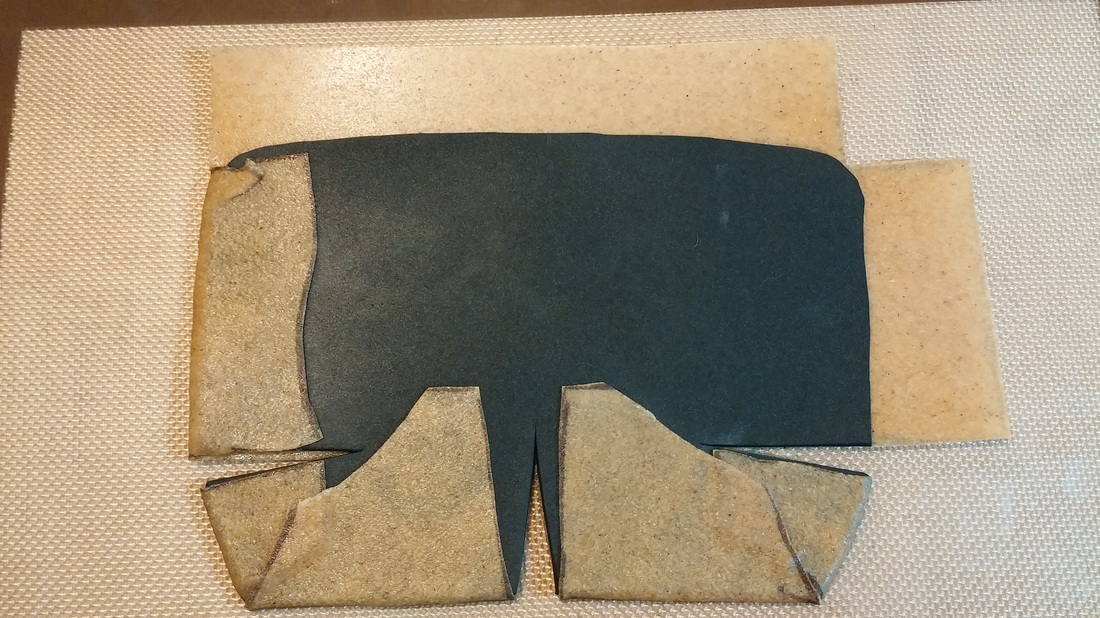
Take your patterns and transfer them to EVA foam (craft foam). This is 3mm craft foam. Once you have your EVA cut out, lay it out on your Worbla and trace it. I'll explain the funny tabs running all around in a moment. After you're done tracing, cut all of your Worbla out. (The inspector in the corner is the great overlord, Yuffie-hime, who ensures all projects remain to her standards.)
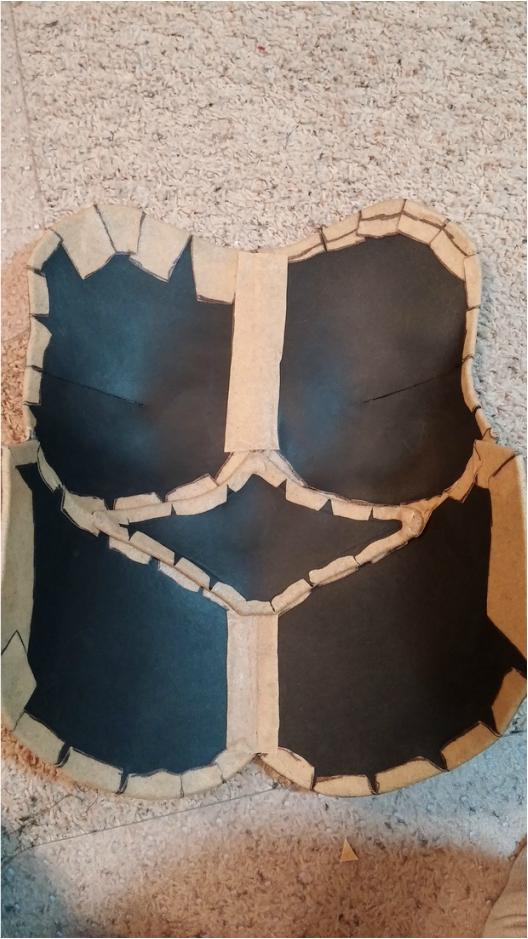
Here's the back end of the chest plate all assembled. A common method with Worbla and EVA is to sandwich the foam in two full pieces of Worbla. While this works great, you end up using double the Worbla, and this stuff is now cheap. I've found that you can achieve essentially the same effect but creating tabs around the shape you've traced from the EVA, and simply wrapping those tabs around the back end of the foam. The shape is nearly as rigid, plus it's cheaper and lighter! Occasionally, as with this chest plate, you may need to reinforce seams with a second strip of Worbla on the back, otherwise they tend to try to pull apart on subsequent heating.
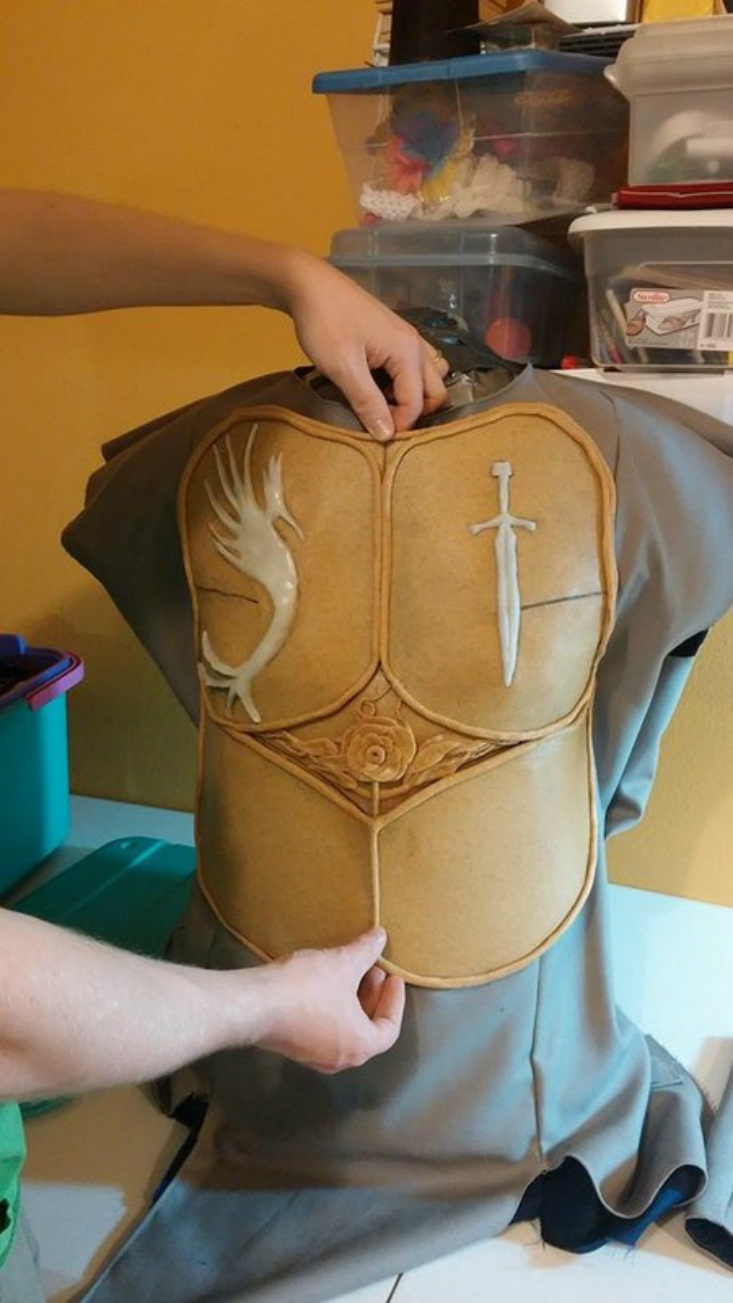
The front portion of the chest piece, for your viewing pleasure and simple reference.
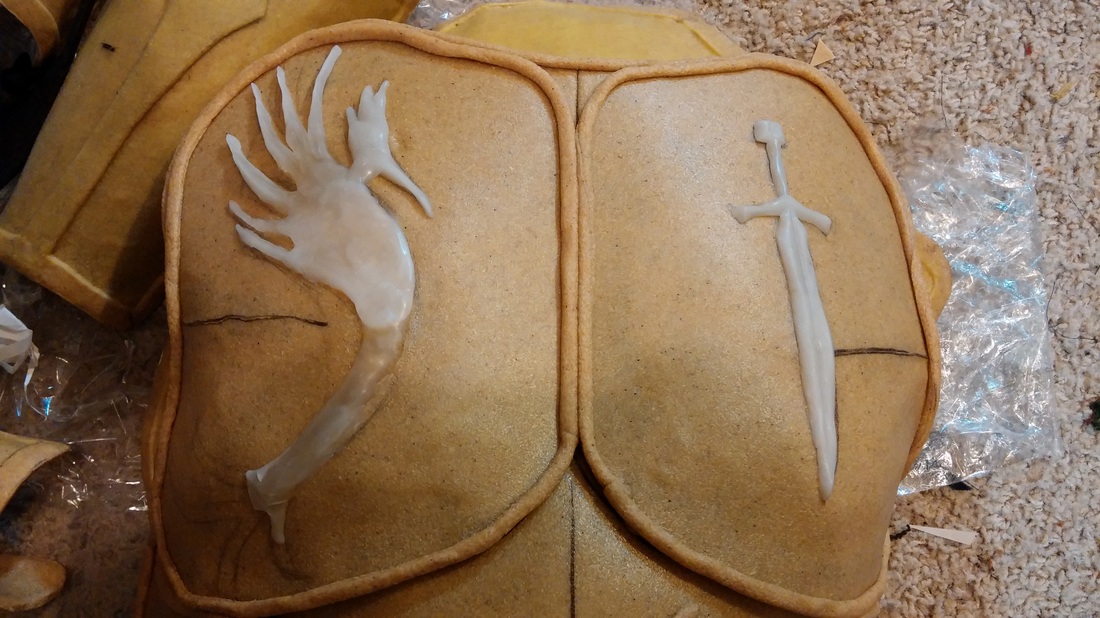
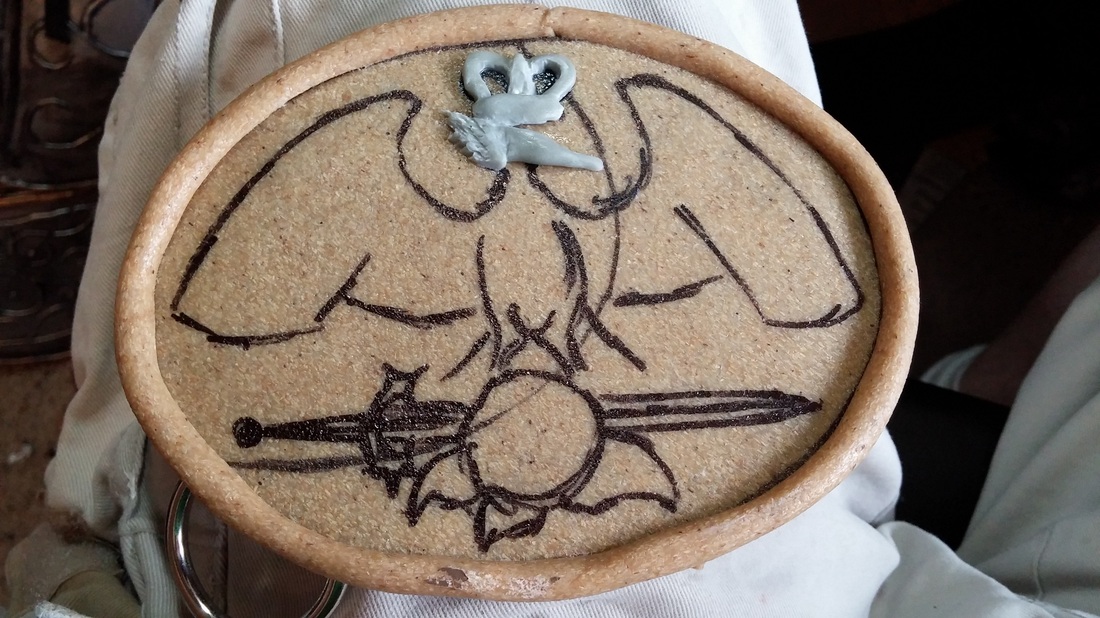
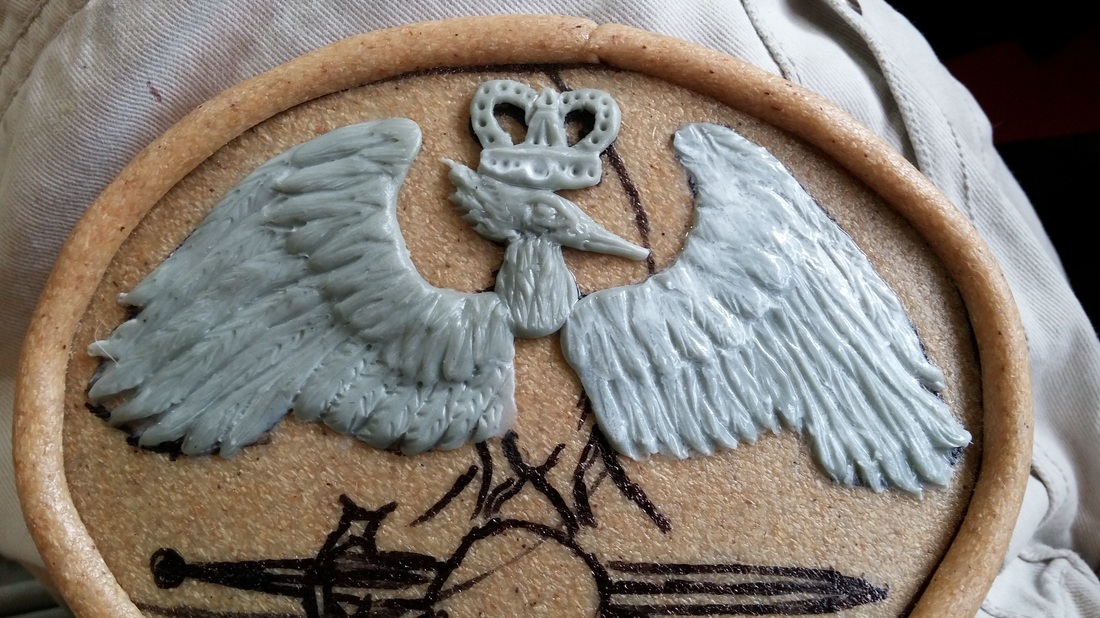
There's a lot of ornamentation going on with Caramon's Solamnic armor. The outer trim was creating by heating 1" strips of Worbla and rolling them into "ropes". You have to be careful when you do this because Worbla has a tendency to try and pull apart in the center when you're rolling it, or when you're laying it around curves. Friendly plastic was used to sculpt the pheonix and the sword onto the chest. Friendly Plastic is another type of thermoplastic. It comes in small pellets which can be sculpted after heating. It also sticks directly to Worbla, or many other thermoplastics. The downside to Friendly Plastic is that it's hard to get precise details out of Friendly plastic, but for these fairly simply shapes it worked well.
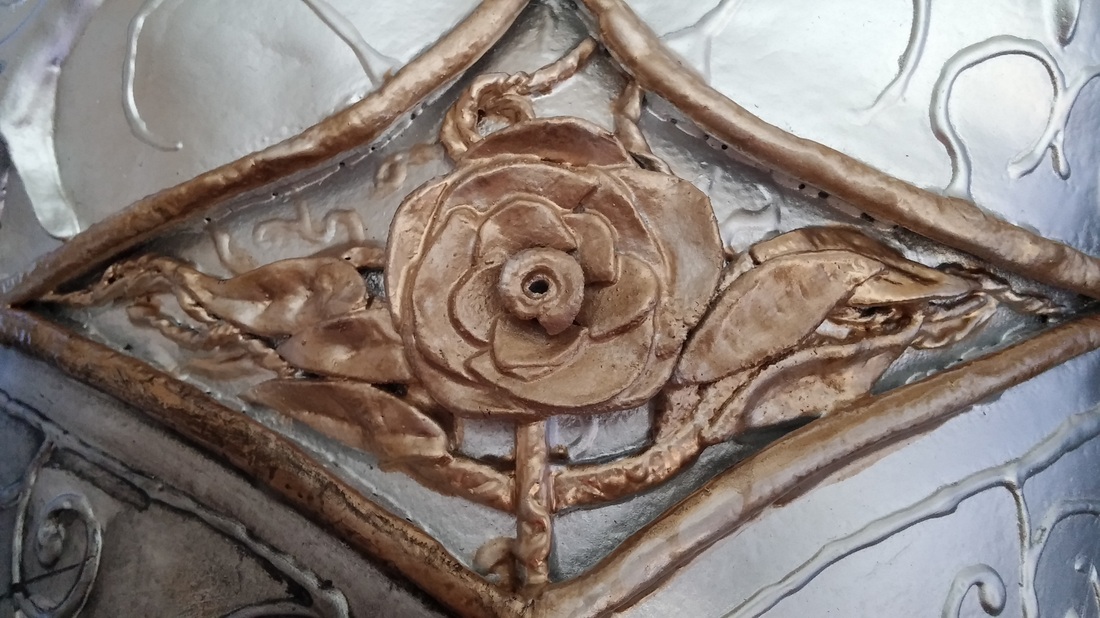
You can also sculpt with scrap bits of Worbla. NEVER throw Worbla away. It can be reheated and reshaped endlessly. So while it is expensive, you can pretty much use 100% of it, unlike some materials where you may as well throw away pieces which are to small to be of any more use. Here's the beginning of the rose at the center of the chest plate.
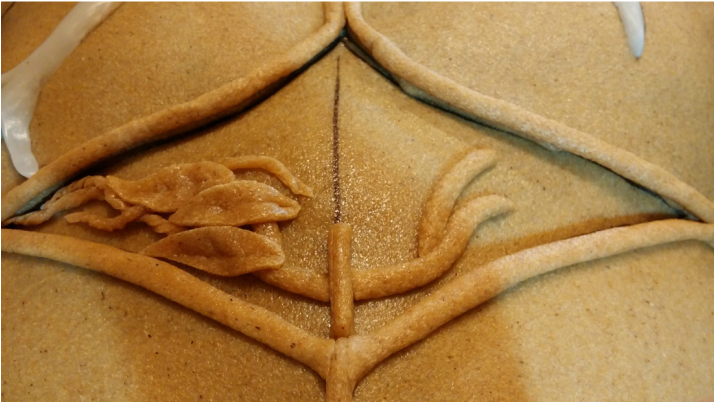
And some leaves, yay.
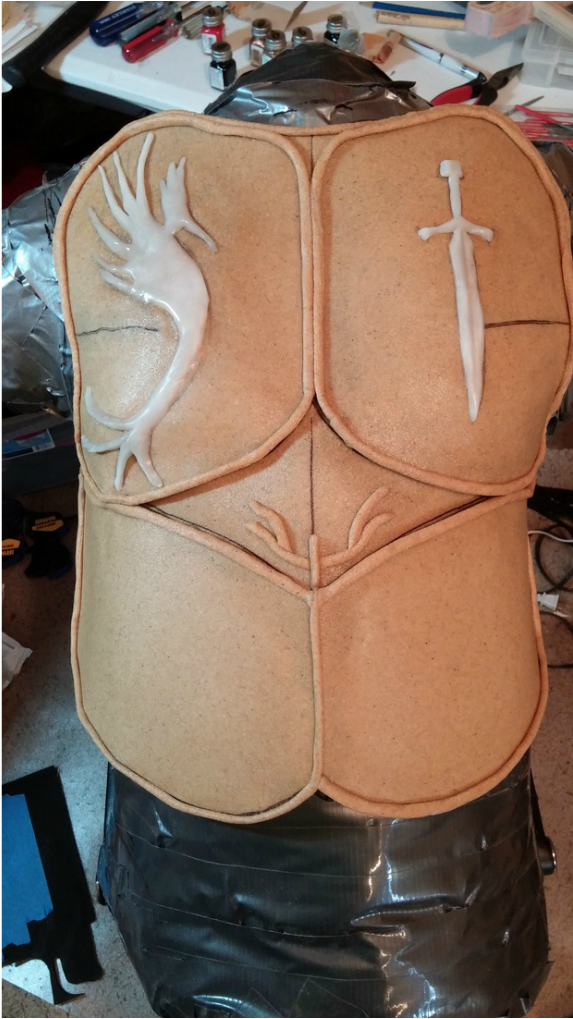
The rose is more or less done. Unlike the Friendly Plastic, you can build the Worbla out away from the base piece further, giving the sculpt more dimension.
More tab folding. This is the shoulder piece. It requires more connections than other sections of the armor, so the Worbla tabs were made larger to provide surface area to attach straps, D-rings, and other accouterments.
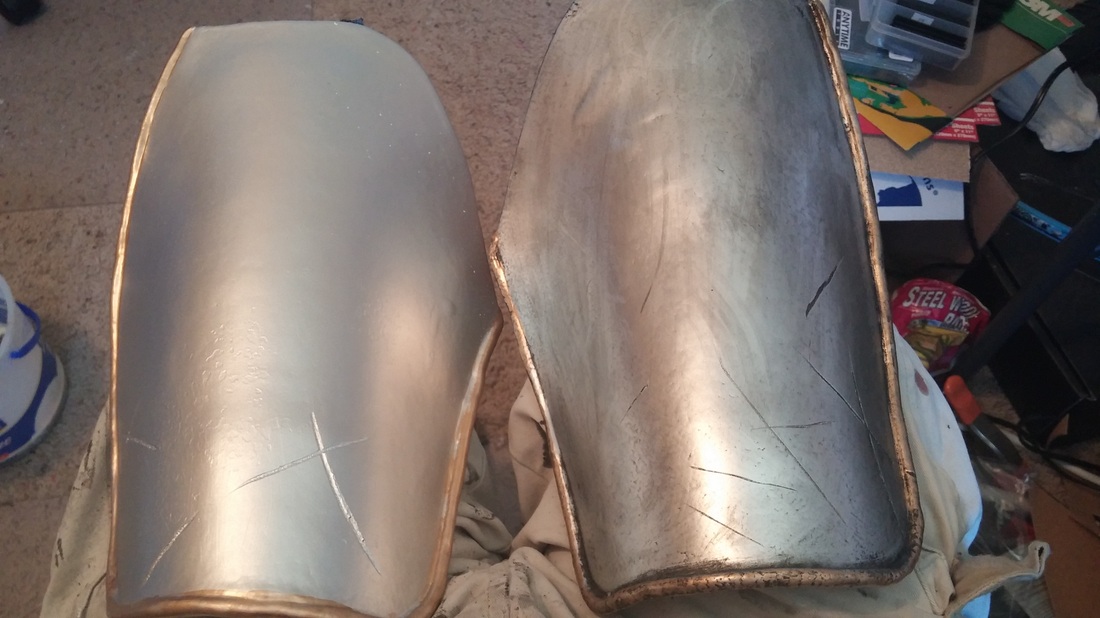
On this, and previous projects, I actually cut out the darts from the Worbla, same was with the EVA foam base. This is problematic in that it leaves noticeable seams which need to be smoothed out later. Right around the greaves, I realized I could simply shaped the EVA first, and then stretch and appropriately sized piece of Worbla over the top. This makes much smoother results, and I would recommend that this is the method you follow.
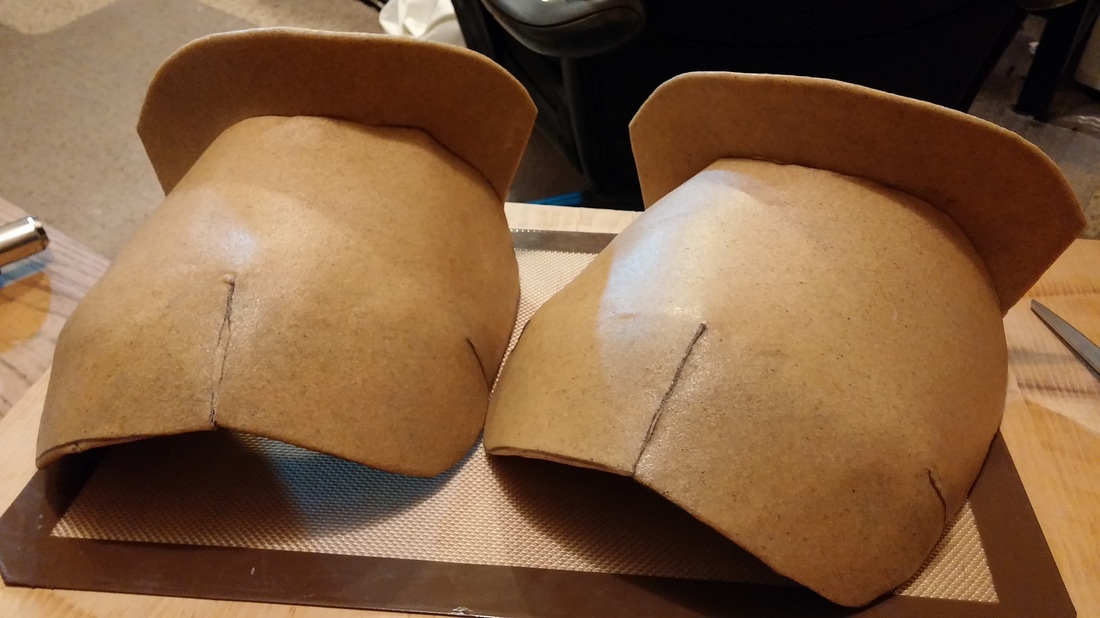
See? Ugly seams. >.<
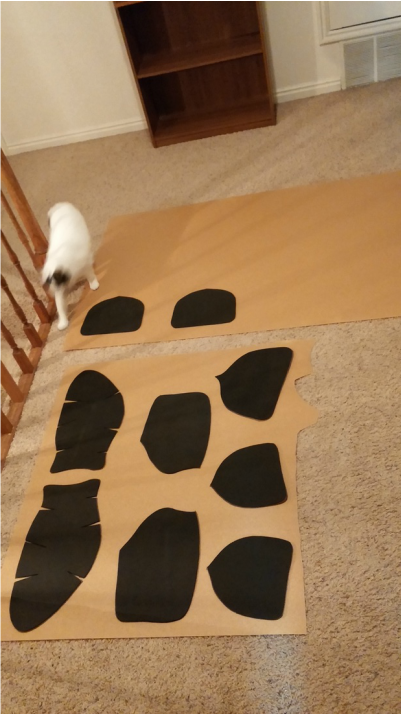
Always expect to use more Worbla than your original estimate. Trust me. Especially if you're doing a full suit of armor. The photo above showed one half sheet of Worbla (lower) and one full jumbo sheet of Worbla. The EVA laid out over them is only the hip and leg armor. No chest or back plate pieces. No pauldrons. Remember the ropes of trim? Every piece is an 1" times the length of your sheet of Worbla off it's total area. It's not just the large sections but also the details that will eat up your supply. It's always better to order too much than too little.
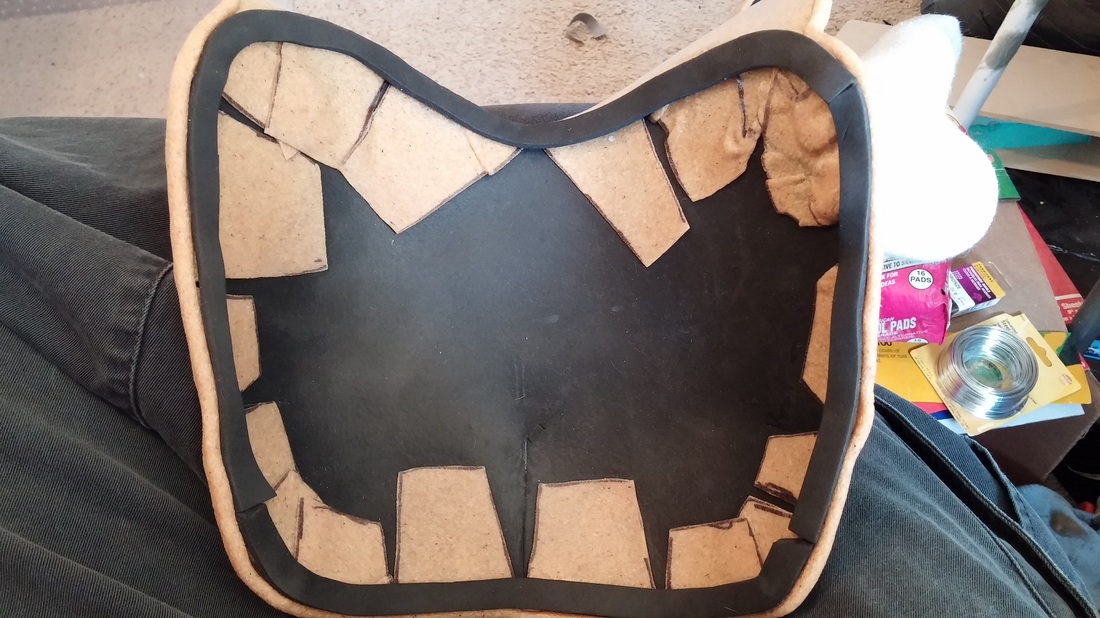
This is the underside of one pauldron (shoulder). For any piece of armor that overlaps and rubs another, I take a 1/2" strip of EVA foam and super glue it around the edges. This provides a soft barrier so that your armor doesn't rub the paint job off the pieces beneath it.
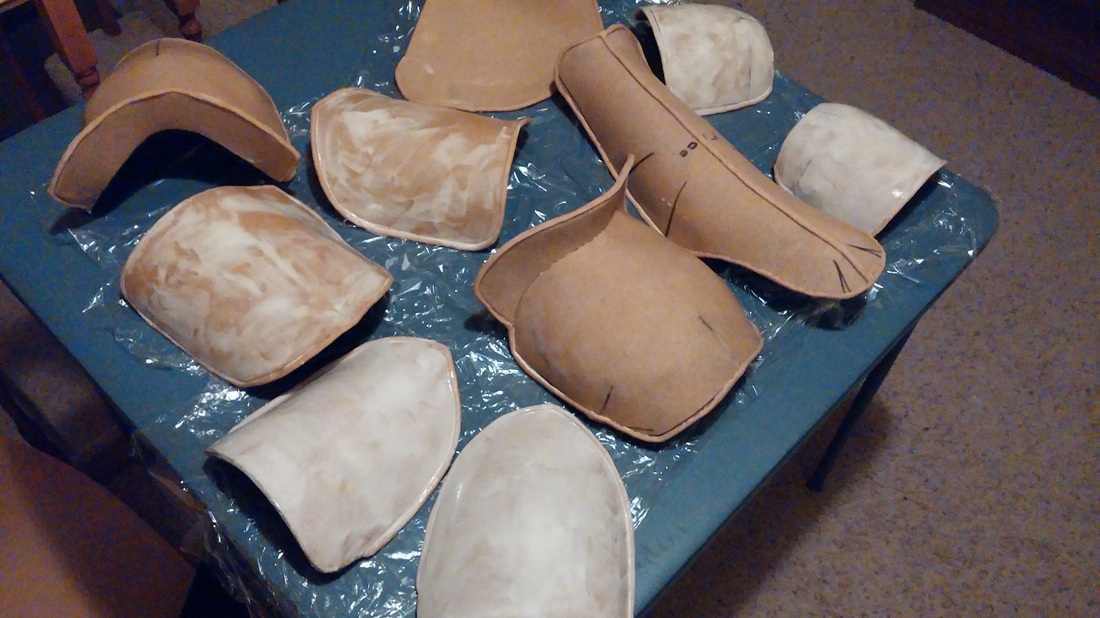
Various pieces of armor being drying after being painted with wood glue. I typically put 3-4 coats on each piece. This is necessary because of Worbla's innate surface texture. You can actually play around with this a little bit. For Caramon's scabbard, which is wrapped in Worbla, I only applied two coats. This softens the texture, but doesn't eliminate it entirely, and with the right paint job makes it appear like leather. (Wood glue is not the only way to seal and smooth Worbla. Some people only use layers of filler primer, with sanding in between coats. My friend Eric of Coregeek Cosplay & Creations uses an intense, but eminently effective, system of wood filler, gesso, shellac, and primer! While Rask and Chaos Bell of Criminal Mischief use urethane, a system I'm still itching to test as well.)
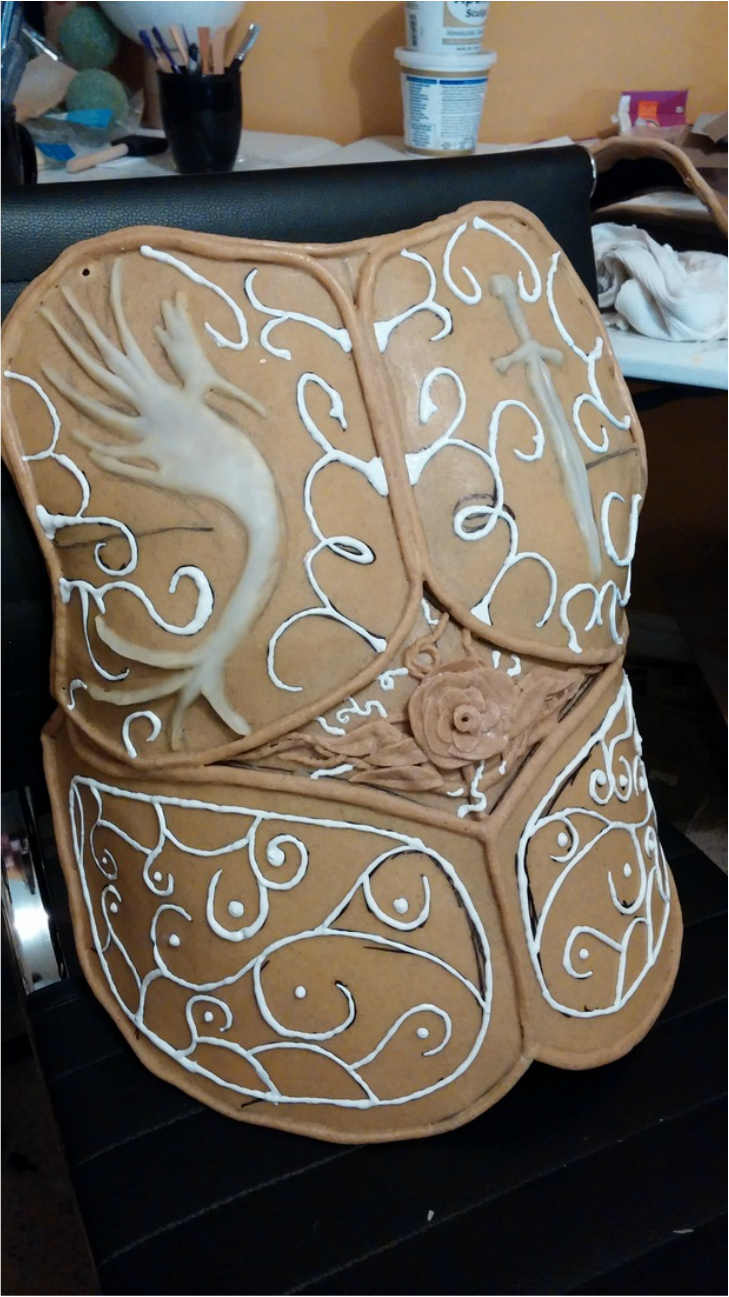
Trim and sculpture are not the only elements on this armor. There's also a ton of scroll work. For the scroll work I used Tulip Puffy Fabric Paint. Because this is sealed with wood glue, which is water based, the puffy paint, also water based, adheres perfectly (a trick I picked up from Enayla Cosplay). You'll need a steady hand to apply it evenly, and when you've depleted the bottle to the point that it starts splurting out air, discard it and get a new one. Those bursts of air can ruin your design.
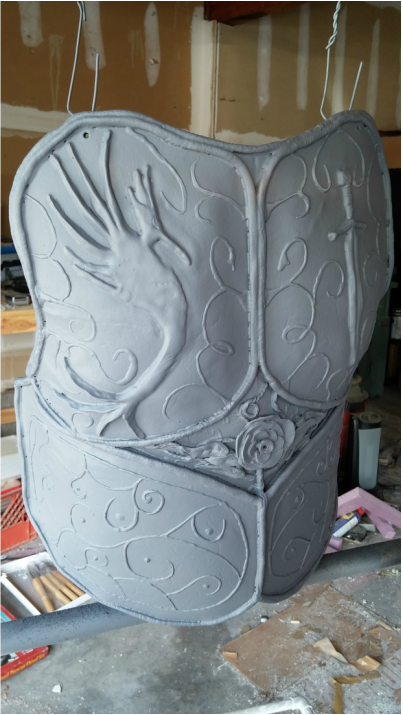
At this point, I covered the armor in two coats of automotive filler primer, and then give it all a wet sanding to smooth everything out.
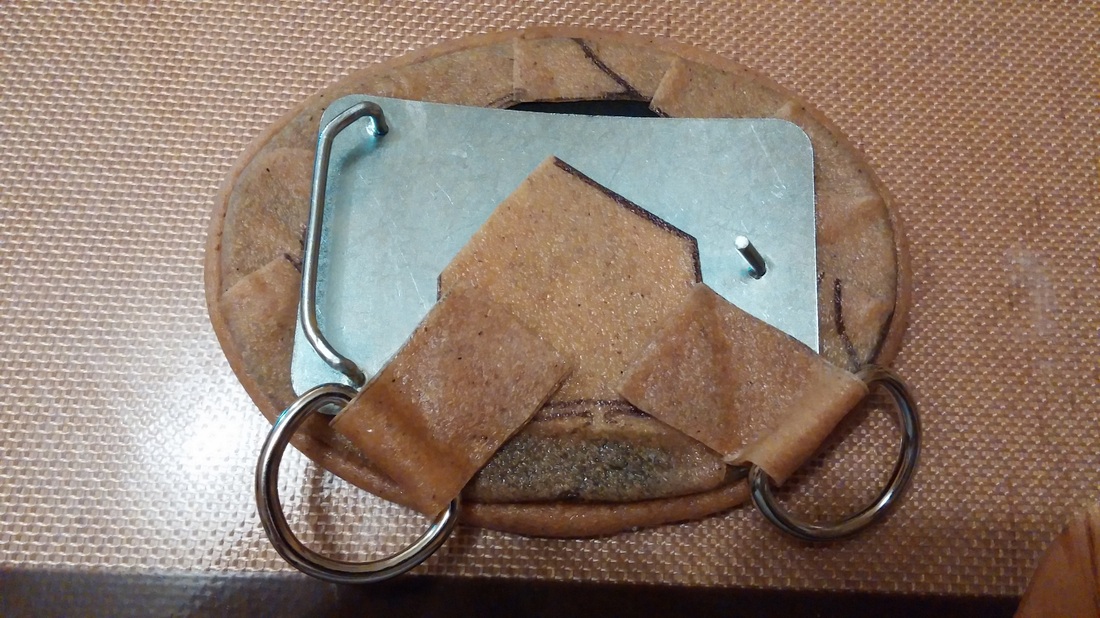
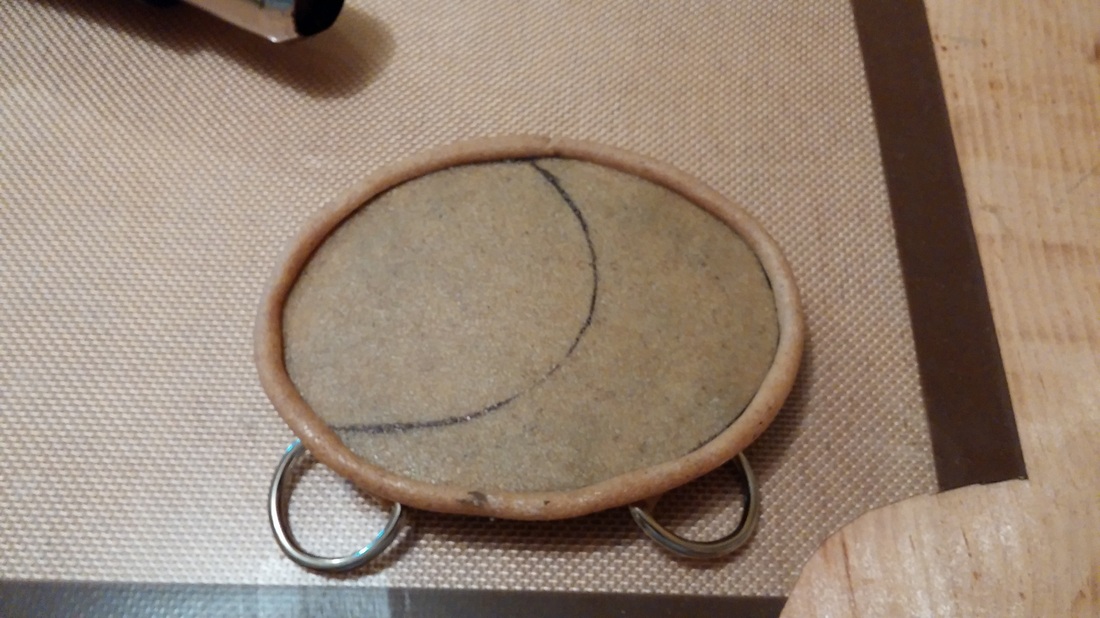
This is the back end of the belt buckle for Caramon's armor. I started with a blank buckle from Tandy. Cut the oval out of EVA foam per usual. The Worbla tabs were wrapped around the buckle which was super glued as well, just to be safe.
Friendly plastic and Worbla are not the only sculptural materials you can use on Worbla. Apoxie Sculpt is another one of my favorites, for the shear detail you can wring from it. Just make sure to work in layers, as you only have 2 hrs work time after mixing your epoxy putty.
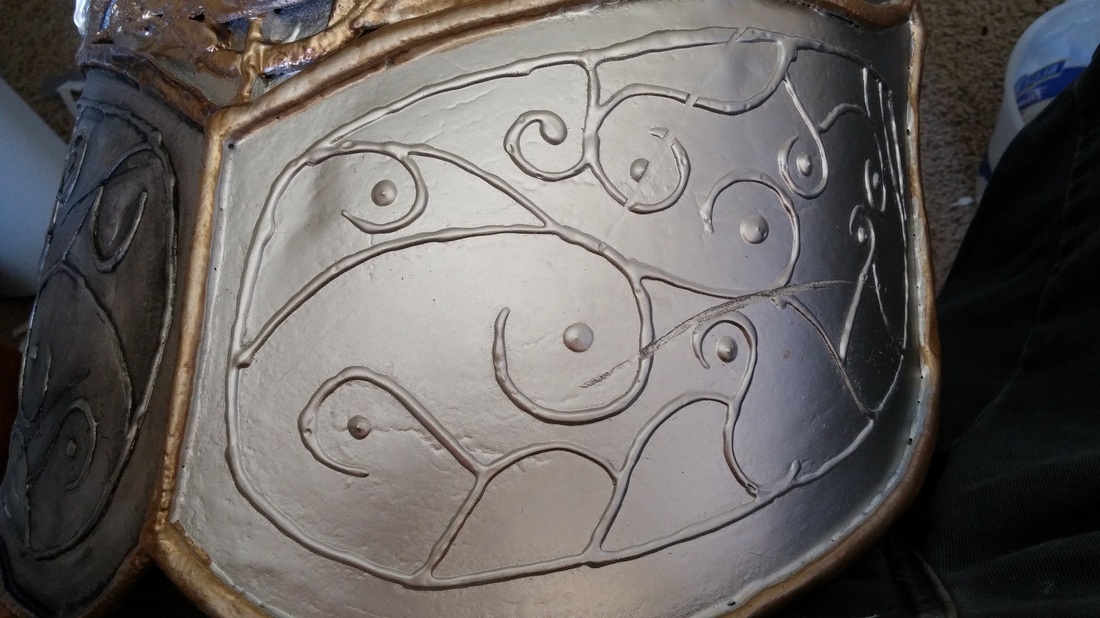
Chest piece without weathering.
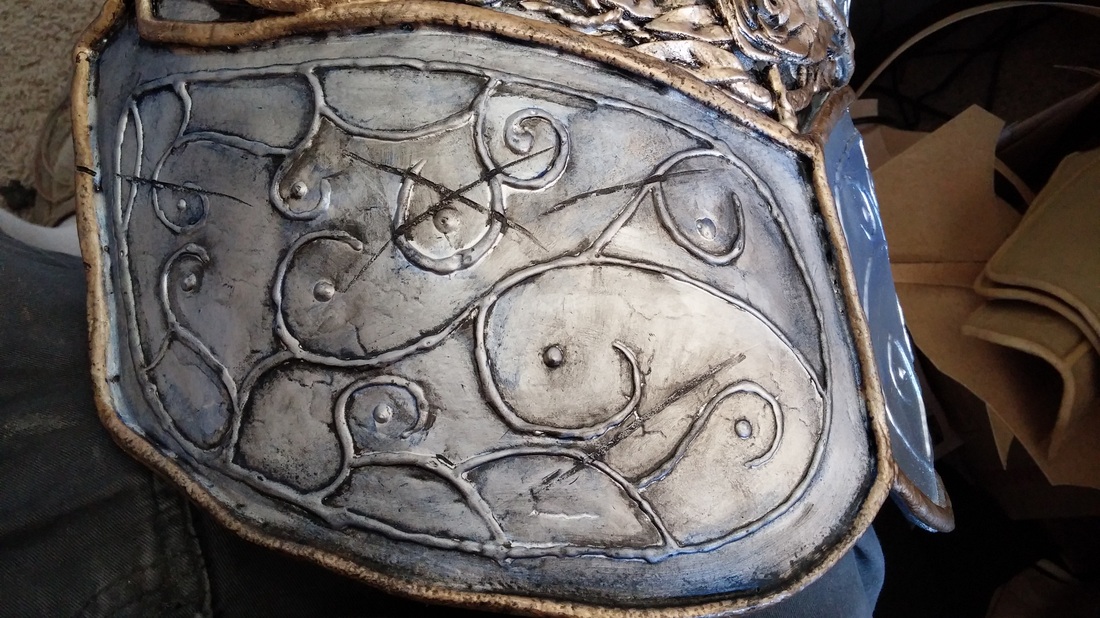
Chest piece with weathering. See the difference? Unless you're looking for that cartoony look (which you might be), nothing makes you armor look more authentic than smart weathering. In this case, slashes and gouges were carves into the armor with a wire wheel on my dremel. Then everything was given a heavy coat of black acrylic paint, allowed to dry for maybe a minute, and then wiped off with a damp rag. It was also given a wash of blue, and then wiped off, to enhance the silvery appearance.
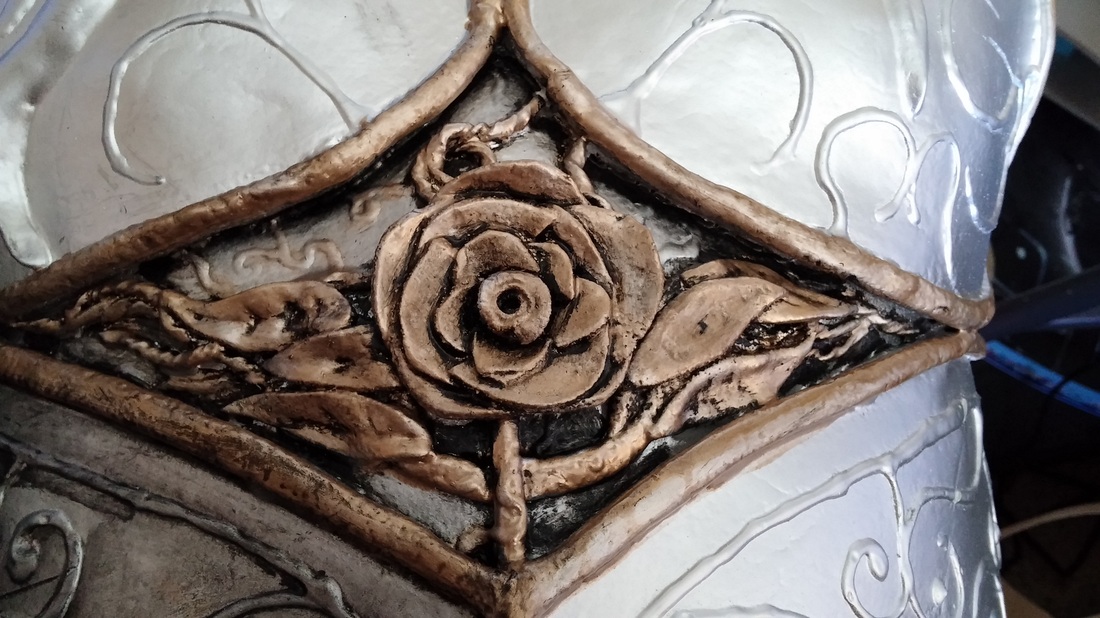
Weathering also enhances details and brings more depth, so it's not just about making armor look dirty or used. The human eye likes contrast.
Which looks more realistic to you?
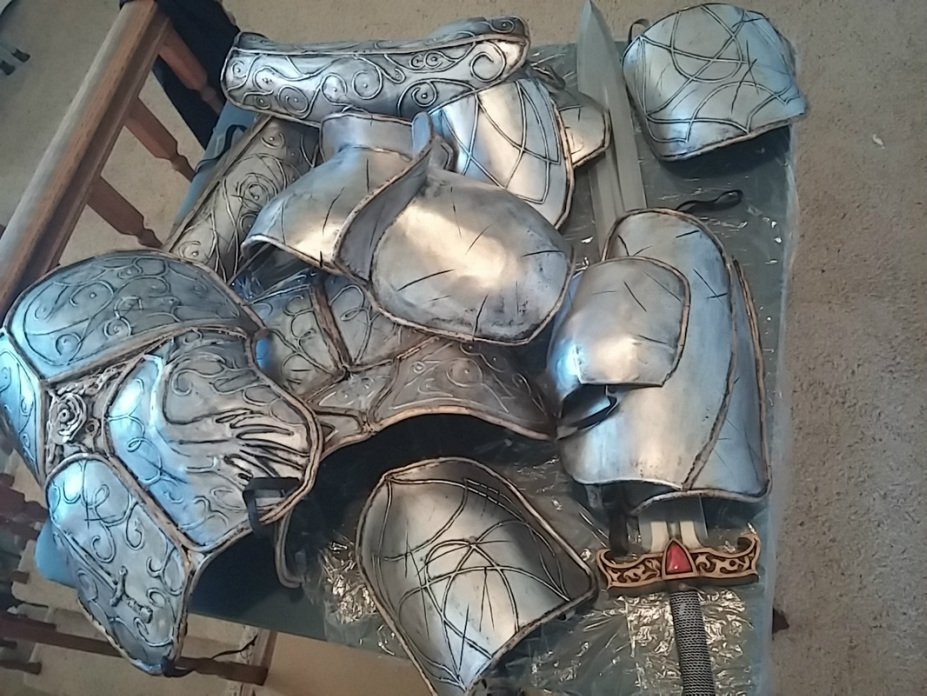
A heap of armor post weathering.
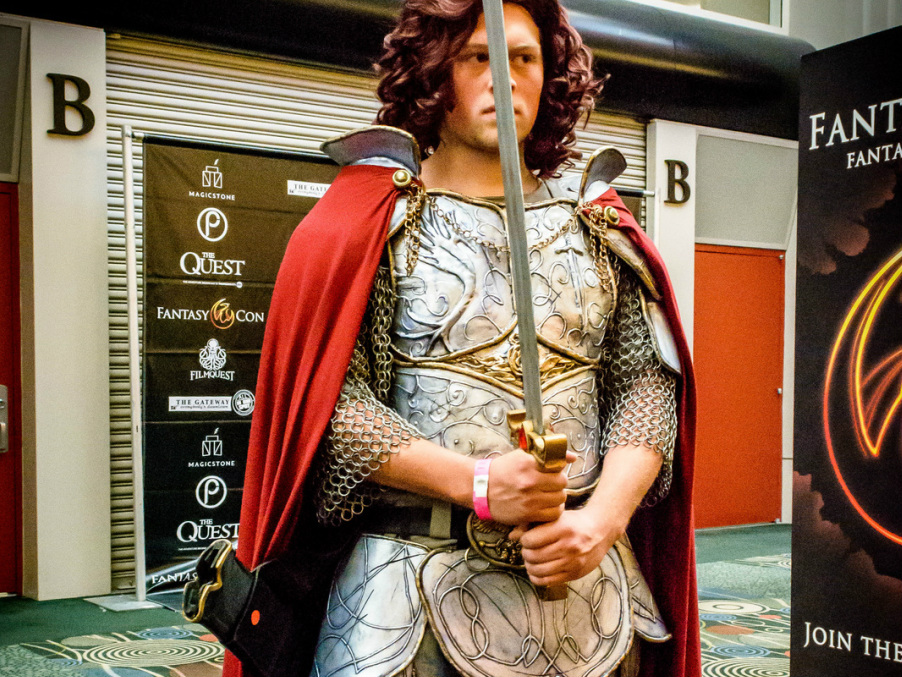
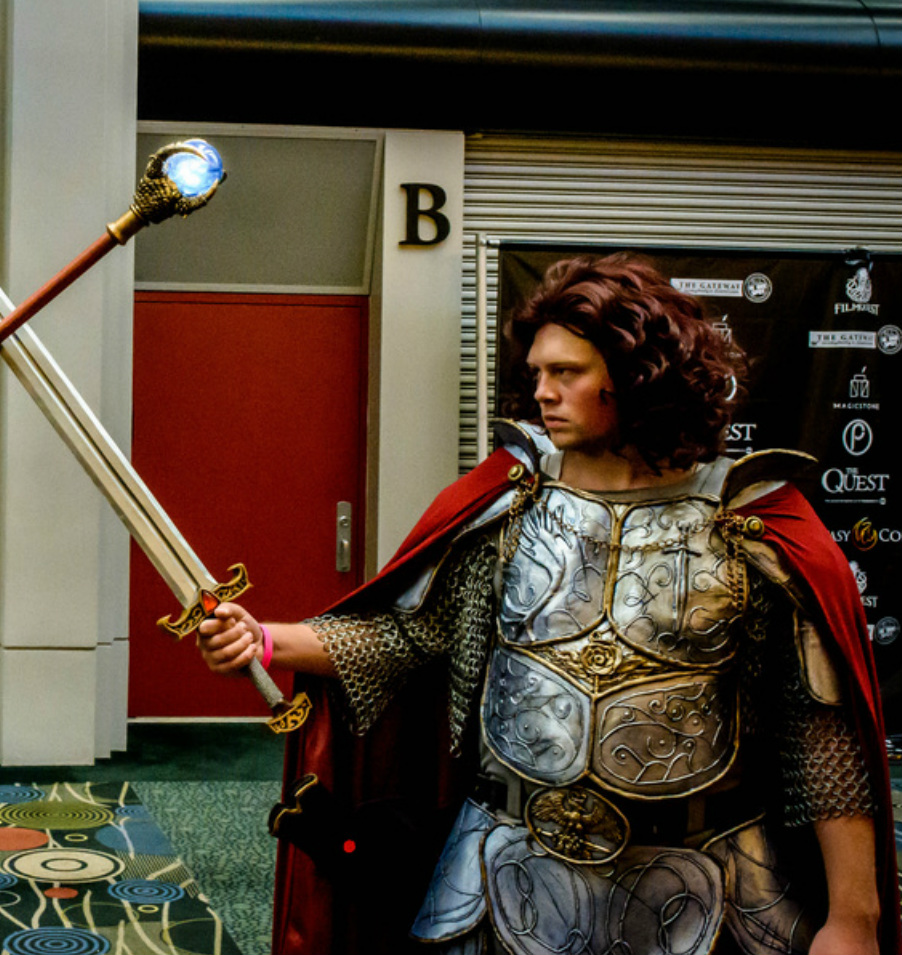
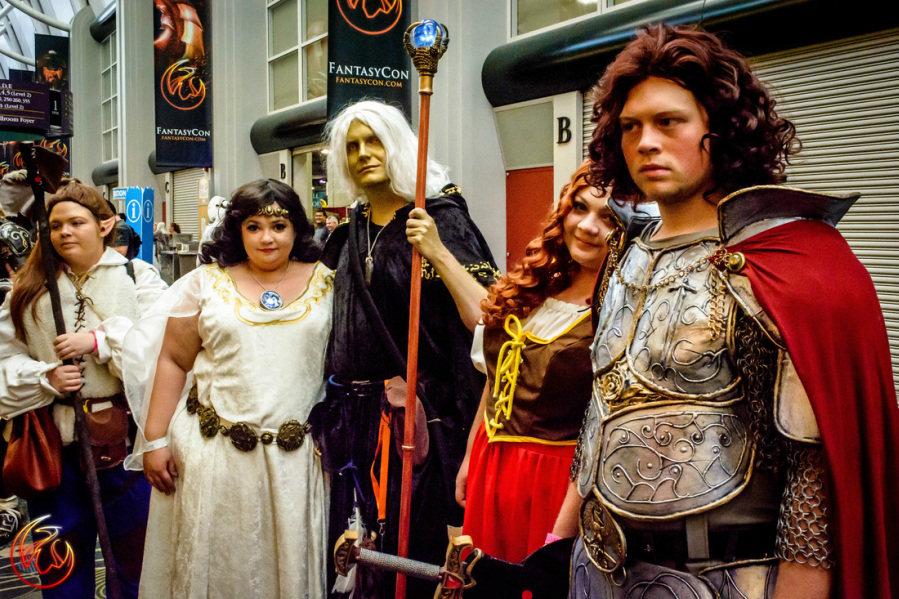
The final product, and my son with his lovely locks. The chainmail is actual steel, and Braiden is a trooper for putting up with it for two days straight. It's heavy, even though it's an arming doublet (a shirt with chainmail sewn onto strategic exposed areas, rather than a full hauberk). I'm hoping, if I have time (haha!), to make a PVC replacement to lighten his load a bit.
 RSS Feed
